Want to make money and save time with AI? Get AI Coaching, Support & Courses 👉 https://juliangoldieai.com/07L1kg
Get a FREE AI Course + 1000 NEW AI Agents 👉 https://juliangoldieai.com/5iUeBR
Оглавление (3 сегментов)
Segment 1 (00:00 - 05:00)
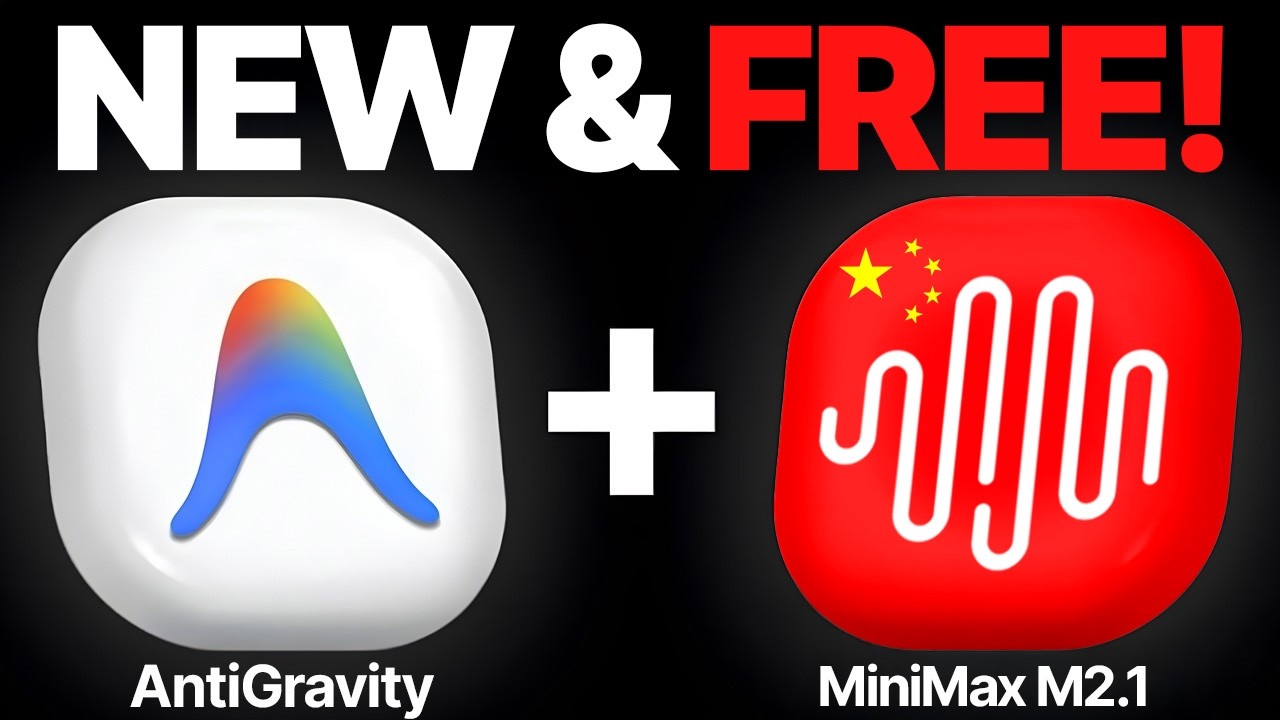
So today I'm going to use and show you how to use anti-gravity, which is Google's free IDE, and combine it with the power of Miniax, [clears throat] which is an AI agent and one of the best that's recently come out. And so you can combine the power of both of these tools to code inside Google Anti-gravity. So I'm going to show you exactly how to do that. If you download anti-gravity, which you can do for free right here, and then you're going to go over to anti-gravity. So once you've downloaded it, and [snorts] then inside your extensions, what you can do is you can download client. So, if you get client as an extension, so you just click on this button right here, then click on climb, click on install, and then from here, we'll wait for that to install. And once you've got that set up, you'll see client pop up in the bottom left like this. Right now, the cool thing about this is you can actually use client and the free APIs it supplies, including miniax to help code out your project. And then you can also use claw code inside the terminal. And you can use the power of Gemini free flash, Gemini 3 Pro, Sonet 4. 5, and Opus 4. 5 Thinking directly inside here. You can also plug in your own API key if you want to use that, but I'm just going to go with the basics. And then from here, we're just going to log into Clang with our free account, authorize that. Open up anti-gravity. Open up client. And boom, we're in. Right. And you can see here, new in client 3. 47, number one, background edits. But number two, Miniax is now free, right? And that's Miniax 2. 1. So if we click on try Miniax 2. 1, and you can see you can actually search between a bunch of different models right here. So if you click on the dropown in the bottom right, you can switch between all of these APIs. So for example, like you've got Claude Sonet, Free Flash, Opus 4. 5, GT 5. 2, Gemini 3 Pro, and some of these are free, completely free. So for example, like Devstral, Brock Code, it will show you which ones are free on the right. And then it also shows you which ones you get the best results with. For example, best right there. So if we click on miniax over here and then we're going to open this up and we can take the existing project that we've got opened up inside anti-gravity like this. Right? And I'll show you how to code out a new project from scratch in a second. But from here we can type out a task and what we want to do. Right? So if we've got minimax enabled inside client here and then you can switch between plan and act. Right? So plan obviously is going to create like a to-do list. It's going to plan out the project. the steps that it's going to do etc with the agent and then what you can also do is switch to act over here right and so if we switch on act and then we're going to say okay improve the UI inside my project so the cool thing about miniax is it's a thinking model plus it's free so you get like the power of something that's one of the best APIs out there right now for coding and it can read the projects inside your folder so for example it's checking out the style CSS script js etc the index html and then from here, it's going to start analyzing it and figuring out, okay, what can we improve, right? What could we add right here? And you can see it actually says, okay, I've reviewed the project. It's already a polished typing test with neon aesthetics, so it understands the project and what it's going to look like, but it's let me add these in, too. Right? So, for example, animated stat numbers, visual keyboard indicator, enhanced combo counter, right? So, we're going to click on save right here. And then it's going to work its magic. And so you can leverage like the power of three or four different powerful APIs for free now because you've got Miniax over here, you Gemini, free flash and pro over here and you have sonet plus if you even want to you can plug in claw inside the terminal. But the main thing is like you can customize anti-gravity a lot more now. And also the difference between say using Visual Studio Code or using anti-gravity is that you get the free APIs inside here plus you get the browser use agent that's already plugged in to the project. Right? So if you actually give it commands, which I'll show you in a minute on how to build new projects, it will create the project, plan it out, and also test it. So let's click on save here, it's going to start editing this, and then you can see all the changes is making inside JS here. We can also X off the terminal X. We probably don't need Claude code open right now. Also, if you want some free training on Google Antiggravity, how to use it, how to use it with Claude, how to build and automate almost anything of it, you can check out our notes inside the AI success lab, which is a free community with 44,500 people, right? So, this is a free community. I've given it away for free, giving away all the training for free as well inside the community in the classroom right here. And you can just check this out. Check out all the resources and learn exactly how to use this stuff. So, if you're wondering, okay, how do I get started? how are there some videos to teach me the basics from scratch. You can check out all this training right here completely for free. Link in the comments description. So, we're going to hit save. Like the other thing you can do here as well is like you can actually open up the same project inside Claude desktop. Right. So, for example, if you just want to switch or you want to change up the etc. Then from here, if you go to the new update inside Claude code, so you open up the sidebar and you'll see a difference between chat code. go to code right here and then
Segment 2 (05:00 - 10:00)
from this section you're going to click on open find the project you want to edit like this you can open that up inside claw code and then from here you can start editing as well directly the other cool thing you can do with client and you can see this hasn't cost any money so far so it's literally free to use the API so it keeps you track of the cost at the top but also you can for example click on use a browser you can allow MCP servers edit project files And then you're good to go on that, right? You can see it's now made all the UI changes using Miniax inside Google anti-gravity. So, for example, the sound toggle button, visual keyboard, share button, etc. And then if we click on the link here, we can actually open this up, right? So, I'm going to say open index. html. Boom. There we go. And see, you've got the new functionality inside this type in test. So, let's test this out, right? It just looks a lot nicer. You also got the visualized keyboard right here. You can restart the game whenever you want to. We've created a really nice tool in the space of a few minutes using the combination of anti-gravity plus miniax 2. 1. Some people ask, are there any coding limits inside anti-gravity? So, yeah, there are limits. It's hard to know like what the limits are to be honest. You can go to settings here. I don't know if it's going to show you. I don't think it will from what I can see. And it depends what plan you're subscribed to as well. But the good thing is even if you hit the limits now you can switch over to client and then start coding from there. So you can always switch it up change up the API even if you hit the limits on for example like miniax then you can switch to something else. And you can also change the number of tokens you use when using the thinking model. Right? So if you don't want to use the thinking model to at all or you want to just minimize it you can just scroll it all the way down here. Whereas if you want to maximize out, max it out, then just go to the full 6,000 tokens like and then for example, you could switch to GR code fast if you wanted to as well. So how do you start a new project inside Google Antravity? You can click on open folder over here. Just type in a new folder, type out what you want to build. So for example, like this, click open. That will open up a new window. And then the way that I'd recommend using it is you don't start using client straight away. You would start planning it out with Google anti-gravity. Google Gemini Flash gives you pretty good outputs. Then you can type in what you want. So let's grab a prompt like this for example. We'll build out an invoice generator. Type that into this section. Hit enter. And then once it's coded out, once it's tested out, etc. If you just want to add the finishing touches to the UI for free, then you can switch over to client. Will asks, do you prefer anti-gravity to VS Code? Actually, they're pretty much the same, aren't they? They look but the difference is, of course, like you get the free APIs inside anti-gravity and then also you get the browser use agent as well that's built in to anti-gravity. And I think those extra touches just make it easier to use. Also, it's just a lot more user friendly, I find, than using Visual Studio Code directly. Those are the two main reasons I prefer it. So, thanks so much for watching. If you want to get access to all the free training from today, you can get that inside the AI success lab link in the comments in the description. There's 44,500 members inside this free community. And if you go to the January 2026 automation section, we actually have a free 2hour course on exactly how to use anti-gravity. Plus, we have a 30-day plan and a full four-step framework on how to build with this tool. And you can just copy and implement each of these tasks day by day. You can see the AI agent is now testing out the tool on the right hand side. So, it's actually navigating to that tool we just built, which is pretty cool. And the cool thing I like about anti-gravity is it has nano banana built in, right? Which means it can actually generate images inside the chat as well. So that's a huge advantage that you probably won't find inside VS Code. So there's a lot of cool reasons to use anti-gravity. When you can combine it with minimax as well, it's even more powerful and even easier to use. Plus, it's free. So you get a lot more benefits. So thanks so much for watching. And also what I've done is included 100 Google anti-gravity prompts. If you want some prompts, for example, for landing pages, business dashboards, productivity, creative content tools, interactive and fun stuff like it's all inside the AI success lab, completely free. And if you want to learn how to implement and use AI to automate your business, then you can check out the AI profit boardroom link in the comments in the description. If you go to the community here, you'll see all of the notes on different people posting. It's just a great community that's very active, people sharing and learning from each other. On top of that, you can share your wins, share your goals, and we have a daily accountability group. So, you can check in with the daily accountability group and make sure you actually ship and build things, which is what we're all about, taking action, right? Also, you can see inside this section, we have a sixweek course, and it takes you from beginner to expert in just five weeks. Plus, it teaches you how to build your first AI agent in 5 minutes. If you want
Segment 3 (10:00 - 11:00)
to check out how I create AI avatar videos, you can see inside the AI profitable boardroom how we do this. On top of that, inside the classroom here, you can check out the training we have on place and workflows, how to get clients for your AI automation agency, how to automate AI SEO, plus our six week road map on how to automate your YouTube channel with AI. Top of that, we have loads of coaching calls. You get four coaching calls per week where you can jump on a call live with an expert, an AI automation expert, get help, get support and personal items advice for your business. Plus, you get to meet the community. And if you can't make the coaching calls, no problem. You can actually watch them back inside this section right here. Now, Flavin is also asking for anti-gravity, like how to get it to accept itself, right? So, how do I just get it running in the background like this? So, the way that you want to do that is you go to your settings, anti-gravity like this, and then you're going to go down to the automation section, right? If you have a look inside the automation section, you'll see, for example, you can click on auto continue, which allows it to just automatically continue with stuff. And then also, you can see here that you can, for example, like auto open edited files or for example allow terminal commands or you can get it to run automatically in the background. The same for example for browser. So you can enable browser tools and you can autoall allow this browser URL allow list as well. And then you've got the editor as well where you can just autoallow stuff. So that's basically how I do it. Usually what it will do is inside the chat when you're first using it, it will ask you like do you want to allow once or this automatically every time? And so you can switch between those and just allow it to automatically accept changes. And that's what I did for this example. So thanks for watching. Appreciate it. See you on the next one. Cheers.