🔗 Join our WhatsApp Community
Get the latest AI updates, tips, and insights straight to your inbox:
https://join.switchit.app/YT2
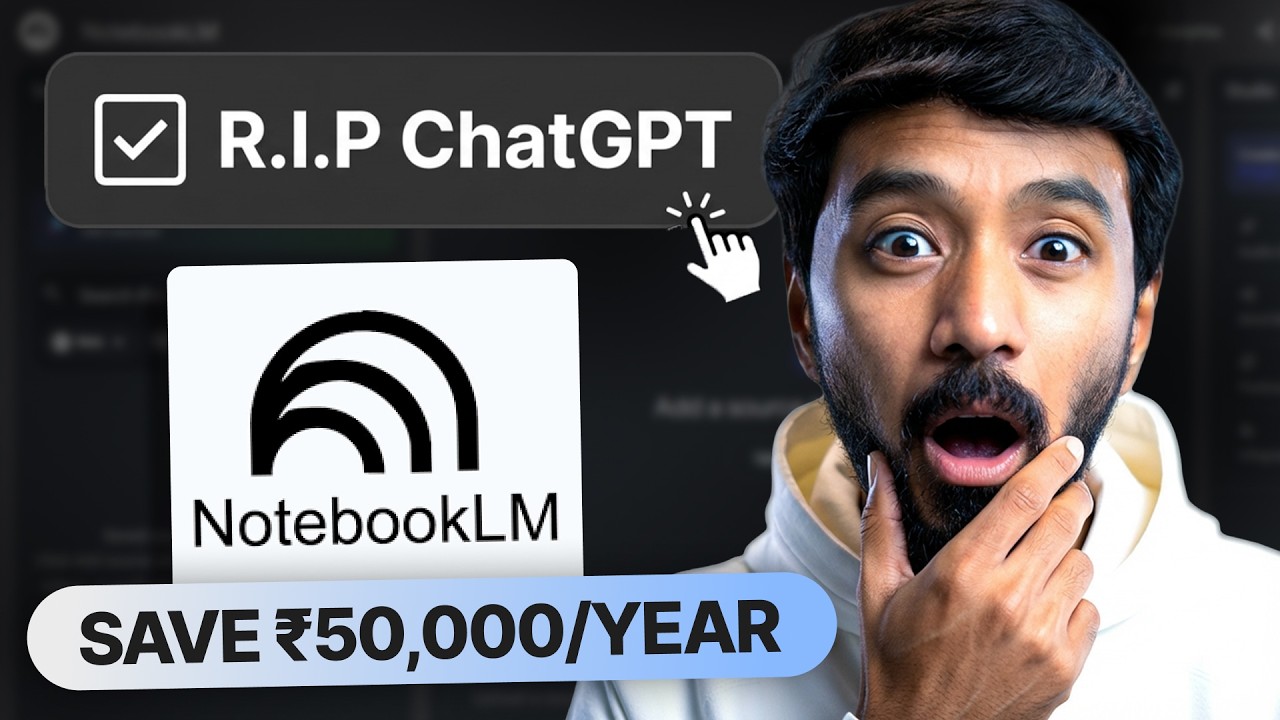
This free Google tool just replaced Gamma for presentations and Canva for infographics. I'll show you exactly how.
NotebookLM now creates custom infographics and slide decks but everyone's outputs look identical. Same colors. Same layouts. Same template energy. In this tutorial, I'll show you the Gemini trick that lets you steal ANY visual style from the internet, plus two new features that just shipped: brand guidelines (skip Gemini entirely) and single-slide revisions (fix one slide without regenerating everything).
NotebookLM (free): https://notebooklm.google.com
Gemini (free): https://gemini.google.com
--------
To Know More,
Follow Vaibhav Sisinty On ⤵︎
Instagram @VaibhavSisinty
https://www.instagram.com/vaibhavsisinty
Twitter @VaibhavSisinty
https://twitter.com/VaibhavSisinty
Facebook @VaibhavSisinty
https://www.facebook.com/vaibhavsisinty/
LinkedIn - Vaibhav Sisinty
https://www.linkedin.com/in/vaibhavsisinty
Оглавление (3 сегментов)
Segment 1 (00:00 - 05:00)
Every Notebook LM presentation looks the same. Same colors, same layout, AI template energy. I scaled Uber across three continents, raised 5 million from Sequoia. Today, my team teaches AI to millions of people across 150 countries, and we ship presentations every single week. Investor decks, workshop slides, client pitches. When we tried Notebook LM, the content was spoton. But the design, I'd be embarrassed to put it in front of anyone that matters. Then I found a fix. uses Gemini completely free. Custom brand, custom style every time. Plus, Google just dropped three new features that turn notebook LM into an actual presentation pipeline. I'll show you everything step by step. Let's build one. Quick thing, I dropped the exact prompts we're using today in my WhatsApp community. Links in the description. So, first, why Notebook LM specifically? Why not just ask chat GPT or Gemini to make a presentation? When you use Notebook LM, everything it generates comes strictly from the sources you give it. Your PDFs, your videos, your documents, or sources it finds for you through deep research. It doesn't pull from its general training data. It doesn't wander off topic. The content stays accurate to what you gave it. that matters. When you're building something for a client or creating educational content or putting together a deck for your boss, you need the AI to stay inside the lines. Here's the trade-off nobody warned me about though. The content is solid, but the design completely random. Notebook LM picks whatever colors and layout it feels like and you get what you get. For a quick personal reference, sure, fine. For anything that needs to look intentional, you need more control. And that's exactly what I'm going to give you. Let me start with the default workflow so you can see what most people do. Then we'll break out of it. For this demo, I'm actually using a previous Notebook LM video as my source. So you're seeing the tool work on real content, not some test file I made up. Inside notebook LM, you've got the studio panel on the right. You'll see options audio overview, infographic, slide deck. These are your output formats. Click infographic and you get three detail levels. Concise, standard, detailed. Quick tip here. Skip detailed unless you specifically need a wall of text. The infographic gets so crowded it defeats the purpose of being visual in the first place. Standard is the sweet spot. Click generate. Wait maybe 30 seconds and you get this. It's functional. The hierarchy makes sense. But if I put this next to 10 other notebook element infographics, they'd all look like they came from the same factory. Now, here's what most people miss completely. See this pencil icon? Click it before you generate and there's a text field where you can write custom instructions. The feature exists. The problem is nobody knows what to actually put there. That's where this gets interesting. Here's the workflow that changed everything for me. Step one, open Google images. Search for an infographic style you actually like. Something like learning infographic design or corporate infographic template. Whatever matches your use case. I'm looking for a specific aesthetic. This one flat vector style, clean lines, limited color palette, professional without being boring. And it doesn't matter that it's about a completely different topic. We only need the visual style, not the content. Save that image. Step two, open Gemini. The free version works perfectly for this. No subscription required. Upload your reference image and use this prompt. I have uploaded an image. Describe the visual features in detail so that I can get a prompt to replicate this exact style in another tool. Watch what Gemini does. It breaks down every detail about this image. The illustration style, the color palette, typography, layout structure. Mine says corporate Memphis style, flat vector illustration, monoline outlines, cream background with cyan, magenta, and black accents. That description is your golden ticket. Step three, copy that entire description. Go back to Notebook LM, click the customize button, paste it all in, generate. Look at that. Same source material, same tool, but the color palette matches what I chose. The illustration style is what I wanted. The visual language actually feels intentional. I want you to see these side by side. Left is what Notebook LM gave me by default. Right is the same content with the Gemini style prompt. Which one would you put in front of a client? See the difference? Most people will never know this exists. I find workflows like this every single week. Hidden stuff buried inside tools you are already using. If that's already saving you time, you know what to do. Now let's do the same thing for slide
Segment 2 (05:00 - 10:00)
decks because presentations are where this workflow becomes genuinely powerful. Slide decks work similarly. Click generate and you get a full presentation from your sources. But the customization goes further because presentations have more moving parts. Two modes. Presenter slides give you cleaner slides with less text. Good for presenting live. Detailed deck includes everything someone would need to understand the slides on their own. Pick based on how this deck is getting used. Same workflow. Google images. I'm searching for a deck style I want to replicate. Let's go with this one. Olive green and gold tones. Chevron arrow graphics. Clean visual hierarchy. Very different from the default notebook LM look. Save. Upload to Gemini. I'm tweaking the prompt slightly this time. Explain this presentation slide design in detail. the layout, color palette, typography, and visual elements so I can recreate this style for a different topic. Gemini gives me the full breakdown. Gold and mustard tones, olive green accents, chevron arrow progression. Now, here's where slide decks let you do something infographics can't. When you paste that style description in, you can add a second layer of instructions about your target audience. And this actually changes how the content is written, not just how it looks. I'm adding this at the end. The audience are AI enthusiasts who are trying to learn how to use AI in practical situations. Keep explanations beginner friendly. And there it is. The Chevron design language came through. The color palette matches. But what's really happening here is the content depth has been calibrated for beginners because I told it who was reading this. The flow actually makes sense. It's not dumping information. There's a progression from concept to application. And because it's working from my uploaded sources, the content is accurate. I'll be real with you. This is better than what most people create manually in PowerPoint. And it took about 4 minutes. All right. Beautiful custom deck. One problem left. Every single slide has notebook LM stamped at the bottom. I get why Google does it. Free tool. They want attribution. But if this is going to a client or into a professional presentation, that watermark has to go. The obvious move is Canva. Import the PDF. Use Magic Eraser. Done in 10 seconds per slide. One problem. Magic Eraser requires Canva Pro. Another paid subscription. If you already have it, great. Use it. But I wanted a way that cost nothing. Here's the workaround. The reason the watermark is hard to remove from a PDF is because PDFs flatten everything into images. You can't just click and delete an element. But if we convert that PDF into an editable PowerPoint file, suddenly every element becomes selectable. Search for any free PDF to PPT converter. I'm using AIPT, but there are dozens. Pick whichever one you trust. Upload your notebook LM PDF. Convert it. Download the PowerPoint file. Now open Google Slides file. Import Slides. Upload that converted file. The images might compress slightly. For most situations, you won't notice. And here's the moment. Click on that watermark at the bottom of any slide. It's just a text box. Delete. Gone. Move to the next slide. Repeat. Two minutes and your entire deck is clean. No subscription. No workaround fees. Completely free. All right. Now, here's where Notebook LM gets really interesting. Google dropped a bunch of new features recently, and I want to walk you through each one step by step. Let's start with deep research because this one changes how you even begin a project. Here's the thing. Normally, when you want to build a presentation on a topic, you'd spend hours reading articles, saving links, copying quotes, right? Tabs everywhere, brain fried before you even start designing. Notebook LM now does that entire research phase for you. When you create a new notebook, you'll see this search bar at the top. Two options, fast research and deep research. Fast research is a quick scan, grabs some links, lets you pick which ones to import. Good when you already know the topic. Deep research is the one that blew my mind. Here's exactly how to use it. Step one, type your topic into the search bar. I'm researching Open Claw, this AI agent that's been going viral, but this works for anything. Marketing strategies, competitor analysis, whatever you need. Step two, click the dropown, select deep research, hit the plus icon. Now watch. It starts planning a research strategy, what to search for, which sources to prioritize. This looks scary, but it's doing all the heavy lifting. You just wait. Mine took about 6 minutes. You can keep working in another tab. And when it's done, look at that. 48 sources, websites, GitHub repos, Reddit threads, research papers, all scraped, all organized, all ready to
Segment 3 (10:00 - 14:00)
import. I didn't open a single tab. Notebook LM did an entire afternoon of research in six minutes. Click import. All those sources appear in your left panel. If any fail to load, hit remove all failed sources. Keep the good ones. And once those sources are loaded, everything else, infographics, slide decks, data tables, all of it pulls from this research. The foundation is solid before you create anything. Sound good? Remember I said hold that thought? This is what I was talking about. Google just dropped two features at the same time and together they're a gamecher. Before this update, if you generated a slide deck and one slide was off, too dense, wrong image, bad layout. Your only option was to regenerate the entire deck. Now you can revise individual slides without touching the rest. Let me show you exactly how. Step one, open your slide deck. Find the one that's not working. Step two, see this icon in the top right? That's the revise button. Click it. A text box appears at the bottom. Step three, type what you want changed. Be specific. This slide is way too dense. Break it into a simple three-step bullet list. Keep the tone professional but easy to understand. You can revise multiple slides in one go. Click revise on each slide that needs work. Write your instructions. They all queue up under pending changes. Step four. Click generate new deck. Notebook LM creates a new version with your changes and your original still there untouched. Every version is saved separately. Same content, but now it's actually readable. Now, once your deck is polished, here's the part that changes everything. Click the three dots in the top right. You now see two options. Download as PDF or download as PowerPoint. Click PowerPoint. The PPPX file downloads to your computer. Done. If you want to edit further, open Google Slides, blank presentation file, import slides, upload the PPTX, select all, import. Your slides are now fully inside Google Slides. That's a complete presentation pipeline. No more PDF converter workarounds and Google Slides direct export is coming next. The team confirmed it's in development. Last new feature and this one is sneaky powerful data tables new output type in the studio panel right next to audio overview slide deck and infographic. Here's what it does in plain English. You give notebook LM any messy collection of sources and it pulls out structured data into clean rows and columns like a spreadsheet automatically. Step one, your notebook needs sources, PDFs, articles, YouTube videos, anything from deep research. Step two, in the studio panel, click data table. Step three, tell it what you want. Be specific. Something like create a comparison table of all AI tools mentioned, columns, tool name, pricing, key features, best use case, or for meeting notes, turn these transcripts into action items, columns, task, owner, priority, deadline. Step four, once the table generates, export it directly to Google Sheets. One click, now you've got data you can sort, filter, share with your team. plug into reports. This is what makes Notebook LM different from just chatting with an AI. It's not just answering questions. It's creating structured outputs you can actually use. Tables you hand to a colleague, decks you present to a client, infographics you post on social, all grounded in your actual sources. If you want to keep learning stuff like this, I picked the best video for you to watch next. It's right here. And remember, all the prompts from today are already in the WhatsApp community link below. I break down a new AI tool like this every single week. Subscribe so you don't miss the next one.