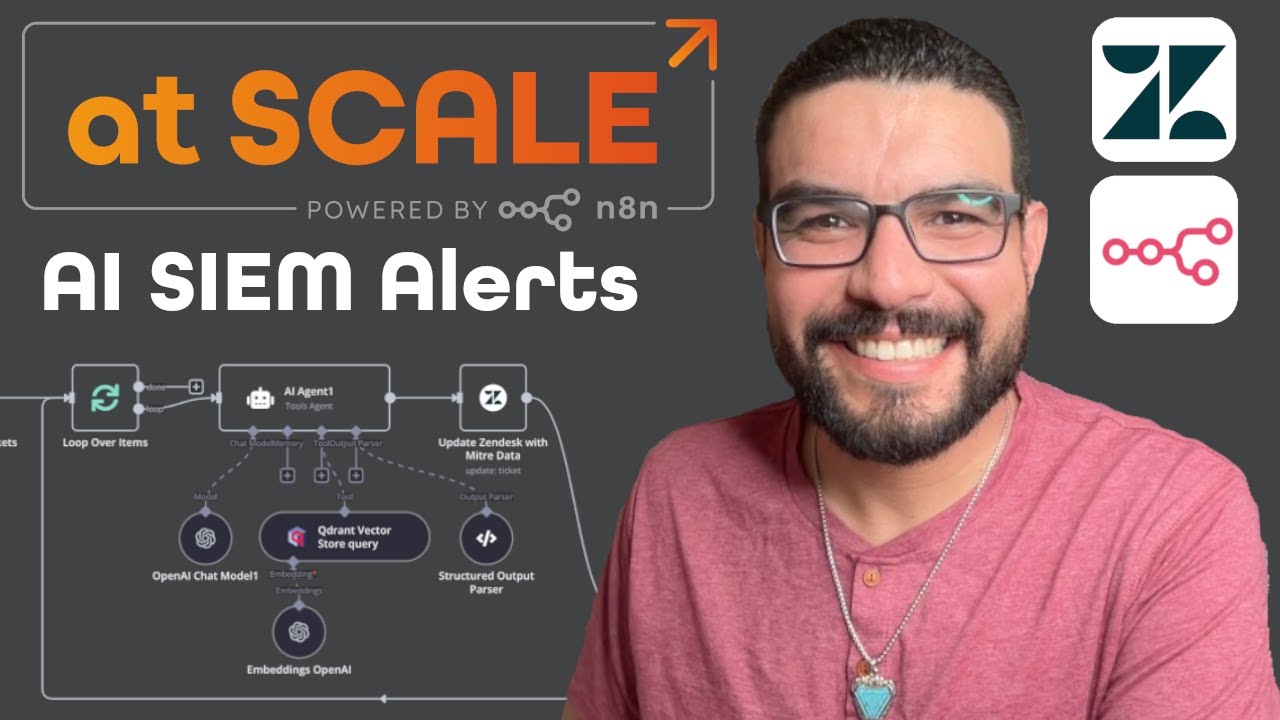
Deploying MITRE ATT&CK in Qdrant: AI-Powered SIEM Alert Enrichment with n8n & Zendesk
Machine-readable: Markdown · JSON API · Site index
Описание видео
🚀 Want to supercharge your cybersecurity workflow? In this video, I’ll walk you through how to embed MITRE ATT&CK in a Qdrant vector store, use an n8n chatbot to process SIEM alerts, and enrich tickets in Zendesk for more effective threat response.
🔹 What You’ll Learn in This Video:
✅ Step 1: How to embed MITRE ATT&CK into a Qdrant datastore to make security data searchable.
✅ Step 2: How to use an n8n chatbot to process SIEM alerts and extract actionable insights.
✅ Step 3: How to enrich Zendesk tickets with MITRE ATT&CK context, allowing security teams to respond faster.
✅ Bonus: How this automation helps small security teams get clarity on raw alerts and streamline investigations.
🔹 Why This Matters:
Cybersecurity teams often get overwhelmed by raw SIEM alerts that lack context. By embedding MITRE ATT&CK in Qdrant, we can provide AI-powered insights, group attack patterns, and suggest remediation steps. This integration with n8n and Zendesk ensures that every security ticket comes with actionable intelligence—saving time and improving threat response.
🎯 Ideal for:
✔ Security analysts looking to automate their workflow
✔ SOC teams that want better SIEM alert context
✔ n8n users who want to integrate AI-powered security workflows
✔ Anyone interested in vector databases, MITRE ATT&CK, and automation
🔹 Resources & Code:
📌 Link to Workflow Template: https://n8n.io/workflows/2840-automate-siem-alert-enrichment-with-mitre-attandck-qdrant-and-zendesk-in-n8n/
📌 Relevant MITRE ATT&CK Documentation: https://attack.mitre.org/
📌 Qdrant Documentation: https://qdrant.tech/documentation/
Want to connect? Find me on social media and reach out to me directly:
- LinkedIn: https://www.linkedin.com/in/angelgmenendez/
- X: https://x.com/djangelic
💬 Have questions? Drop them in the comments! Let’s build better cybersecurity workflows together. 🔥
![n8n Quick Start Tutorial: Build Your First Workflow [2025]](/thumbnail/4cQWJViybAQ.jpg)
![One Click Connect n8n to AI Tools [Instance Level MCP]](/thumbnail/JihC9nR_DqQ.jpg)
![Building AI Agents: Chat Trigger, Memory, and System/User Messages Explained [Part 1]](/thumbnail/yzvLfHb0nqE.jpg)