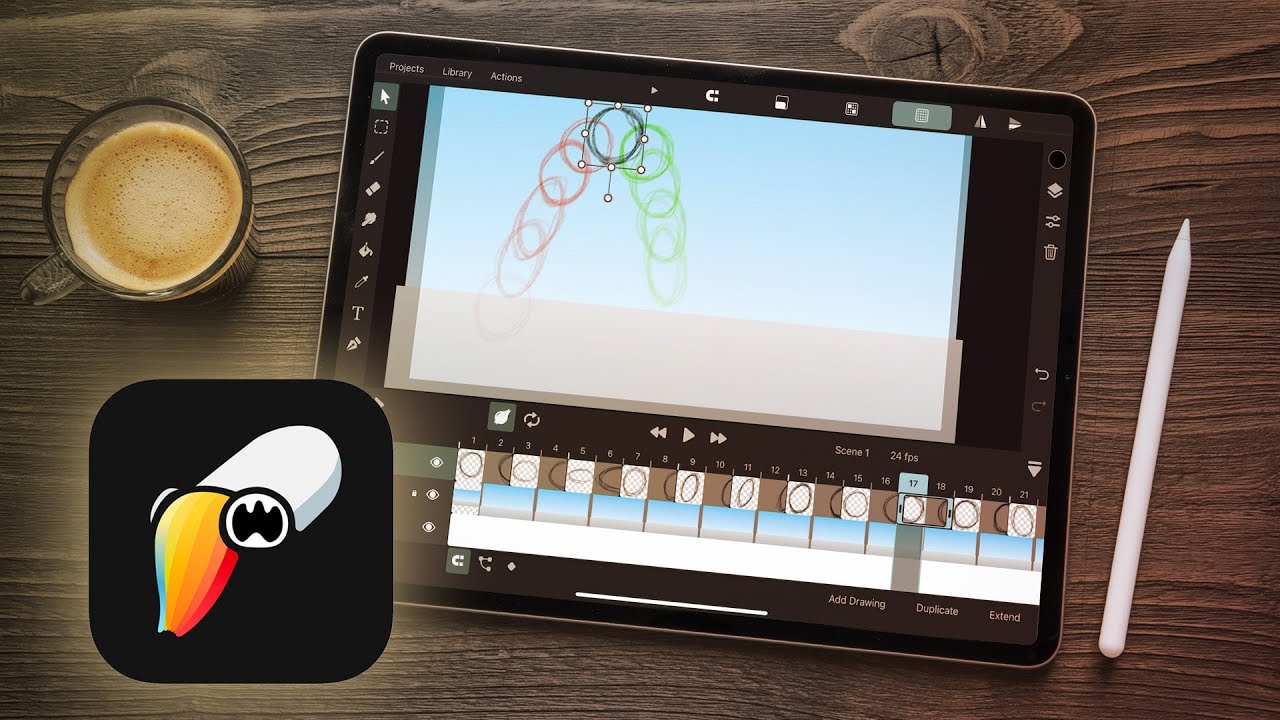
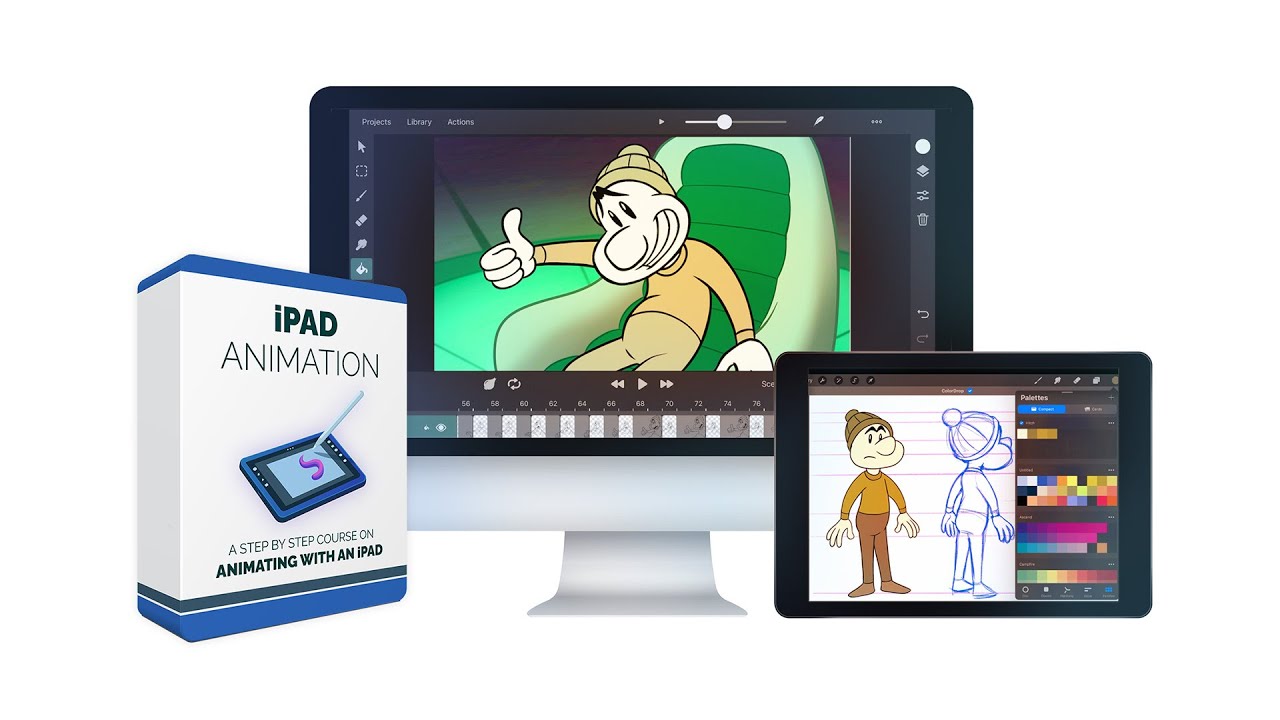
ToonSquid Animation Demo | Tutorial | iPad Animation
Machine-readable: Markdown · JSON API · Site index
Описание видео
Get the course: https://www.bloopanimation.com/ipad-animation/
Website: http://www.bloopanimation.com/
Facebook: https://www.facebook.com/bloopanimation
------------------------------------------------------------------------------------------------
Bloop Animation is an animation learning platform focused on animation filmmaking.
We make:
Video tutorials, awesome articles/interviews and guides, how to make an animated movie (a complete step by step series), books, courses, short films and more.
Don't forget to subscribe if you liked this video!
http://www.youtube.com/subscription_center?add_user=bloopanimation