How To Record Your Screen For Free In 2025
7:00

How To Record Your Screen For Free In 2025

Teacher's Tech 09.09.2025 3 757 просмотров 157 лайков обн. 18.02.2026
Поделиться Telegram VK Бот
Транскрипт Скачать .md
Анализ с AI
Описание видео
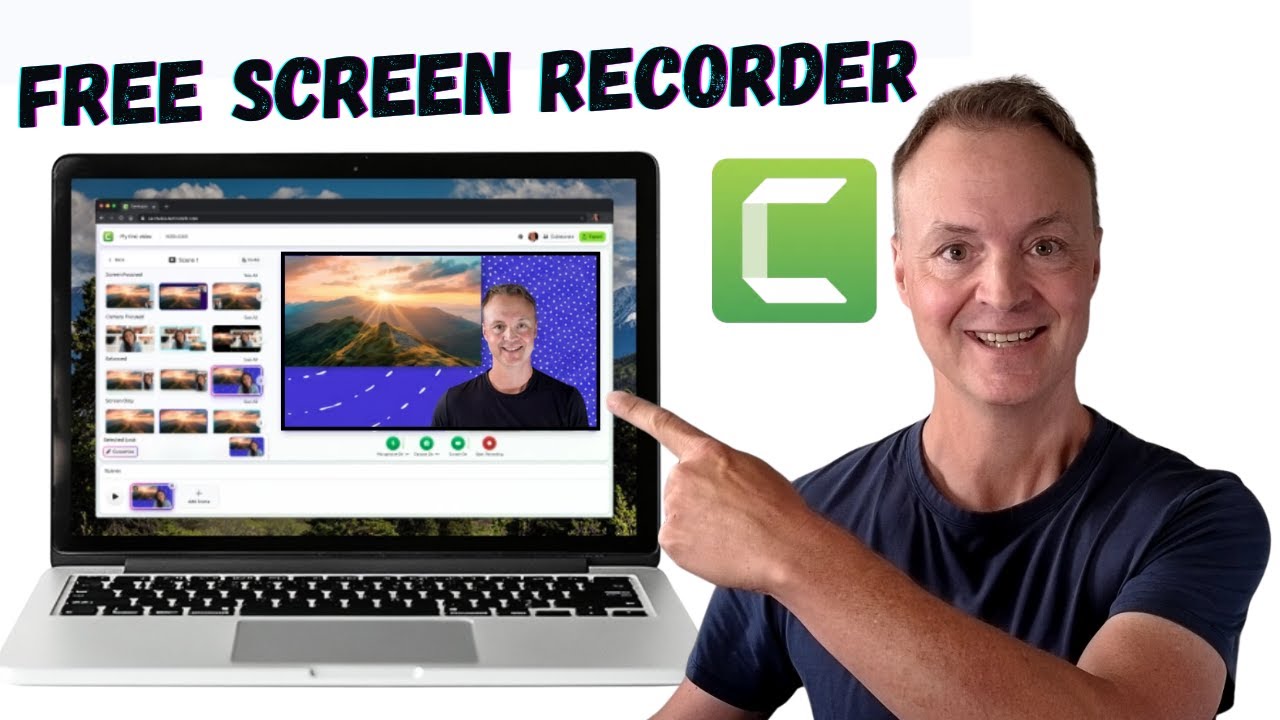
Are you looking for a free and easy way to record your screen without any annoying watermarks? In this step-by-step tutorial, I'll show you everything you need to know about the completely free Camtasia online screen recorder. ▶ Try the Camtasia Free Recorder here: https://camtasia.techsmith.com/ ✨ GET 10% OFF THE FULL CAMTASIA VERSION ✨ Use my coupon code TEACHCAM10 to save 10% when you upgrade! ➡️ Camtasia Purchase (10% OFF code applied): https://techsmith.z6rjha.net/c/1264585/701976/5161 ➡️ Camtasia EDU Version (10% OFF with code applied): https://techsmith.z6rjha.net/c/1264585/704928/5161 This video is the perfect guide for creating quick video presentations, software demos, and tutorials directly from your browser. We'll cover how to get started, how to record your screen and camera, and even look at the powerful collaborative editing feature that lets you work on projects with your team. TIMESTAMPS: 0:00 - Intro to the Free Camtasia Recorder 0:35 - Getting Started (No Installation Needed) 0:50 - How to Record Your Screen, Camera, and Microphone 3:56 - Using the Online Editor & Collaborative Features Let me know in the comments if you've tried the Camtasia recorder and what you think of it! #Camtasia #ScreenRecorder #TechTutorial #FreeSoftware DISCLAIMER: This video and description contains affiliate links, which means that if you click on one of the product links and end up purchasing it, I’ll receive a small commission. This helps support the channel and allows us to continue to make videos like this. Thank you for the support!

Оглавление (4 сегментов)

  1. 0:00 Intro to the Free Camtasia Recorder 118 сл.
  2. 0:35 Getting Started (No Installation Needed) 60 сл.
  3. 0:50 How to Record Your Screen, Camera, and Microphone 668 сл.
  4. 3:56 Using the Online Editor & Collaborative Features 619 сл.
0:00

Intro to the Free Camtasia Recorder

Looking for a free and easy way to  record your screen? In this tutorial,   I'll show you how to use the completely free  version of Camtasia's online screen recorder.    We'll cover everything from getting started to  the best features like collaborative editing. Hey everyone and welcome to the channel. Today  I'm going to show you how to use a fantastic   free tool for screen recording, the Camtasia  free online screen recorder. That's right,   it's completely free. There's no watermark on  your videos and you don't even need a credit   card to get started. This is perfect for  creating quick tutorials, presentations,   or video messages. Let's dive in. First thing,  head over to camtasia. texsmith. com. I'll put the
0:35

Getting Started (No Installation Needed)

link down in the description so you can just click  on it. At this point, you do need to create an   account for this. You won't have to install any  software, but just go ahead, click sign in. You   can see how quickly you can get signed up. Here  we are all logged in. You can see how easy the
0:50

How to Record Your Screen, Camera, and Microphone

interface is to use. we can just start clicking on  things. I want to point out I do use Camtasia to   make all my YouTube videos. I don't use this  version. I have a paid for version that's an   installed app on my computer. I'll put the link  down below if you want to learn more about that.    Now, let's go ahead and just start clicking on  this first one, screen and camera, where we're   going to record myself and the screen. Let's pick  screen and camera. Now, when we go and do this,   it's asking first of all, what do I want to share?   Is it a Chrome tab? So, I have Gemini open here.    Maybe I was doing a tutorial on Gemini. I could  select this and it will record that screen. I   have all these different windows open here.   I have Microsoft Excel open here. So, I could   just make sure it focuses on that. Or I could  do the entire screen. I have dual monitor. So,   this is my left monitor. This is my right. If I  was going to do Chrome tab and I want to make sure   that there was sound captured, make sure you have  this turned on here. If I go back to window, I'm   going to make this on Microsoft Excel. I'm going  to click share. You'll see right away that it goes   to this default. I've been using it before, so  it might remember some of my previous settings,   but it's super easy to change. So, if I go look  at the screen focus, as I click on different ones,   you'll see that I go in different places. So, if  I go here, the Excel goes small. If I switch it,   you can see how fast I can make these changes to  any of these. So you can get kind of everything   set up the way you would like. You can also  go to customize. So if I go to customize here,   we can change variations. So if I click on  it, if I want to go on the different side,   it will be variations of the one that I chose. We  have different effects that we can add. Uh you can   see as I quickly click on different effects, if  I click off of them again, it turns them off. So   just remember if you click it on, click it again  to turn it off. And we have different backgrounds   that we can choose from. And you can see how  it goes. Everything's just a quick click. Now,   I want to point out we can turn our microphone  camera on and off here. We can select our   different cameras. We can select our different  microphones. I can turn the screen sharing on   and off. I haven't started recording yet. The  other thing I want to point out, this is where   you're going to name your project up here. So, if  I just call this test, you can see this is 1080p.    Let's go ahead and record a scene here. I'm going  to go just click recording. You'll see that it's   going to countd down 5 4 3 2 1 and I'm going to go  over to Microsoft Excel here and I'm just going to   click on a few things. I'll type a few numbers  on here. Uh down below we can see stop sharing   uh on it. But if I click stop sharing and then it  goes back and I hop back over and we have it right   here. So, I'm going to hit play. Microsoft Excel  here. And I'm just going to I'm using a different   mic for that. So, it's not picking up as well  as this mic that I'm using. I have two different   mics being used on a few things. I'll type a few  numbers on here. Uh, now some other things you can   do with anything you record is if I didn't want  something at the beginning, I could go ahead and
3:56

Using the Online Editor & Collaborative Features

trim it. So, I can trim it from both sides and  I can just click done. So, you can if you have   those things at the beginning or the end that you  want to remove. A lot of times I always have some   uh silent ones that looking at the camera. Then  I can trim it back. Now you can go ahead and add   continuous scenes. So I could add another scene to  this. And what do I want? Well, maybe I just want   to talk for a while. I could just choose camera.   And as soon as the camera goes on, there I am.    You can see the background is still the same that  I had before, which would make sense to keep it   the same through. But you can go to customize  if you want to make any changes again. Uh you   can just quickly click on any of the different  ones and we have our different backgrounds here.    So everything's super easy to use. We just hit  start recording. Each segment is going to be   maximum 5 minutes long. But I find with even the  videos that I make, I only do I rarely go over 5   minutes in a chunk. I just put them all together  down below. You can quickly reorder any of these   by dragging them. And you can even click delete  to delete any of the scenes. If you're having   troubles with maybe you're connecting your mic or  you're having problems with your camera, do make   sure that your permissions are correct. So if you  go up to here, I'm going to click and notice that   I have everything turned on. By default, these  might be off. You just got to make sure that the   permission is given for your microphone, camera,  and sound. So make sure you check that if you're   having any problems. The other thing I want to  point out is the invite. This is another super e   easy thing. Do you want to collaborate with other  people? So, if I click invite, all I have to do   is put an email in and then they'll be able to  collaborate with me on the different scenes. So,   you can easily put this together a lot faster and  work together. Let's say you're all done. You can   go ahead and export and you can go to this export  video and it's going to be preparing the down   file. This is pretty quick. I'm doing a quick  run through so you can start playing with this   uh right away. My download is complete. Here it  is right here. If I click on it, I'll open it up   here. And I'm just going to click on a few things  and this is already saved on my computer. I know   not I know this one's not very uh professional.   Now, the last few things I want to point out with   this is that if I go back and click the C here,  it brings me back to my projects. I can see where   this is right here. I could go through, make an  edit. I can delete it. And I can go through and   start a new project. Now, that's the Camtasia free  screen recorder. Super easy to use. I really like   how you have the camera focused and you can just  quickly click on different options or go to the   screen focused and change it around and have their  backgrounds. Everything is super quick to use.    And that invite feature, that's great. I don't  see a lot of them with that feature. So, thanks   for watching this week on Teachers Tech. I'll see  you next time with more tech tips and tutorials.

Ещё от Teacher's Tech

Ctrl+V

Экстракт Знаний в Telegram

Транскрипты, идеи, методички — всё самое полезное из лучших YouTube-каналов.

Подписаться