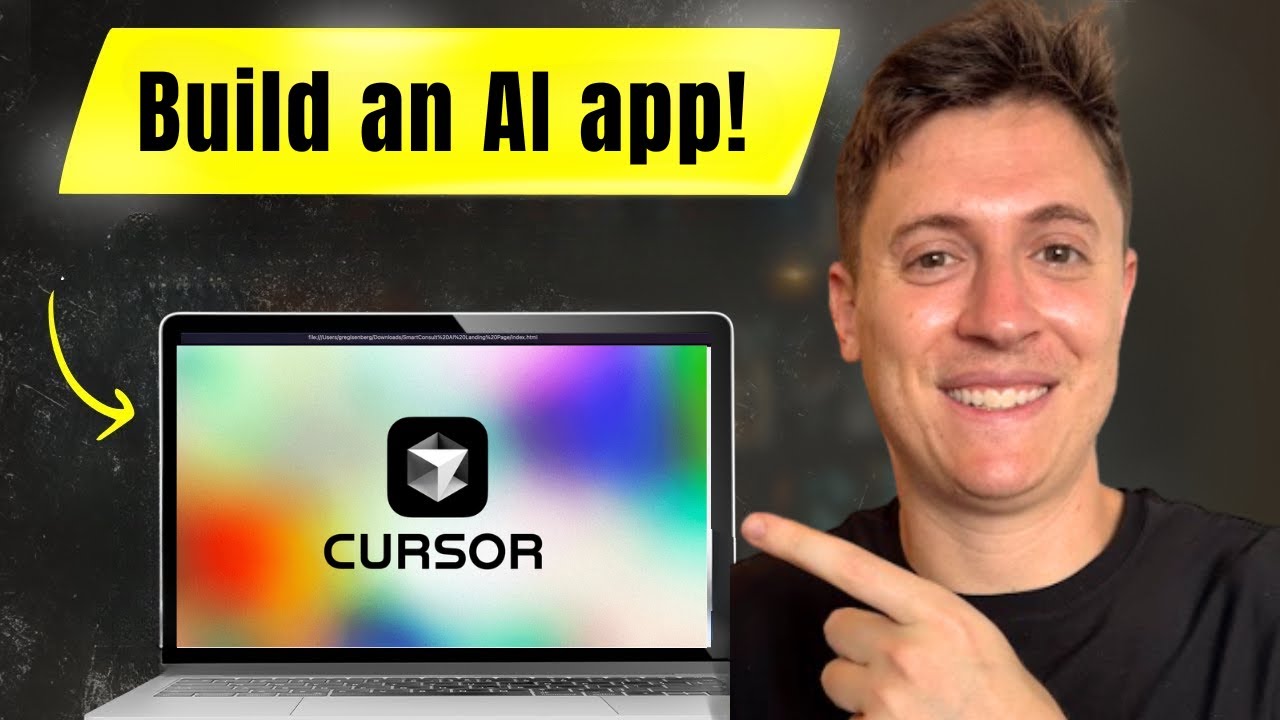
In this video I show you how to build and launch your first AI app using Cursor and Vercel. No programming experience required.
Follow my X: https://x.com/AlexFinnX
Sign up for my free newsletter: https://www.alexfinn.ai/subscribe
Tools you can use:
Cursor: https://www.cursor.com/
Vercel: https://vercel.com/
Prompts I use:
I want to build a fitness tracking app built on nextJS. I should be able to tell you what workout I did and for how long then an AI (OpenAI API) tells me how many calories I burnt. Let's build this out step by step, 1 step at a time please. Explain everything you do as you go along
Оглавление (4 сегментов)
Segment 1 (00:00 - 05:00)
In this video, I'm going to show you how to build and launch your first application using AI. No programming experience necessary. It doesn't matter if you've never written a line of code in your life. By the end of this video, if you stick with me all the way through, you'll have your first application live on the internet for anyone to use. Let's get into it. What I'm going to show you how to do today is build an entire AI fitness tracking app with Cursor like you see here using their AI agent to build out the entire application. We're not going to write any lines of code at all. This is completely beginner friendly. Again, no experience required and you'll be set up to build whatever apps you want after this. If you want to go and take the app we build in this video and start selling it, you can start making money right away. So, let's go. This is Cursor. This is by far the most powerful AI coding tool out there. You're going to want to go ahead and download this now. It's completely free. There's a free tier so you can get started just for this video. Go to cursor. com, hit download now. Really simple install. Pause the video right now. Go and do that so you can build this along with me. And then come back to the video real quick. Okay, welcome back. Let's get this started. Let's go back into cursor here. And what we're going to do is we're going to set up a new project. This is where we're going to start building our AI fitness tracking app. So just hit open project and then create a new folder we're going to start building inside of. So I created a new fitness tracker folder. This is where we're going to build out of. Just as a quick introduction to cursor, what you see here on the left is where all your coding files are going to be built out where they'll live. And over to the right is your AI agent. This is the mindblowing technology that is going to build out your application without writing any lines of code. So we're going to start building this out and I'm going to show you how to actually take this code and put it live on the internet. So you can start having other people use your app and even charge them if you want. So let's start building out the application. I'm going to give you the initial prompt and then I'm going to start giving you cool tips and tricks on getting the most out of Cursor. Okay, so here we go. I'm going to put this down below. So feel free to pause right now and copy the prompt from down below and put it into Cursor for yourself. I want to build a fitness tracking app built on Nex. js. I should be able to tell you what workout I did and for how long. Then an AI open AI API tells me how many calories I burnt. Let's build this out step by step, one step at a time. Please explain everything you do as you go along. So, there's a few really important things here. First of all, we're building this on Nex. js. This is the technology powering your application. This is a standard web technology most web apps are built on. So, you want to make sure you say that. We also mentioned AI. So, the Open AI API. This is the AI technology that's going to power our app and be able to do really cool things with the fitness tracker. Like, these are the apps that are selling big time now. So, it's cool to import AI into your app, and I'm going to show you how to do that, too. So, again, completely beginner friendly. I also say, let's do this step by step, one step at a time, please. And this is so that you can learn as you go, so the AI explains what it's doing as you go. So, make sure to copy that, put that into cursor. I'm using Claude for Sonnet. If you're on the free version, just use Claude 3. 5 or Claude 37, what whatever the latest Claude is. Claude's the best coding model out there. So, just choose that and you're good to go. And then we're going to hit enter on this. And our AI agent's going to go ahead and start building the application for us. So, hit enter. Okay. I'll help you start building a fitness tracking app with Nex. js. Step one, let's set up the workspace. So, it's going to start installing all the technology for us. Uh, what you see here is a terminal command. You can just hit run on that and it's going to install and set up the application for us, which is really awesome. So, it's installing all the dependencies, installing all the tech. So, TypeScript, Nex. js. Again, you don't need to know what all that is. Just know it's the tech powering our application. And you can see over on the left all the code files it's building out for us which is really sick. This AI agent just pumping out code. Excellent. I've successfully set up your fitness tracking app. Let me show you what was generated. So now it's going to show us all the code it wrote. It set up the next app. It set up TypeScript which is all the styling. It set up the router. And now we can run this and see the application. So I'm going to hit open terminal and run command. It's going to run that. You can see what server it's running on here. If you're on Mac, you just hold command then click there. And then let's see what we got here. I pull this open. Boom. A running web app. So it's our boilerplate code, right? All it says is Nex. js. But now we're going to start building out the actual fitness tracking application. Okay. So now it's going in and it's actually customizing the app for the fitness tracker. So it's going in and actually building out the core functionality. And if you watch the site live, you keep it over to the side, you can see it build out as we go. So we're like literally a minute in here. We now have a fit tracker AI powered calorie burn calculator. What workout did you do? how long did you do it? And we can start calculating the calories burned. And this is literally like a minute of work and we already have the application. What's mindblowing about this as the AI keeps working here is we just went from idea to application in like under 60 seconds. And so you need to train your mind as this AI works here that when ideas come to you, you just go to your computer and you start building.
Segment 2 (05:00 - 10:00)
You just start creating. You go to your AI agent and say, "Hey, hey, I have an idea. Please build this out for me. " That's the way you got to work now. Okay. So, the AI agent went in what I built for you. A beautiful modern fitness tracking interface with clean gradient background. Okay. Interactive features and the current functional. So, it looks like the AI functionality isn't in it yet. As in when I put in my exercise and AI is not going to calculate the calories for us yet, but we'll implement that in a second. I'll show you how to do it. If you stick with me here as I show you how to put the AI functionality in, like you'll be far ahead of like 99% of people. So, let's just test this out. Um, so I just went for a run for 60 minutes. Let's see. Calculate calories burned. Great workout, 131 calories. So, what you'll see here when we implement the AI functionality is an AI will actually take your workout, take how long you did it, and give you an actual estimate for how many calories you burned. So, there's going to be some cool functionality in here. So, this goes on, I'm not going to do this here, but as you do this on your side, feel free to pause right here and just read everything it does, right? read all the code it changed how it works and I'm not expecting you to understand how the code works but as you do this and the more you do it you'll learn more and more how the tech behind this works which is going to be really good for you so you can work even faster in the future so current status the app is working with placeholder data would you like me to proceed with step four integrating the open AI API yes let's do that so yes please proceed and the key here is we're just talking to the AI agent like it's a human being yes do this and it goes and it works for us just like it's our own employee, which is really, really cool. All right, let's proceed with step four, integrating the OpenAI API. All right, so we're going to click run on this, and it's going to install Open AI for us. I like using the Open AI API. There's a bunch of different APIs out there, Claude and Google and all that. I just think the Open AI API is the easiest to use. So, it's going to install that for us. And for those who don't know, all an API is a way for two pieces of software to communicate, right? So like our app, this piece of software is going to communicate with OpenAI which is going to do the calculations for us. That's all the API is just ways for software to communicate with each other. Okay. So now it's going to create an environment file where we can store our API key. We hit run on that. As you can see, it just created av. local file where we're going to put our API key and I'll explain all that in a second as well. Now let's create the route. So this is where the code's going to go that's going to communicate with OpenAI. I'm going to click run on that. Now it's writing all the code that's going to communicate with OpenAI. As you see, it's just done in a split second. Boom. All the communications done with OpenAI. Really sick. It's just amazing the power of what's available to anyone now. Anyone can just build these applications by themselves. It's really is mind-blowing to think about. All right. Quickly seeing what it built out. The OpenAI API integration's complete. All we're going to need to do is put our OpenAI API key here, which is going to be really simple. Follow along with me here. Let's do this. So, we're going to come back into our browser and we're going to go to openai. com/api. So, this is where you're going to be able to get your API key. You're going to want to log in here with your OpenAI account. Once you're logged in, you'll see this screen here. And all we're going to do is get our API key. So, if you click settings in the top right, then click API keys. You you'll be at your API key screen, and then you just click create new secret key. I'm going to call this one fitness. You can choose a project. I just choose my default project. And we'll create the secret key. And this will show you your API key. Once you do that, just click copy on that and paste it right here. So where it says open AI API key equals this, you just paste it right in. And if you're not seeing this and the AI didn't make this file for you, just rightclick and do a new file that's called. env. local. And that'll create the file for you. And then just put this in here and paste in your API. All right. Once you paste that in, just hit save and you should be good to go. So I reset the server. I'm coming back here. We're going to say swimming. we did that for 30 minutes. Let's calculate it. This should be sending it to the AI. Boom. 300 calories. So, it's not the placeholder anymore. Burn during your swimming session. That's amazing. So, now we can put it in here. It tells us how many calories we burned with our workout. That's amazing. I'm going to add one more feature. So, I'm going to show you how you can add features through this. And then I'm going to show you right after that how to put this code live on the internet. So, you can then send this out to anyone you want. have them use it, impress your friends, impress your family, and then even start making money if you want. All right, let's add one more feature in here in curs. And the reason why I'm doing this is I can show you how to go kind of back and forth with your agent to make new features, make your app better. We're going to add the ability to add a date and time to your workout, and then have it so it saves all your workout so you can see how many calories you've burned. We're going to add that real quick. Then I'm going to show you how to deploy this on the internet so you can start having your friends use it. All right, so I'm going to say this again. I'm just talking to AI like it's an employee. Let's add one more feature. Let's make it so you can enter in a date for the workout. Then when you run the analysis, it saves the workout locally and you can see your past workouts. Hit enter. The AI agent gets the work. They're going to add this functionality in and in a second we're going to have this live on
Segment 3 (10:00 - 15:00)
the internet live. So, it's building out all the code for us. Again, I'd highly recommend going through as it goes and just reading it all through just to see how it's working so you can learn how the app works. All right, looks like it's all built out. Let's pull this over here and let's refresh this. Okay, so now we have the new workout date field here. All right, so let's say lifting leg day. I just had a leg day right before this. So let's see how this goes. I went for 60 minutes. It's today. Let's calculate it. 400 calories. Okay, that's actually pretty accurate. I had on my Apple watch. It did say 400 calories. Let's see. Show workout history. And you can see the workout history here. So you can see uh the total calories and the workouts log. So it's saving all our workouts here. So let's do another one. Let's see if this works. Swimming for 45 minutes on today. Calculate that. Boom. And then it's added to our history. So, two workouts logged, 800 total calories, and you can see it all here. That's really sick. That's a sweet app. Imagine you use this for your personal self. You track all your workouts, and you can see all your calories. I mean, like, yeah, Apple Health does this, but at the same time, when you start building apps for yourself and your day-to-day life and day day-to-day things you do, it's so much more satisfying to use when it's built by yourself rather than someone else. I really recommend this. If you're ever using apps dayto-day, like just go to AI, like I just showed you here, go in a cursor, and just build your own version of it in a couple minutes. You'll be so much more satisfied with everything you use during your day. So, let's do this. We got the app built out. Let's get this live on the internet so other people can start using it. So, you're going to want to come to github. com. For those who don't know, GitHub is where all your code is going to be stored. It's the biggest online repository of code in the world. It's the standard place to store your code when you're building applications and it connects with basically every technology on the planet. So, when I show you how to host this through Verscell in a second, it's going to connect to your GitHub so you can put this live. So, we're going to come in GitHub. Sign up if you haven't. Click new repository. I'm gonna call this fitness tracker. We're going to make this private. And I'm going to click create. And just like that, we will have our own repository here. Boom. Once you do that, you're going to get a URL right here. We're going to copy that URL. And then we're going to come in here and we're going to say, let's ship this code to GitHub. Here is the repository. Boom. Feel free to pause this. Take this right now. put this into your own cursor, putting in your link right there, and then you can hit enter, and it's going to walk us through putting this code online in GitHub, and I'm going to show you how you can get this live in a second. So, it's going to start running some git commands. You can just run, you just click run right there. We're going to run that, and it's going to start connecting to the GitHub repository we just created. So, it's going to add it to, you can see there is the URL we created. Hit run, and it's going to start adding all the files. So get add period adds all the files from our codebase. Then it's going to start committing it. So committing it gets it ready to push into our repository. So we hit run on that. And again, I'm not typing or doing anything here. The AI is doing everything for us, which is amazing. And then it pushes it to the origin main. So push is actually taking the code and putting it into our repository. So I hit run on that. We're going to hit allow right here. And then it's going to walk you through connecting to your GitHub. If you have any challenge with this, just pause here, take this, put it into GitHub. If you're not sure what to do at this point, just go back into the AI and say, "Hey, I'm kind of confused. What do I do here? " And it'll walk you through step by step how to do it. I'm going to copy and continue to GitHub. It opens up the site here. We click continue and I paste in that code it just gave me. And I'm going to authorize. Then I'm just going to authorize. And we are good to go. Okay, perfect. Now, let me commit and push this beautiful documentation. Kind of sounds like Trump there, but that's totally fine. Whatever. Big, beautiful documentation. Get that committed. And that gets committed as well and sent to our GitHub. Boom. So, if you come back to GitHub and you go to your repo, you'll see all the code there. Boom. All the code's there, the commit messages there that the AI wrote. Everything's good to go, which is pretty amazing. The AI did all this. Look, you can even see the read me. This is a pretty cool readme. Look at that. That's cool. It has all the instructions on how to use it. It looks nice with all the emojis. I love that the AI agent wrote this entire readme on how to use the app. That's pretty amazing. Now, let's put this live on the internet. It's time. online so people can start using it. Go to verscell. com. So, Verscell is one of the easiest ways to host websites on the internet. Connects with your GitHub, takes your code, puts it live on the internet. Go to vers pause here. Go to verscell. com. Sign up. Come back. Welcome back. All right, let's create a new project here. We're going to create a new project. We go in. We choose our repository, which we'll do fitness tracker. We might need to log in to get here to get this to work. So log in to get through here. Accept approve all the connections and everything and then choose your repo that you created. Once you're here, you're going to see your project you just created. Next. js detected Nex. js. One important thing you
Segment 4 (15:00 - 17:00)
need to make sure you do before we deploy here is we want to add the environment variable for OpenAI. So click environment variables, put in OpenAI API key just like it's in your project, and then paste in the actual API key here. Once you paste it in, just hit deploy and it's going to start deploying your code to the internet, which is really cool. Congratulations. You just deployed a new project, the Fin project. Let's go. Let's continue to the dashboard and see how this looks. All right, so deployment's on this website. You can see the website right here. We click it. The domain's right there. We click that and boom, live on the web. There it is. Our entire application's online. If I wanted to now take this domain, send it to whoever I want, I could do it. I could do that. That's amazing. I know obviously this is not a regularlooking domain but if you go now buy a domain whether it's on GoDaddy or whatever maybe by fitnesstracker. ai you can go back into Verscell and set that domain up through here so that it points through that domain and you can now send that domain out but for now you have a live app on the internet you can start giving to people giving to your friends giving to your family impressing them selling it whatever you want to do. If you wanted to gate your app so that you charge for people to use it, you can do that too. You just want to integrate Stripe, go back to your AI agent, say, "Hey, I want to charge to use this applica. I want to use Stripe. Walk me through how to do it. " The AI agent will walk you through how to do it, and you'll be good to go. You now in the course of what 10, 15 minutes, set up it, built your own application, launched it online, and now anyone can use it. You went from idea to live just like that. This is the mindset you need. You come up with ideas. You go to your AI agent. You build out. You launch it. Ship, ship. The more you ship, the closer you'll get to that winning idea. I hope this was helpful. Make sure to hit subscribe down below if you learned anything at all. Leave a like if you enjoyed the video. All I do is make incredible videos about building with AI. I'll see you in the next video. As this is building, if you learned anything at all so far, make sure to hit subscribe down below and leave a like. All I do is make incredible videos about