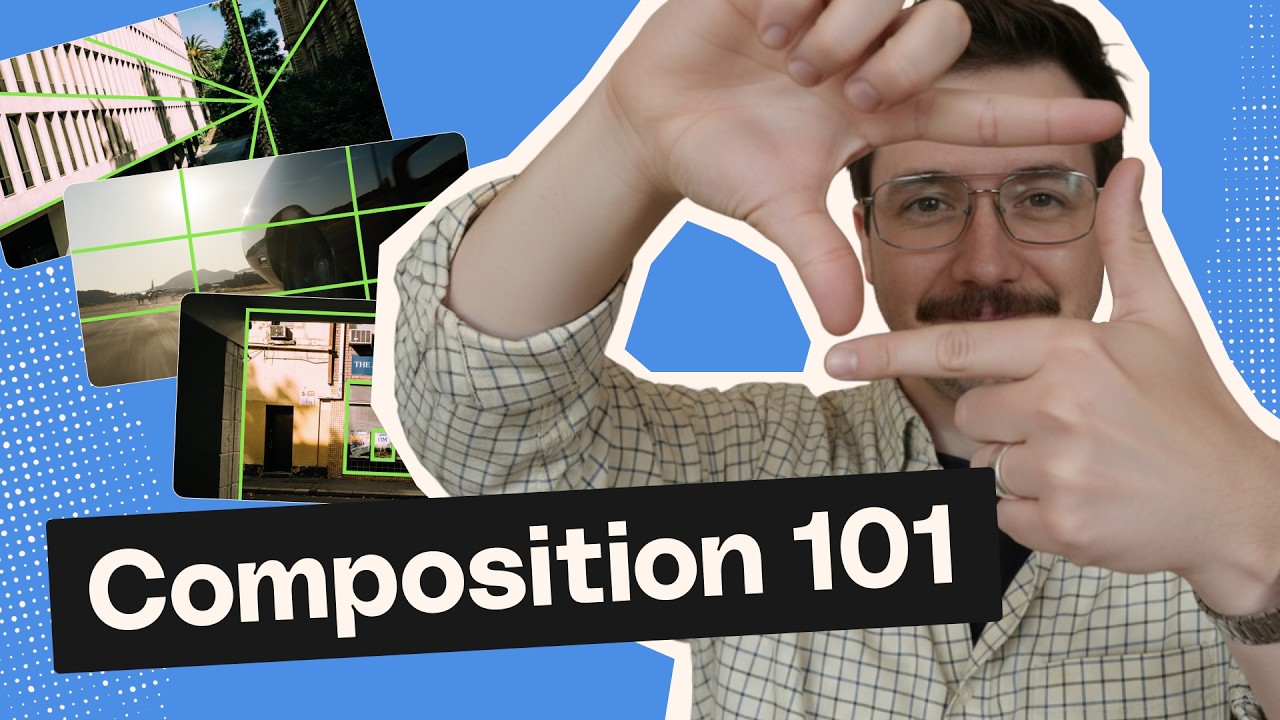
Do you ever feel like your videos are missing something even though you've spent countless hours in the edit? You've got the grade absolutely dialed in and you've shot it on the best camera that your money can buy. Well, rewind the tape, my friend. We've got to go back to basics. We're going to look at composition. So composition or the composure of your image has everything to do with the angle, the shot size, who's in your frame, where they are in your frame, and even sometimes why they're in your frame. Composure creates intrigue, drama, visual interest, and can help tell your story, and often works to guide the audience down the path that you're laying for them. So, let's take a look at a couple of the rules and a few bits of best practice when it comes to composing your shots. Let's bring in this guy, filmmaker and photographer Hayden Dib, to show you how to put it all into action. But first, onward. Now, what are the rules of composition and are they actually rules? Well, think of them more as guidelines, but for the sake of the argument, we'll call them rules because that's what other people call them. Now, the main ones that we'll cover in this course will be the rule of thirds, balance of your frame, the 180°ree rule, leading lines, or generally finding strengths in your location, and frames within a frame. Now, within these categories, there's plenty to talk about, and it wouldn't be much of a video about composition without showing some actual visual examples from the real world. So, that is where Hayden will come into play. I'm going to lay the groundwork back here. We'll talk about the rule, and then we'll go out with Hayden and see it in practice. and we might also throw some well-known examples in there as well. Sounds good? Okay, let's dive in. We'll kick things off with something I'm sure many of you have heard of before, and that is the rule of thirds. So, the rule of thirds is actually really straightforward and is something that you can employ on literally every single frame you compose from this moment on. The principle is that you split your frame into thirds, both horizontally and vertically, which gives you four points in your frame where the lines intersect. Frame up your point of interest on any one of those intersections and you've got yourself a shot that's composed using the rule of thirds. We'll talk more about how you can use the thirds of your frame when we look at balance as well, but for now, let's look at the rule of thirds in action. So, let's look at a couple of Hollywood examples for this one, and it'll give you a good idea of how standard the rule of thirds is across a wide range of frame sizes, shot types, aspect ratios, uh, story motivations, and more. And you'll now not be able to see any films without picturing this third grid. So sorry in advance. A lot of the time that you'll actually see that 2/3s of the shot have not a lot going on and that all of the points of interest within the shot are localized around these intersecting thirds points. The cinematographer is doing everything they can in this instance to draw your eye to the action. Now other times you'll see that the scene is rather cluttered and messy and by framing on the thirds we're being shown what to focus on and what to ignore. But you can see that the focal point is almost always on one of these intersections or at least very close to. And it doesn't have to be bang on the line either. So don't worry. You can kind of think of them more as like literal guidelines than a hard rule per se. It is a very quick, very simple, and easy technique to employ on your shots. And it's generally understood by any seasoned viewer, even at a subconscious level. If they don't even know what the rule of thirds is, they'll sort of know somewhere in the back of their brain that this is a desirable way of composing a shot. and you'll be able to draw their eye to the part of the image that you want them to be focusing on. There you go. Kicking things off with one of the most well-known, most simple, and most useful rules of composition. Now, speaking of useful, this video is brought to you by Invado, the unlimited creative subscription. The broadest range of categories, everything that you need to make great videos. Follow the link in the description and start creating now. Let's talk about balance. Now, if you cram all of your points of interest from your shot over to one side of the frame and then leave, say, another blank wall on that side of the frame, things are going to look pretty whack and offkilter. So, it's important to balance your frame out with something from the location to even things out. Now, here is a hot tip. It doesn't always mean that you need to move something into frame. It might actually mean moving the camera. So, explore your location that you're shooting with through the lens and see what starts to stand out once you've got it confined to that frame. It's amazing what changes once you have that constraint around it. — From a composition standpoint, especially when you're shooting street photography or if you're filming, um movement, like moving your body is the best tool for composition, for balance, for getting a shot that maybe you couldn't get if you were standing a little bit further back. But by moving into the shot, getting a little bit more uncomfortable, getting up close and personal, uh whether it's shooting videos, street photography, taking portraits, you'll find that you're always going to end up with a more exciting and interesting shot than if you just stood back and took a photo. So, move your body, get close, and get weird. This brick wall here is
Segment 2 (05:00 - 10:00)
actually re it's a really nice part of Melbourne, and the trees sticking out the top are great. If we take this shot from here, it's cool, but I think there's something more interesting we can do. So, we're going to just take four or five steps this way, and we're going to see what it looks like from the corner, and we're going to use this alleyway as a way of balancing out this image. — Perspective is everything. move closer, move further back, and you'll see things differently. — So, this is a pretty typical little interview setup for my work. I work a lot with people in the hospitality industry, and that means we're often finding setups in live locations such as restaurants and cafes that are open to the public, where you can't control a location. It's good to be quick on your feet when a location isn't ideal. For this interview, we had to keep a small footprint within this building. So, I opted for having our interviewee standing versus sitting. We were lucky to have this huge diffused window, which meant I could use that as my main key light. And the rest of the practical lamps in the background served as a bit of an edge light and a point of difference. So, that meant we didn't have to put up any lights at all. This particular interview is going to be intercut with another interview I'd captured earlier in the day. In the first interview, I had the subject framed off to the left looking across the camera right. So, I wanted to do the opposite for this interview so it would feel balanced in the edit. It's important to think about the edit while you're shooting so you can keep balance between your interview shots and your B-roll footage. In terms of the location, this converted warehouse space had a range of colors and textures and importantly leading lines. I'm looking at all of this when I position my subject in the frame. You just don't want anything to feel crowded in one spot or too empty in another. We'll cover the concept of leading lines in detail later in this course, but you can see from this example, the raised walkway to the left leads down the frame, drawing our eye to his face, which is a focal point. It might be a quick and simple interview setup, but by following a few of these key composition rules, you can come up with a pretty interesting and well- balanced image in pretty much any location. So, that is, of course, looking at a very standard way of balancing your frame and in a setting that really calls for some standard framing, a master interview. Now, there are, of course, plenty of examples of interviews that have been shot in unbalanced ways and not a standard crossframe eyline on the thirds. You could try centerframed looking directly at a camera like I am now or a center frame looking slightly left or slightly right of the camera if you need to hold eyline with your director for some reason like an interview. Or you can try an off-kilter wide shot ultra headroom framed on the bottom thirds. Or if you really want to go with something experimental, you can try framing on the left third looking left or right thirds looking right. That's called shortsighting. And a really famous example of shortsighting can be seen in the series Mr. Robot, which from the very first shot explores visually interesting ways to display the story. And in literally the second shot of the series offers up this very unconventional, dare I say it, rulebreaking frame. You've got to know the rules to be able to break the rules. Now, one more thing about balance before we move on. Typically, when you describe anything as being balanced in other fields, you'd think even, equal, equal waiting on either side, symmetrical, even. But when it comes to the visual image, that isn't always the case. See, symmetry is often quite rare in real life. Faces, something that we photograph all the time, might seem symmetrical, but they're not. Locations, unless really meaningfully designed that way, aren't symmetrical. So, balancing your frame does not mean that you should try to find symmetry. In fact, presenting a symmetrical frame in itself is almost breaking balance rules. Wes Anderson is the oftal upon master when it comes to serving up a symmetrical frame, and that's very much a creative decision. Moving on to the 180°ree rule. You might know it, you might fear it, you might not fully understand it, and that's okay. I remember being at film school, learning about this, and having it explained to me in a few different ways, but it never really stuck in my brain until I actually started shooting coverage myself. And that's not to say the explanations I received weren't good. It was more that I just couldn't wrap my head around it. But once you do, you realize it's actually really, really simple. So, here's about the absolute easiest way I can try to explain it to you. And just for something fun, I'm going to demonstrate this concept using some 3D assets from Invato, which we recently overhauled in a big way. Now included in your Invar subscription, you get access to a huge range of professional 3D assets. We've got full 3D models in formats such as OBJ, FBX, GLTF, and GLB, as well as templates for Spline and Blender, and a huge library of high-quality scenes from Kit Bash. Couple that with millions of stock videos, photos, and high- quality music, sound effects, and professionally created studio quality motion templates, you basically got an entire creative studio at your fingertips. Not to mention that you get unlimited downloads of all of these assets. So, to learn more about Invato today, hit the link in the description below. Okay, here in Blender, you can see I have this kit bash corner store scene with a couple of little cartoon folk, and I'm going to show you exactly how the 180° rule works. Let's frame up a two shot of them looking back toward the front door of the restaurant. Then for some pretty standard coverage, we'd be looking to capture singles of both of our subjects.
Segment 3 (10:00 - 15:00)
So take the camera position for our twoot and draw a line parallel to the camera plane and place that on our subject here. Might be easier just to see this from a top down view. So we'll look at that now. Now, because we've got our establishing two shot here and we have the parallel line, the 180° rule basically says we can't put the camera on the other side of that line. Hence why this rule is known as crossing the line. So thinking about our two singles, we could go here and here for instance, but not here or here. So let's see what that looks like. So this is the single on the guy here. And if we look at the viewport, you can see where the camera is sitting in regards to that line. It's pretty close on it, but not crossing it. And our background, although dramatically different, still has the same way points to keep the viewer oriented. It's easy to see that this is the same building. We can then frame up the single on our woman here, but pull the camera out from the line a little bit to have less of an overshoulder and more of the original background, further anchoring our audience to this scene. Make sense? Of course it does. Well, what does it look like when you cross that line? Let's say from our original starting two shot, we wanted to get coverage of the guy still shooting over the shoulder of this girl. However, this time crossing that line. Well, for one, we've lost all reference to our original background demonstrated very obviously here given that there is literally no background. But we're also seeing a completely different side of our subject's face. The impacts of the lighting are different, and ultimately it just feels a bit off to look at. Putting these stills together in an edit side by side, you can kind of see what I'm getting at. So, there's this other technique of composition that we've only lightly touched on so far in our balance section, but it's very worthy of its own segment, and that's leading lines or using lines within the environment to help frame your scene and draw the viewer's attention to a specific point in the image. Similar to the rule of thirds, the general idea with using leading lines is to put your subject or the main focal point of the image on the intersection of these leading lines, but this time they're physically within the frame. You'll have maybe unknowingly seen this in countless films and TV shows, but to just name a few big ones, Cubri uses this technique a lot through his filmography. Classic shots from 2001 of Space Odyssey, The Shining, and Doctor Strange Love all heavily employ leading lines to direct the viewers's attention. And that last example there shows that the line doesn't even necessarily need to be a straight line either. Or take these couple of shots from Katherine Bigalow's The Hurt Locker as a very, very literal example. The train tracks here are two lines that are literally leading us to the character and the action. And then this shot from the same sequence shows a series of lines literally leading from the unexloded ordinance to Jeremy Rena's character as he's literally in the middle of disarming it. So he's these leading lines. Composition is exciting. Let's hit the streets, though, and we'll shift gears a little to looking at composing an image through a photographers's lens for this. Street photography is very good for getting your eye in when it comes to composition as a filmmaker. So, we're in the city. We are going to walk around, find some cool spots to shoot. Mainly looking for how light is hitting a lot of these buildings and a lot of the alleyways that we're going through. Today, I'm shooting on a Leica Q2. It's a 28 mm lens, so it's a lot wider. So, we're going to be looking at everything from more of a uh landscape architecture perspective. I really like the way that the shadows on this building are kind of like accentuating the lines that are already there. So, I'm just going to kind of take a couple of photos, see what I've come up with, and we'll uh then we'll continue walking around. Yeah. So, with images like this, I usually like to punch in a little bit. We can really see those like little triangles. They're kind of everywhere and they kind of look like little indents and that's what I'm trying to capture. When we talk about leading lines as well, light plays a big part in that, especially when we're what time is it now? About 4:00. So, this the sun is pretty still pretty high in the sky. So, we are getting those kind of hard lines with those with the shadows that we can also use as our leading lines. The shadows are playing a massive part in where we would look and where our eye is drawn. So, I'm going to take a photo of this pretty straight on. Kind of as it is, is perfect. Kind of reminds me of Barbin in London. Um, that has this very like very brutalist architecture, but also um kind of these rounded edges and these archways and it flows really nicely. I think what's really nice about this image as well is that we're not only getting the archways and the light hitting that building in the back, but even even watching these lines, you know, made by the buildings that are in the way of the sun, you do you get this point of interest with the shadow and the lights. Really cool. Um, so one thing with leading lines, they don't always have to be buildings or lines. Words are really good like leading lines as well. Oh, this is cool. He's like the most Italian Melbourne image of all time.
Segment 4 (15:00 - 18:00)
That's cool. Um, but this wall right here, a pretty iconic wall in Melbourne, uh, Pelinre, the letters do the same thing that a building line would do and kind of draws your eye to one spot. We're in an alleyway. There's very obvious leading lines here. Two buildings running alongside each other. vertical lines going up. Um, but you could also look for non-conventional uh leading lines. So, there's some light behind us in this window. And that's probably a little bit more interesting than just shooting a building. So, let's take a photo of that. Another technique that makes for some interesting shots is to look for a frame within your frame. Finding objects or features of the surrounding architecture, for instance, to frame up your subject within that frame. And that really forces your viewers's attention to a single point. a similar approach to leading lines. Let's again check this out through Hayden's photography lens and look at how we can go and look for frames within our frames and also create some depth through something called dirty foregrounds. So this is what we'd call a frame within a frame. We have a yellow frame inside of our image. This one's really cool because we have the sign above it like drawing our eye to this kind of beautifully positioned yellow frame and we have some open windows above it. It's kind of that's just a photo waiting to be taken. I'm going to do it right now. I'm going to take this photo. I'm going to use this as a bit of point of interest, but not straight down the barrel. I'm going to use these little cutouts in the wall as a way to frame my image behind it. I really like the light that's on this wall here. So, I'm going to use this to frame it. Taking a look now at the Hollywood version of a frame within a frame. You can see that it's used in a variety of ways and not only as a tool for composing your image, but often as a storytelling device. The two sort of go hand in hand here. You can use a frame such as a doorway or a window within a location to separate the character from the audience, providing sort of a voyeristic angle and giving us a sense that we're looking in on them rather than being part of that scene. Sometimes it can be used to bring us into the mind or the thought process of the character, particularly when we use a mirror as the frame, which gives us as the viewers multiple perspectives on a scene and allows us to see the character examining themselves within the context of the action. And sometimes it's purely used as a framing device along similar lines as the leading line. We can use a physical frame within the scene to draw our attention to a specific focus point. So there we go. That's all of the general rules of composition for videography and photography. And the two sort of go hand in hand. As you can see, like everything within the creative arts, rules are made to be broken and therefore aren't hard and fast rules. They're great guidelines to shoot by, especially if you're learning. And once they become second nature to you, you will be able to then kind of start to break these rules and expand and experiment and find ways to make just really cool compositions within your shots. You can get really wonderful and wacky uh shots when you start to break these rules, but you kind of have to know them first. So, I hope this introduction to the concept of composition in your frames has been helpful. Thanks for watching. Let me know down in the comments what you're going to work on with all of this in mind. I'd love to hear what you've got cooking up. And also thank you to Hayden for jumping in to show us how you work your shots. Much appreciated. Now, until next time, keep it composed.