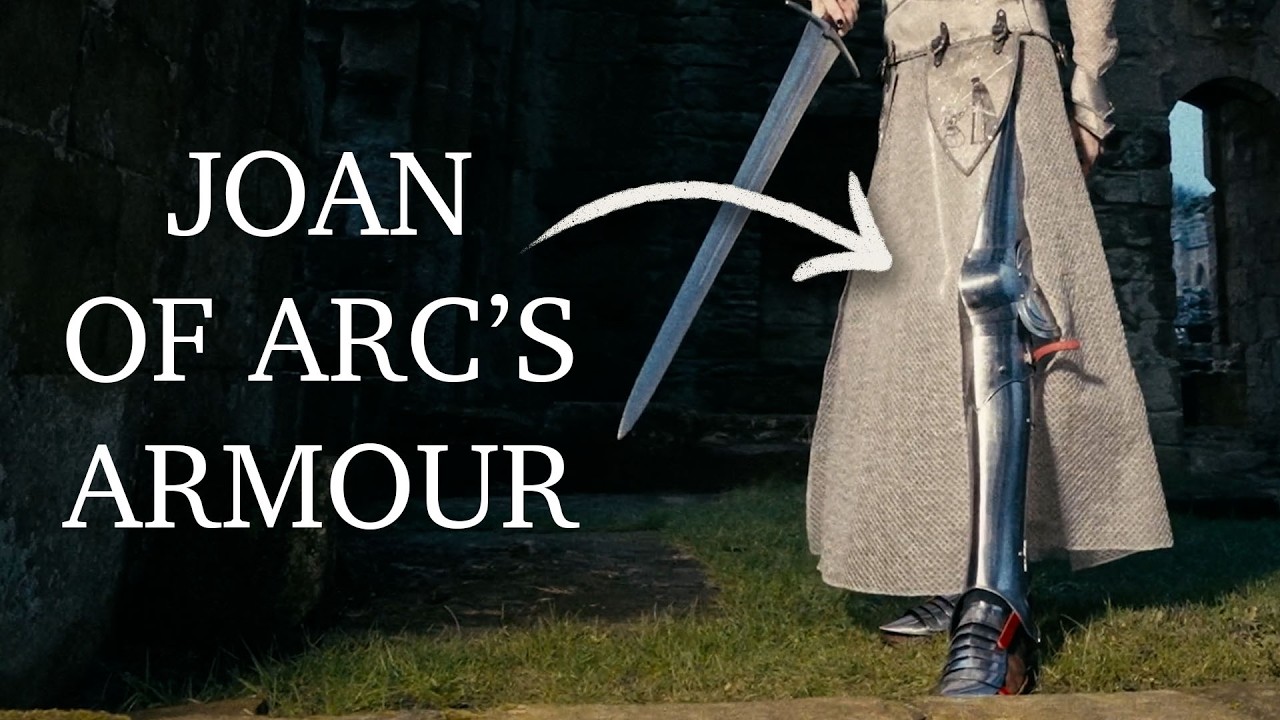
We are in the final stretch of this quest to build a Jon of Arc armor inspired gown. We have a chain mail style smok shoe historian Eva Bernett has made us a pair of 15th century leather shoes which armorer Matt is currently busy using as a model to hammer out some leg armor. All that's left is the plate armor inspired overpiece. I say that as if it's simple. It is in fact going to be the hardest part of this process geometrically, temporally and physically. This process has been a huge collaboration with esteemed embroidery house Hand and Lock here in London who have taken on the massive task of designing and executing the goldwork embroidery which will decorate the armor pieces. Hands and Lock really went all in on the four tacets that act as protection for the front and back of the thighs with each panel designed to illustrate a different scene in Joan's life. When we first got tasked with designing the tacets for the Jonavar armor, it took a little bit of time to replay the history of Jonavar. And then obviously to fit it into four panels is a little bit tricky. Her early life, she was just living in a sort of rural town in France. We have the rays coming out from the sun sort of to signify when she was called by God, which is sort of the beginning of her journey. She has visions of leading the French people to victory and has to communicate that to the king. Everything's sort of coming into fruition in this third panel when they're going into battle and she's obviously leading them. And then we had to find a tasteful way of finishing the story which obviously she is burned at the stake. But I think we've found a soft approach to that where we see her banner sort of flying around her sword with the flirtily going through the sacred heart. So it's a particularly powerful image but not as gruesome as perhaps it could have been. When we go into design for hand embroidery I think we have the tendency to make it as complicated as possible. I'm sure you can agree with that. — And you can kind of see by how many materials we've used. You can see the difference between the rough bullions, the bright checks, the smooths. Each one kind of has to offset what is next to it. So they all lift each other. So nothing is sort of flat and of the same level. Since the plate pieces are going to be done entirely using gold work techniques, this has to be done all by hand. The fabric we've chosen for the main harness is a heavyweight silk satin which has been fused with a cotton backing which was stiff and shiny enough to imitate metal. Check out the previous two videos in this series to find more chat on the design process for both this and the chain mail underdress if you've missed those. So, while I wait for the main fabric to come back fully embroidered, I'm getting a head start on cutting some supplementary layers. a coutile inter lining which will serve to add a little bit more stiffness and body and also to give me something to stitch into so that I can turn the edges of each piece without those stitches marring the satin on the front. Some of the pieces are cut in multiples so I've had to just draw up a quick chart whilst cutting to make sure that I don't miss anything. There are 26 pattern pieces in the harness alone. Just enough for each piece to take a letter of the alphabet, which I personally found very satisfying. Tag yourself. I'm collar front. Oh, Marley's upper back. — I'm upper back. — Yeah, Danny's upper arm front. — That makes sense. Where's Lyra? Lyra lower front. I'm also cutting each piece again out of a silver silk taffida to finish off the backs of each piece nicely. Okay, I played absolute pattern chicken with this last little remnant of tapida and I just won in the most preposterous way imaginable because some of these pieces are literally pieced in here with no regard for direction or grain. But you know what? That is the historical way of doing things. Historically, when you didn't have enough fabric, you were doing everything you could. Now, I got to cut out the entire alphabet of pattern pieces once again out of this
Segment 2 (05:00 - 10:00)
— Oh my god, we have a sword. Now I just got to learn how to use this. Ooh, wait. Can I cut this with Ooh, it cuts. Okay, new challenge. Cutting out this entire project with a sword. No. Yo, [clears throat] that is the worst cut I think I've ever done. — Look at that. — That's a terrible cut, but it's so cool. — No, cuz you can't get the little bits off. But — so cool. Wait, can you act? You I bet you can cut your hair with a You actually sword. — I think you should Just a tiny bit. — I mean, what if I did? — I actually think that you would eat with a lady. Mary Bob, — don't tempt me. — I mean, Joan had short hair. — Yeah, I bet she cut it with a sword, too. [sighs] — That was really satisfying. — It works. You can do it. Huh. Anyway, now that I have a 15th century sword and many terrible ideas, which you all seem to be enabling me on, just stitching up all my piecings real quick so that I have a complete set of lining and interlining pieces all ready to go. Hands and Lock have now finished the first crop of pieces. So, I've headed over first thing in the morning to pick those up. The temptation to open this on the bus was so real. Oh my god. WOW. [screaming] This is going to be incredible. So, I've got my work cut out for me. Now, — we figured the most efficient way to do this was for them to start giving me the pieces as they finished them so that I could get a head start on the timeconuming part, preparing each individual piece ahead of building up the full harness. That in and of itself is going to be an estimated 2 weeks of work on my end. So, I'm really keen to get started on this as soon as possible. Okay, so here's the situation. When I was doing my tests with these satin pieces, I was actually getting a really great smooth shape just by flatlining it with some coutile, putting it on the dress form in its round shape. was having this beautiful armor-like perfectly smooth metallic situation here. What I did not account for is the fact that when things get embroidered, they get handled a lot. Sometimes the fabric gets warped, the fabric gets softened, the uh the embroidery can start to make little indent shapes at the top here. It looks more like fabric and less like metal. I thought I would be able to combat this by pressing it really well, but again, because of the dimension of the embroidery, it's not getting a full flat press. And basically what I'm ending up with is on all my pieces a lot of rippling, a lot of warping, and a lot of shadowing. And I'm not super pleased with this. So, I've been doing some experiments here. So, I have in my mind like 16th century curdles, how they're like so perfectly smooth across the front. Like, that's the kind of essence that I want to get here. And of course, those are just made from linen and buckram. And what do I have in my studio? Canvas sizing, which is effectively historical glue. Um, it's made from animal hides. It still exists in, you know, canvas preparation today. But this is effectively what we think is what was used to make buck rum historically. So, I'm just doing some tests here. This I've just done flat on the satin because I wanted to test whether the um liquid content for this would seep through and damage the satin. It has not, which is great news. I also have done a test here where I've glued a
Segment 3 (10:00 - 15:00)
piece of the coutile because I do have all these coutile pieces which are not completely solving my problem. But if the coutile gluing that to the satin if that's going to also help to give me a little bit more strength and sturdiness here. Unfortunately, it will probably mean undoing my pieces here which I've already uh finished turning the edges on like five pieces. So, I have to take out all the stitching around here so that I can access the underside of the material, which effectively means I've wasted two days of work. But you know what? That's totally fine. It's going to end up, I hope, being worth it in the end. Forbidden Jell-O. It's admittedly been 3 days, but I've been experimenting with different techniques and different layerings of amounts of glue and which layers of coutile and fabric and linen and what how much glue goes in between these layers, all that fun stuff. And then of course waiting for everything to dry in between. So 3 days later I have come up with a solution. This was the best solution that I found to achieve a really nice smooth surface. First, I cut off the additional linen backing that the embroiderers used to stabilize the fabric, which seems counterintuitive, but I found that getting the glue as close to the foundational satin as possible gave the best outcome. Then I let this dry and completely harden overnight. And the next morning came back in with a hot iron to resoften the glue and to fuse the coutile layer to the satin. Hell yeah. Wow. Worked like a charm. So much better. Beautiful. And just in time for the second batch of pieces to come back from hand and lock so that I could have one big gluing day. Okay, now I'm hyp. We have the final pieces that have come in. These are the really exciting ones. — Wow. — Oh my goodness. — She is gorgeous. — The little village. — Oh my god. It's so cute. — Wait, this is gorgeous. Oh my god, the little face. She just looks so determined. Like this is my wheat. Okay, wait. We've got three more. We're already like study. Wow. Oh, the stars. — Wow, that's gorgeous. Are you kidding me? — Yeah, that's King Charles and Joan in her little armor. [screaming] Wow. Joan on the horse. Oh, that is stunning. The armor though. Wow. It's so detailed and gorgeous. — Which means this is probably bad news. Yeah, this is burning. — Oh, that's also gorgeous though. Oh my god, the rate the like dimension. This is insane. This is stunning. Wow. Yeah. So, I guess we start in peasant life and then we meet the king and then we lead an army and then we get burnt at the stake. — This is amazing. — So cool. — And the way that they use like beautiful silks and velvets for the king and they used like linens and wools for the peasant. This is like ingenious. Okay, well we have work to do. Those of you who have been around for my past Hand and Lock collaborations will probably have predicted correctly. But there is of course in connection with this project going to be a new embroidery kit. A Joan of Arc themed kit of course based on the task of design that they did for this project. — This one it's more of a motif than a scene in a way. And I think it still keeps the true core of the panel even with some of the elements removed. In the lovely kit design that we have from Jasmine, she made the stitch plan and then I sort of worked out the order of work for the different techniques. There's always a little bit of trial and error when you're doing a design for the first time. So, it's been good cuz I can do part of it and then I can come show Jasmine how it worked and then we can decide from there what we want to do. The gold work techniques and materials that are included in this kit, which you will get to try out for yourself, are the exact same techniques that were used to do all of the handwork embroidery on this project. Yeah, there's a lot of really interesting techniques in this kit. We have um pearl and cut work and
Segment 4 (15:00 - 20:00)
chipping. The chipping personally was my favorite part is this beautiful bright sparkly check. Um and that was just the most satisfying technique. I think it's been nice as well to do some more traditional work. That passing that spirals around there is a very traditional opus anglean technique and that sort of dates to this period as well. So, it's a nice excuse to pull that one out and use that again. — Oh, I love that. — I think in a project, you want to have an excuse to play with as many bullions as you can. — It is really impressive how many different shades that you've managed to get, not just through different shades of the silver, but also through different textures. — And it's the play of light as well on the colors and the textures. — To be able to get my hands on it and to do a bit of it myself is so exciting. There will be so much information down below for you. Tell them I sent you. Anyway, [snorts] I'm set back about a week now with all this glue testing and overnight drying time. And I still have those circuit two weeks of plate prep to do. That's how Yeah. ASMR. [clears throat] — ASMR. The stiffening procedure made the pieces very tough to stitch through. The month is steadily dwindling, so I have recruited Marley and it is all hands and pliers on deck. — In no time, hands were sore, blood was drawn. gone and thimbles were shredded. We had to take a morning to repair pretty much every thimble in the studio. — How many times do you suppose we've bled on this project? — Um, combined or just me? — By day five, we had stopped wearing anything but pajamas into the studio. Winter officially set in and the studio got really cold. Marley and I set up camp in front of the two working radiators in hopes of keeping the thingies moving. the only two heaters in the building that seem to be turned on. Yeah. — Hey, Marley, you want to give us a little workspace tour there? Hi, welcome to my crib. So, we've got this armchair, which used to be over by the fireplace, but now I have moved over into this little corner where it doesn't fit. We have, of course, Joan, tea, water, two types of biscuits, and of course, entertainment, the secret lives of Mormon wives, cuz that makes perfect sense. and my toesies. — Yes, of course. — Right up against the heater, which is the entire point of this setup — for free. Straight up ankle in this establishment. — Hi, welcome to my workspace. I've got my tea being warmed on the heater, of course. — Incredible. — Excellent. I've got my Gail's honey cake. Current Joan, next Joan Runescape skilling because you got to occupy yourself somehow. Look, we're just like absolutely parked here. We've got so much to do. All the plate pieces are now stiffened, prepped, and lined. Before I start hammering things together, though, I've first just decided to add a little basque to the bottom edge of the front and back bottom bodice pieces. Although, I suppose I should call this a quirus instead of a bodice because we are working with armor. This was vaguely intended to be of the same satin to fill in any gaps that might show between the quirus and the hip lames, which I intend to be separate pieces, but I didn't quite have enough left over from my sampling. So, I ended up using some leftover Mul Rouge satin instead. It's a quite noticeably different tone of gray, but it'll be in shadow, if not completely hidden. So, in theory, it shouldn't matter too much. In hindsight, I'm not sure this did a whole lot, but the process is there. And now assembly. The plan is to treat this as much like real metal armor as possible. So lots of rivets and buckles and straps. There are just a few points that do still need sewing. Namely, the collar piece onto the gorge, which I'm just attaching with something vaguely like an English stitch. Although I'm not really paying much attention to whether or not I'm catching the lining since that's already stitched down anyway.
Segment 5 (20:00 - 25:00)
Okay, this is the terrifying part. This is the part that's completely irreversible. But we got to put some rivets in here. I've decided to test the riveting process on the most conspicuous part of the garment for highly intelligent reasons. Mostly because I need the gorge together to hang the rest of the armor from. So, I kind of didn't really have a choice. Okay, that worked. As far as closures go and my non-secret hatred of them in general, these were actually quite fun. The whole riveting process was super quick and easy with the added benefit of releasing some pentup rage by means of smashing things. Oh yeah, cool. The left hand side of the entire garment is going to be just permanently riveted, but the right hand side is going to get buckles and straps for closures. But there is one more important detail missing from this whole look. According to the transcripts of Joan's trial, which were recorded and survived to us today, the one thing that examiners keep getting hung up on and absolutely cannot move past, was her refusal to conform to feminine dress and hairstyles of this period, which we today might think a perfectly practical decision for someone leading armies into battle. You cannot be wearing a dress that is 12 in longer than the floor. But in a period so heavily ruled by the Christian church, devian from social expectations posed a huge risk of alternative thinking. Something which Joan, a teenage girl from rural France who proceeded to successfully lead armies, embodied tremendously. She was inside and out a threat to the systems in power. And so her hair cut like a man's was completely unacceptable to the church. When it comes to masculine hair styling of this period, the choices are pretty much bowl cut or Lord Farquad. So I went with the one that seemed most feasible to do with a sword.
Segment 6 (25:00 - 30:00)
That was not as clean as I hoped it would be. Oh my gosh. Okay, we're sawing. Oh, excellent. Brilliant. Now, getting this even is going to be a challenge. Okay, that was smoother. Wow, that's pretty even. Wow, that's really short. Okay, great. I'm not even going to clean that up. I'm just going to leave it like that. It's historically accurate. [singing] Gone time. After around 6 months of work, it is time to jump on a train and head back into the 15th century. Hand and lock gave us one final treat for the ride. A beautiful silver flury applique for the front of the gorge because what's a train ride without a good bit of lastm minute hand sewing. And now it is time to have a look at the final results. — Heat. — Heat. — This project was a huge effort on the part of so many incredible artists. Hand and Lock for dreaming the whole project up in the first place, for involving me, and for pulling off the most exquisite embroidery. Eva Bernett who made the incredible reproduction 15th century shoes. Matt over at Lancaster Armory for banging out some incredible legs. A full video is still upcoming about the whole armor build, so be sure to subscribe to be notified when that comes out. — Give me a thumbs up if you can hear me. — What? And if you would like to become one of the artists involved in this amazing project, head down to the description for the link to get yourself a Jon of Arc embroidery kit for yourself. And be sure to let us know what wondrous creations you make from it. They're also releasing a whole storybook themed collection of items. I'm not getting paid to promote this, by the way. I just saw the newsletter this morning announcing all of this with all the products, and I it was such an attack on my wallet personally that I like I just Hi, I'm I need to make this your problem now. See you soon.
Segment 7 (30:00 - 30:00)
Hello. Oh my god, look at those Timmies. Nope. Sorry. — I am giving you so much footage that you don't need. Danny, I'm just going click clack.