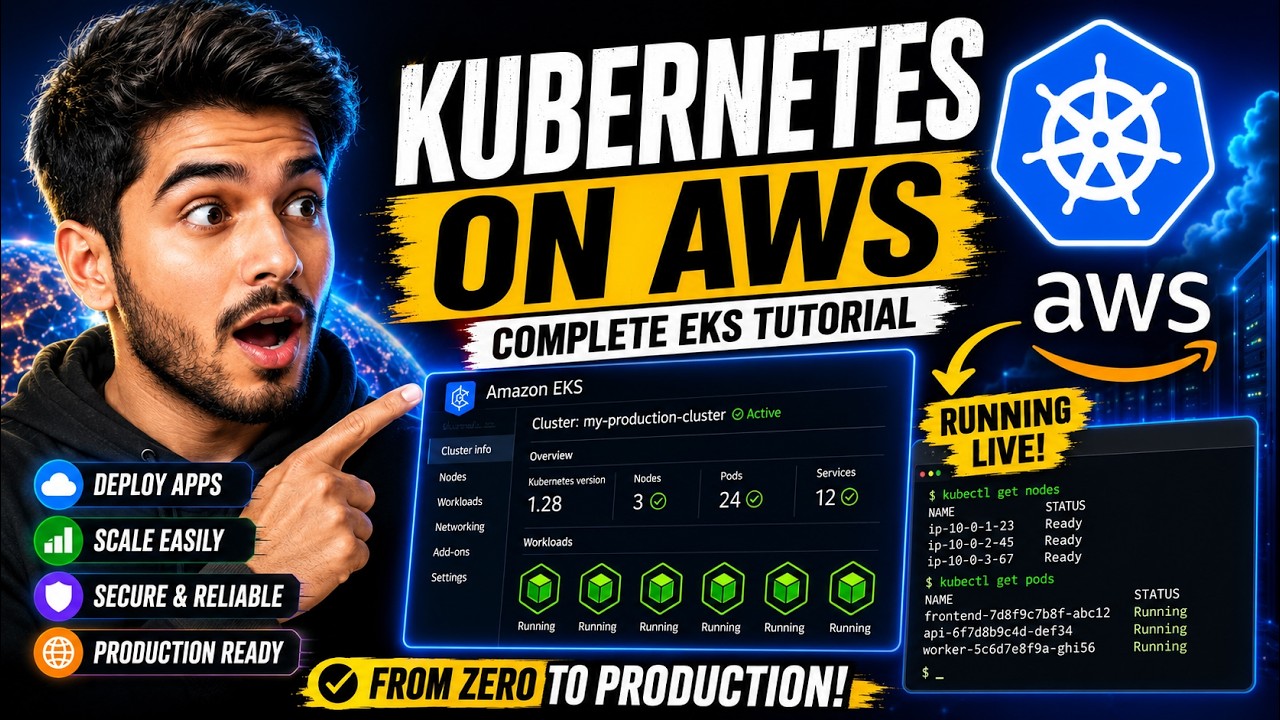
Deploy React App to Kubernetes with Docker (Full DevOps Guide)
Machine-readable: Markdown · JSON API · Site index
Описание видео
🚀 Watch a React application go live on Kubernetes with real containers, pods, deployments, services, and production-style architecture — all step-by-step. 🔥 By the end, you’ll deploy a fully containerized React app using Docker + Kubernetes like a real DevOps engineer.
🔥 DevOps Career Boost
🚀 Linux Foundation Certifications – 30% OFF
💥 Get 30% OFF Linux Foundation Courses & Certifications
COUPON CODE: CLOUDGURU
☸️ Top Kubernetes Certifications (HIGH DEMAND)
👉 Enroll here for CKAD: https://training.linuxfoundation.org/certification/certified-kubernetes-application-developer-ckad/?source=aw&sv1=affiliate&sv_campaign_id=2797056&awc=85919_1773067559_bfa5e6ace1397c69f68bfb64ff35fa1f
👉 Enroll here for CKA: https://training.linuxfoundation.org/certification/certified-kubernetes-administrator-cka/?source=aw&sv1=affiliate&sv_campaign_id=2797056&awc=85919_1773067536_a1f91345cf951dbbbecaad9281bf8434
👉 Enroll here for CKS: https://training.linuxfoundation.org/certification/certified-kubernetes-security-specialist/?source=aw&sv1=affiliate&sv_campaign_id=2797056&awc=85919_1773067517_4a35c19ecd7d600840ae4908a59308e7
👉 Enroll here for Kubestronaut Bundle: https://www.awin1.com/cread.php?awinmid=85919&awinaffid=2797056&ued=https%3A%2F%2Ftraining.linuxfoundation.org%2Fcertification%2Fkubestronaut-bundle%2F
👉 Enroll here for Kubestronaut to Golden Kubestronaut Upgrade Bundle: https://www.awin1.com/cread.php?awinmid=85919&awinaffid=2797056&ued=https%3A%2F%2Ftraining.linuxfoundation.org%2Fcertification%2Fkubestronaut-to-golden-kubestronaut-upgrade-bundle%2F
👉 Enroll here for Golden Kubestronaut Bundle: https://www.awin1.com/cread.php?awinmid=85919&awinaffid=2797056&ued=https%3A%2F%2Ftraining.linuxfoundation.org%2Fcertification%2Fgolden-kubestronaut-bundle%2F
👉 Enroll here for all courses and certifications: https://www.awin1.com/cread.php?awinmid=85919&awinaffid=2797056
🔥 Join our Cloud Guru WhatsApp Community
https://www.whatsapp.com/channel/0029Va8fH154IBhEu3t21y2o
🔥 Join our Cloud Guru Medium Page
https://cloudguru.medium.com/
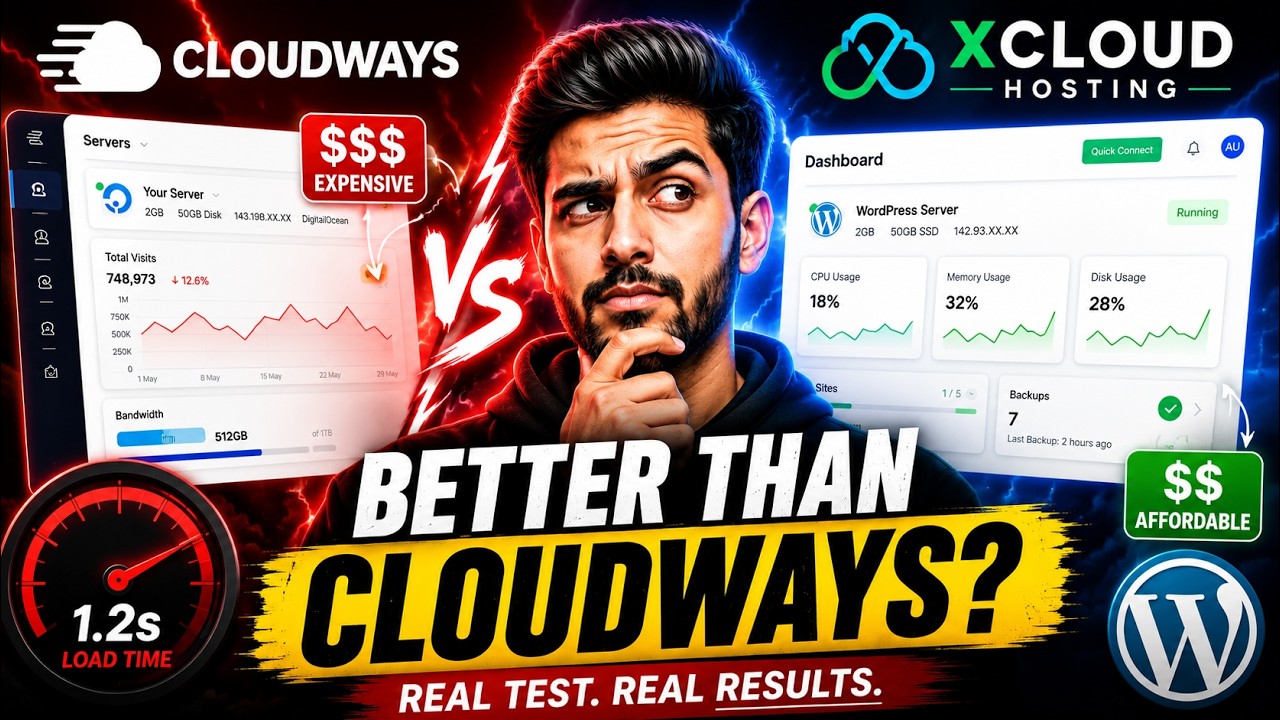
☁️ Managed Cloud Hosting Deals
👉 Get CloudWays
https://www.cloudways.com/en/?id=1365224
💥 CloudWays Coupon Code: CLOUDGURU25
Get 25% OFF for 3 months.
🚀 Try xCloud Hosting
https://xcloud.host?fpr=cloudguru
💥 Get $200 FREE credits on signup.
╔═╦╗╔╦╗╔═╦═╦╦╦╦╗╔═╗
║╚╣║║║╚╣╚╣╔╣╔╣║╚╣═╣
╠╗║╚╝║║╠╗║╚╣║║║║║═╣
╚═╩══╩═╩═╩═╩╝╚╩═╩═╝
In this tutorial, you'll learn how to:
✅ Dockerize a React application
✅ Create Kubernetes Deployments & Services
✅ Expose your app using NodePort / LoadBalancer
✅ Understand how containers run in production
✅ Learn real-world DevOps deployment workflow
✅ Deploy frontend apps using Kubernetes architecture
This video is designed for:
Beginners learning Docker & Kubernetes
Frontend developers entering DevOps
Cloud engineers preparing for interviews
Developers building production-ready apps
💡 If you're learning Cloud, DevOps, Kubernetes, Docker, AWS, or React, this is one of the most important practical projects to understand.
📌 Chapters:
IBM Repository Mention: 00:00:13
Introducing VS Code / Code Walkthrough: 00:04:56
Beginning the Docker Build: 00:11:04
IBM Cloud Deployment (The "Retention Dip" Segment): 00:15:52
Medium Article / Final Resources: 00:21:43
👇 Comment “K8S” if you want:
Full source code
Architecture diagrams
CI/CD version
Production-grade setup
#Kubernetes #Docker #ReactJS #DevOps #CloudComputing #WebDevelopment #K8s #SoftwareEngineering