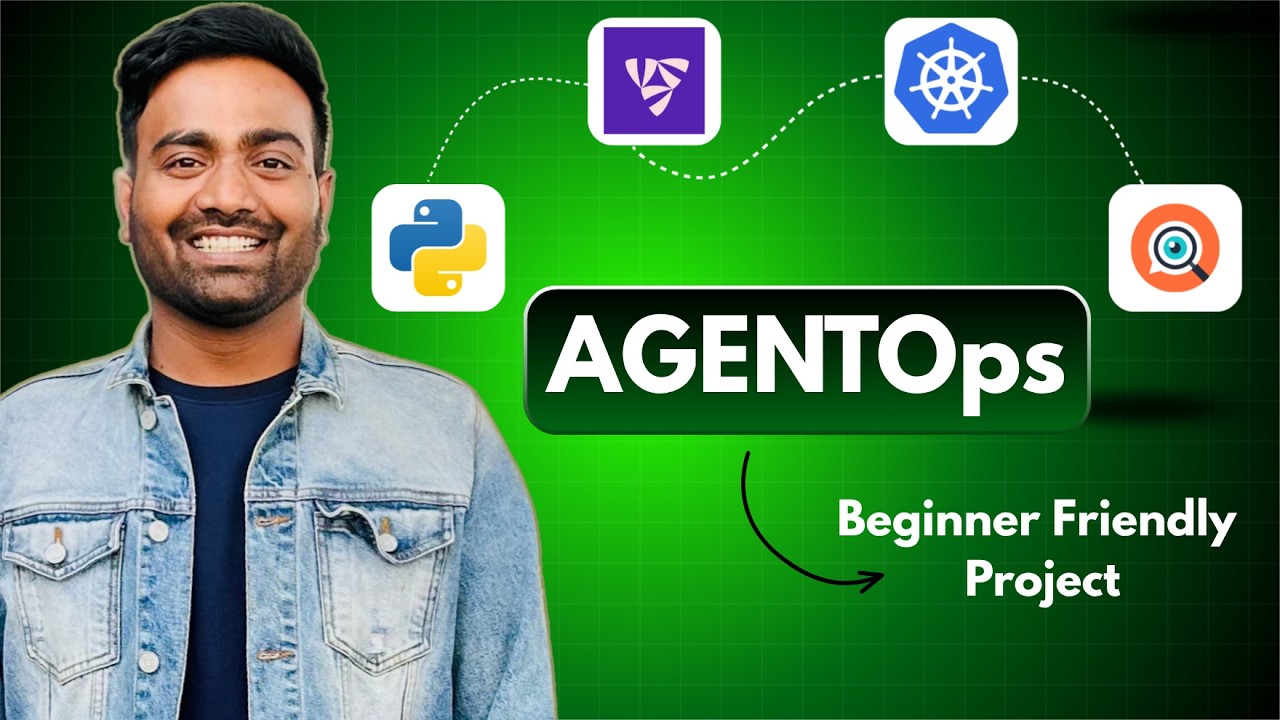
New High Paying skill for DevOps Engineers - AgentOps | Complete tutorial.
Machine-readable: Markdown · JSON API · Site index
Описание видео
- Get started with Flyte for FREE:
https://flyte.org/
GitHub Repo for files used in the video:
https://gist.github.com/iam-veeramalla/c037ca8cb0b018013da433a7c2cec628
AgentOps is a developer platform for monitoring, debugging, testing, and evaluating AI agents especially agents built with frameworks like flyte, LangChain, LangGraph and similar multi-step LLM systems.
The best way to get started with AgentOps is using the Flyte Devbox as shown in the video:
https://www.union.ai/flyte/devbox
Think of it as the equivalent of:
Datadog/New Relic for AI agents
or “application monitoring” specifically for autonomous LLM workflows.
What AgentOps Does?
It helps developers answer questions like:
- Why did my agent fail?
- Which tool call caused the error?
- How much did this run cost?
- What prompts were sent to the model?
- How long did each step take?
- Which agent performed best in production?
Free Course on the channel
==============================
- DevOps Zero to Hero Playlist: https://www.youtube.com/playlist?list=PLdpzxOOAlwvIKMhk8WhzN1pYoJ1YU8Csa
- AWS Zero to Hero Playlist: https://www.youtube.com/playlist?list=PLdpzxOOAlwvLNOxX0RfndiYSt1Le9azze
- Azure Zero to Hero Playlist: https://www.youtube.com/playlist?list=PLdpzxOOAlwvIcxgCUyBHVOcWs0Krjx9xR
- Terraform Zero to Hero Playlist: https://www.youtube.com/playlist?list=PLdpzxOOAlwvI0O4PeKVV1-yJoX2AqIWuf
- Python for DevOps Playlist: https://www.youtube.com/playlist?list=PLdpzxOOAlwvKwTyYNJCUwGPvql0TrsPgv
About me:
========
Instagram: https://www.instagram.com/abhishekveeramalla_official/
Telegram Channel : https://t.me/abhishekveeramalla
LinkedIn: https://www.linkedin.com/in/abhishek-veeramalla
GitHub: https://github.com/iam-veeramalla
Medium: https://abhishekveeramalla-av.medium.com/
Disclaimer: Unauthorized copying, reproduction, or distribution of this video content, in whole or in part, is strictly prohibited. Any attempt to upload, share, or use this content for commercial or non-commercial purposes without explicit permission from the owner will be subject to legal action. All rights reserved.