NotebookLM + Gemini = Website Builder (Free & No Code)
11:27

NotebookLM + Gemini = Website Builder (Free & No Code)

Teacher's Tech 10.03.2026 240 просмотров 29 лайков

Machine-readable: Markdown · JSON API · Site index

Поделиться Telegram VK Бот
Транскрипт Скачать .md
Анализ с AI
Описание видео
We all know Google's NotebookLM is incredible for organizing research and summarizing dense documents. But what if those insights shouldn't just stay in a notebook? 
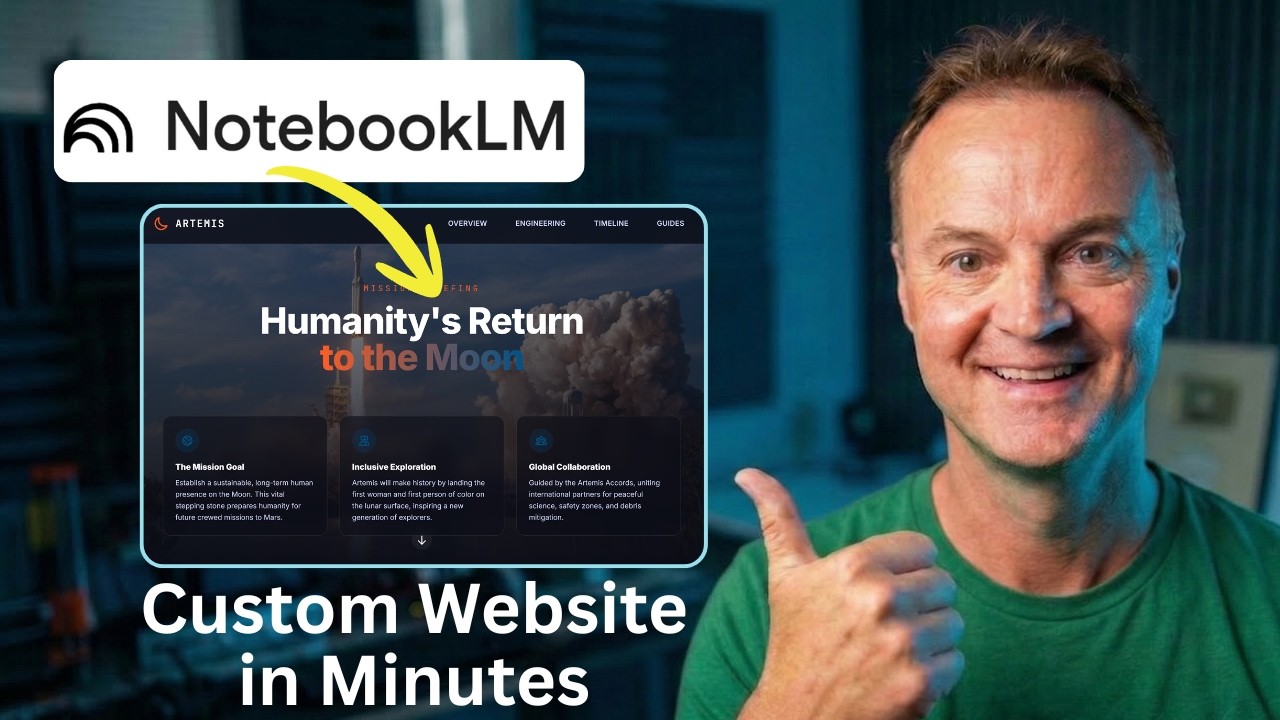
In this tutorial, I’ll show you how to take a stack of complex research (using NASA's Artemis Missions as an example) and turn it into a stunning, interactive, single-page website using Gemini. The best part? We are going to build it, add functional download links, export the file, and publish it live on the internet for free—all without writing a single line of code. Whether you are building a resource hub for your classroom, organizing project files, or just want to present information in a more professional way, this AI workflow will change how you use your research. 👇 Links Mentioned in the Video: Google NotebookLM: https://notebooklm.google/ Gemini: https://gemini.google.com/ Netlify Drop: app.netlify.com/drop Test it with my NotebookLM: https://notebooklm.google.com/notebook/422742fa-7296-4c8e-94a4-7bf3cefbf430 Artemis SLS Specs Demo PDF: https://drive.google.com/file/d/11-j1pxhoyPvwNNkRMKi4dg7KhT0mzpn8/view?usp=drive_link 🤖 Prompts Used in This Video: Prompt 1: The Blueprint Act as an expert UX designer and educational technologist. Analyze the attached NotebookLM research and design the architecture for a single-page educational hub about the NASA Artemis Missions. Break the content into logical sections: a compelling 'Mission Overview' hero banner, a 'Deep Dives & Technical Data' section for payloads and engineering specs, and a 'Launch Timeline'. For each section, dictate the heading, the core takeaways to extract from the research, and suggest a specific visual layout. Suggest a space-inspired, modern color palette. Prompt 2: The Code Generation Take the structural blueprint we just agreed upon and generate the complete single-page website in a single HTML file. Use Tailwind CSS via CDN. The design language should be clean and technical—deep space blues, stark white text, soft rounded corners, and vibrant accent buttons. Implement a sticky top navigation bar with smooth scrolling to sections. Use responsive CSS flexbox/grid for the technical data cards, and ensure interactive hover states. Prompt 3: Adding Interactive Elements Let's make this more interactive. Add a new section just above the footer called 'Downloadable Mission Guides.' Generate a responsive CSS grid of project cards based on the research. Each card needs a placeholder for an icon, a bold title, a brief description, and a high-contrast 'Download PDF' button with a subtle pulse animation on hover. Prompt 4: Fixing the Download Links Update the download button for the Space Launch System (SLS) specs. Change the href link destination to this exact URL: https://drive.google.com/file/d/11-j1pxhoyPvwNNkRMKi4dg7KhT0mzpn8/view?usp=drive_link. Keep all the existing Tailwind CSS classes, layout, and hover animations exactly the same. ⏱️ Video Chapters: 0:00 - The Ultimate AI Web Workflow 0:33 - Step 1: Organizing Research in NotebookLM 1:05 - Step 2: The Architect Prompt (Gemini Pro) 2:39 - Step 3: Generating Code with Gemini Canvas 4:21 - Step 4: Adding Interactive Downloads 4:52 - Step 5: Fixing Links (Google Drive Integration) 7:30 - Step 6: Exporting the Code (Windows Notepad Trick) 9:07 - Why You Shouldn't Use the Gemini Share Link 9:44 - Step 8: Hosting for Free with Netlify Drop

Оглавление (9 сегментов)

The Ultimate AI Web Workflow

We all know Notebook LM is incredible for  organizing research, pulling out key facts,   and summarizing massive documents. But what if  those insights shouldn't stay in a notebook?    Today, I'm going to show you how to take a  stack of dense, complex research like NASA's   technical documents on the Aremis mission and  turn it into a stunning interactive single page   website using Gemini. We're going to build  it, fix it, and actually publish it live on   the internet for free, all without writing  a single line of code. Let's get started. First, we need our brain trust. Inside notebook,  I've gathered several heavy PDF reports directly

Step 1: Organizing Research in NotebookLM

from NASA covering the Aremis program, mission  overviews, engineering specifications for the SLS   rocket, and details on the scientific payloads.   Once Notebook LM has ingested and structured this   massive amount of data, then we're going to export  this knowledge and bring it right into Gemini. I   just want to point out this is the topic that  I'm covering, but this could be about anything.    It could be about your business or a different  topic altogether. What we're going to go through   will work for all of it. Here's where most people  go wrong. They ask the AI just to build a website

Step 2: The Architect Prompt (Gemini Pro)

right away, which leads to a messy layout. We're  going to treat Gemini like an expert UX designer   first. We need a blueprint. This is going to  be the prompt. And this prompt will be down   below in the description if you want to reuse it.   I'm asking it to act as an expert UX designer and   educational technologist. It's going to go through  and analyze the attached notebook LM, which I'm   going to do in a moment, and research the design  and everything. You can take a look at the prompt   a little bit more specifically down below. So now  I'm just going to hit the plus, and you can see   notebook LM. I need to connect it to the notebook  I'm discussing here. So I'm going to go with the   NASA the NASA space uh launch system here and  connect it. I'm going to do it on pro. I just   find it works better for this for analyzing the  structure here. And I'm going to submit it. Now,   I want to point out in this prompt, I was specific  on what I wanted. And it's always good to do that.    If there's certain areas that you want to focus  on, make sure you tell it that in the prompt. So,   down below here, watch how Gemini just mapped  everything out, the user experience. So,   it's not writing code yet. It's figuring out  the flow in exactly where the dense technical   research needs to be on the page. So, if I go  down, you can see all the different sections   uh through here. Now that we have a rockolid  blueprint, we switch over to Gemini canvas.    We're going to hand it our blueprint and ask it  to write the code. I'm using Tailwind CSS in the   prompt because it gives us that sleek, modern  look instantly. Okay, so this is the prompt

Step 3: Generating Code with Gemini Canvas

we're going to use. I'm going to switch over to  canvas and I'm going to just paste this in. Now,   I do use Gemini to help me write these prompts.   I gave it some colors and everything I wanted,   and I knew I needed to have it in Tailwind CSS, so  that was part of it. If you're using Gemini, you   can ask it to help you write this prompt as well.   You can see that it's going to take the structural   blueprint that we just agreed upon and then  using the Tailwind CSS and then there's different   colors in it and just a little bit about how uh  the structure of this website is. So, I'm going   to send this off. Once it finishes it, I didn't  have to hit preview. It already went to preview   up top. You can see the code is right here. We're  going to copy this code and I'm going to show you   how to take it and put it on your computer, even  how to upload it to a website after we go through   just uh modifying it here in Gemini. But if you  look at it now, it took all those dense NASA PDFs   and everything and applied the UX uh design  to it, the whole blueprint and built a fully   functional landing page with our deep dives and  technical data. And it's actually quite beautiful   in the layout here. I do want to point out you  can click share up here. So if I click share,   you can copy this link. And I could put just go  ahead and open up another tab and paste it in   and it will be the whole page. Notice how it's uh  marked with Gemini up top. And you can see that   I'm logged into my account. When we move it to uh  the custom website, all of that disappears. You'll   you won't see the Gemini. It will be on your  fully functional free site. Now, I'm just going   to back go jump back over to Gemini here and I can  continue working on this. So, the best part about

Step 4: Adding Interactive Downloads

Canvas is that it's a living workspace. So, we're  going to add another section for downloadables,   uh, maybe educator guides at the bottom. All I  need to do is ask it. So, let's make this more   interactive. Add new sections just above the foot  footer called downloadable mission guys guides.    And I'm just going to send this off. And you'll  see that the prompt that I give it fits uh will   get put right into this design. Okay, let's move  down and check it out. We can see where it added

Step 5: Fixing Links (Google Drive Integration)

those interactive cards. But here's the thing. Uh  if I go ahead and click on this, notice nothing   happens. Let's say I wanted to actually put a link  to something. So I have in my Google Drive over   here, I just have this PDF of this SLS technical  specs here and I made sure I shared this folder   out. So this is going to be anybody with the  link. So make sure if you are sharing it out   that the right permissions are there if it's kept  in your Google Drive. I'm just going to go ahead   and uh I copied the link from it. So, I'm going  to go back over here and I'm just going to put in   this prompt here. So, update the download button  for the space launch system. This one right here,   specs. Change the uh href link description to this  exact URL. So, that's the link right in here that   I just copied it from. I keep all the existing  Tailwind CSS classes, layout, and hover animations   exactly the same. So, I'm going to send this off.   Okay, let's go test it out. This is the one we   changed. And I could do the same thing for each  of these. But now, if I click download PDF, this   actually brings me to the PDF. So, I just told  it what I wanted to change. It gave it the link,   and now I have that PDF opening up. Now, I need  to point something out here. I'm going to go back   to the other window that I had open before where  I was just brought this open in my browser. So,   this link up here with this number, you can see  how it ends with the 3CD9. This is going to be   a different instance to the ones that I just  created. So, if you're not done yet, you have   to reshare the link. If I refresh this, you'll be  able to see if I go down, those updates aren't on   here. Even though this still exists, the updates  aren't there. So, I'm just going to go ahead and   jump back over here. So, what we would need to  do again if you're just working from uh Gemini   is click share. we go to share and then it's going  to create the link and then we can copy the link.    And this is a different number. Notice now it says  A338 at the end. So if I go to uh a new place and   open it up and just paste it in, you'll see that  if I scroll down now, here's the updates that we   did. So every time you make an update, the link  is going to change. So if you go and plunk a link   somewhere, you got to make sure you change that  link if you make any updates. And that's one of   the reasons why I want to show you how you could  make it as your own personal website that you can   control the link. Still make your updates, but you  just would upload the files to the new edition,   but you don't have to change the link. So, even  if I click this, this is all working from here.

Step 6: Exporting the Code (Windows Notepad Trick)

But let's go to this next step now. Okay, this is  what we're going to do. We're going to go copy the   code. Don't worry though, you don't have to do any  coding. I'm just going to go up to share and click   copy contents. Now, I'm on Windows here. If you're  on a Mac, you would go to text edit to do this,   but I'm on Windows. And I'm just going to open  up Notepad. So, when Notepad opens up, I'm just   going to paste what I did, what I just copied into  here. So, I'm going to go controlV. This is all   the code that just wrote that site. Now, there's  a certain way we have to save this. So, I'm going   to go to file. I'm going to go to save as. And on  my desktop, I have this Artemis folder. I have a   web folder and I'm just going to put it in there.   So, what I'm going to do is call it index. html. Now, this is important. Make sure you drop down  and go to all files. And then I'm just going to   hit save. All right. So, notice I just went to the  desktop. I went to that Artemis uh folder. I mean   that web folder. Here is the index. html folder  file that I just made. Notice that it's going to   open with my default browser, which is Chrome.   I'm just going to double click on this. So,   look at this. This is on my computer. This  isn't in Gemini anymore. If I look at this   uh up top, it doesn't say Gemini. If I go and  uh go down to the bottom, if I click the PDF,   this should still work. All right, because it's  just a link to my Google Docs there. So, we have   this here. How do we get it to be online? Because  it on my desktop like this by itself doesn't do   anything. How can I share the link? Now, you  might be wondering, why did we just do that?

Why You Shouldn't Use the Gemini Share Link

Why don't we just use the share button right  inside Gemini? You can definitely do that,   but there's a few huge reasons why you shouldn't  if you want this to be a true resource hub. First,   that share link keeps your website trapped inside  the Gemini interface. It doesn't look like a   standalone website. Second, and most importantly,  if you ever accidentally delete this chat history   in the future, your website goes offline and  all your links break. By exporting the code to   our desktop, we strip away the AI branding. We own  the file forever and it becomes 100% professional   standalone site. But let's move it online now so  we can share the link. As a demo, I'm just going

Step 8: Hosting for Free with Netlify Drop

to use Netlefi Drop. It's going to allow me to  drag that file right in here to show you online.    Now, you can go ahead and get a custom domain for  it. Go to a place and get uh hosting and move that   file up online and it will work that way, too. But  what we're going to do, I'm just going to click on   browse here and I'm going to go grab this from  my desktop from that folder. It's just the one   uh file that I have. I'm going to click upload  and upload. So, it's going   to upload that one file. My project is live. I'm  just using the free version here. If you create   an account here, if you sign up for free, you can  uh you'll see you have more privileges that way.    This is just the password I'm going to use really  quickly here. I'm going to click on the link and   it's going to just I'll paste in the password.   And here we go. So, this is online based on this   uh address up top right here. So, this one's only  live for an hour, but I just wanted to show you   testing it out. So, this is a fully functional  website. We've downloaded. It's not connected to   Gemini anymore. You can see that everything works  in here. And that's it. Netifi just generated a   live secure public link. You can drop it in  an email, Google Classroom, or anywhere else.    Best of all, if you ever want to update this guide  next year with the new payload specification,   you just drag your update folder right back  here. The site updates instantly and your URL   stays exactly the same. No broken links. You  just took complex research from Notebook LM,   built a custom website with Gemini, and publish  it to the web without knowing how to code. Thanks   for watching this week on Teachers Tech. I'll see  you next time with more tech tips and tutorials.

Другие видео автора — Teacher's Tech

Ctrl+V

Экстракт Знаний в Telegram

Экстракты и дистилляты из лучших YouTube-каналов — сразу после публикации.

Подписаться

Дайджест Экстрактов

Лучшие методички за неделю — каждый понедельник