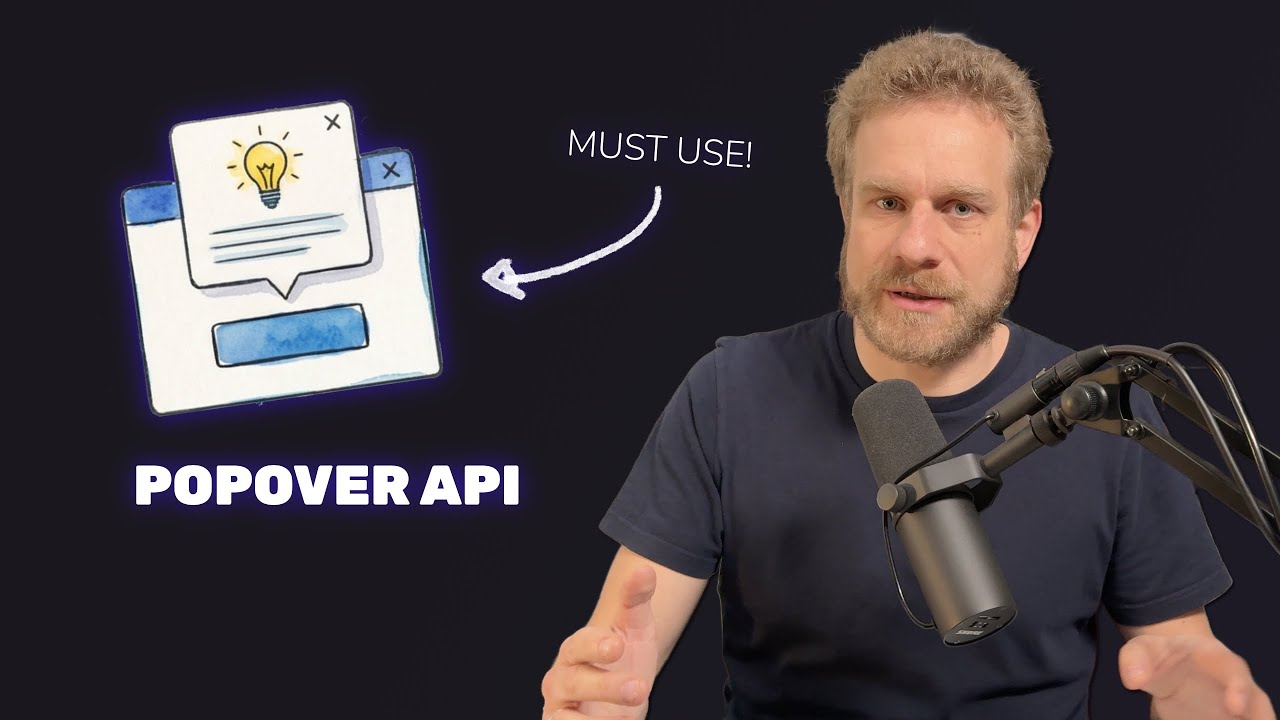
If you're building a website, chances are pretty high that you'll need some kind overlays on the website. For example, a modal, maybe a dropdown, maybe some toast messages. Overlays are everywhere. The chances are also pretty high that you're building them like a caveman, you're still writing your own JavaScript code or you're using some library, but you don't have to because you can use the Popover API. The Popover API is a relatively new browser API which has amazing browser compatibility, all major browsers support it so it's today. And the Popover API makes building or dropdowns or toast messages like this a breeze, with no or only a bare minimum of JavaScript code required. Now this video here is part of a little mini series where I of pretty amazing modern browser and CSS features that today because they have great cross-browser support, but that many people, also because AI doesn't really know about I want to change that, at least for you, and you can then change it for AI and therefore let's now take a look at the Popover API. So here I'm in that example project and you also find that below, of course, attached so that you can take a look at it yourself. And the code for this is super simple. If we take a look at the index HTML file here, when it comes to this first modal, this here is the relevant code. And that's all. No JavaScript code needed. Instead we got our button that opens the modal, This button has the Popover target attribute which is part of the Popover API, so it's a special attribute, and the value of this attribute in this case. But it could be anything because it's ID of the element that contains the content So in this case here, this div. So I'm pointing at this div essentially and saying, "Hey, please open this div as an overlay button here is pressed. " That's all that's happening here. Important though, this div also must have the Popover So we have Popover target on the trigger and Popover on the content. And then we also connect trigger and content with the ID. And that is all. Again, no JavaScript code needed. I do have some CSS code though to style this modal of course, but in the end it's just standard CSS, maybe except for a few tiny details. For example, the Popover open pseudo class, here. This is added by the browser or becomes active by the browser automatically when that Popover opens. And you can use it to style the Popover content in the open state, and you can for example also use it to have a little entry animation. So here I set the opacity to one and, uh, scale and translate Y to the actual end values I want to have. But I then also use the starting style CSS rule, which is also relatively new, to set a starting style for this open state, which deviates from that final state. Here I set opacity to zero and have some other transform values. And that in the end leads to that nice entry transition which is played automatically because I have my transition property on the Popover modal and I have transition set up for opacity and transform. That is how the entry animation works. This Popover doesn't just have an entry animation though, it also has a nice dismissal exit animation, and that is achieved by animating or by transitioning the display property with allow discreet. Allow discreet is also a relatively new CSS feature which you can use on display transitions for example, and this simply tells the browser that it should wait with the removal of this element from the DOM or with actually, um, well, hiding it so to say. That it should wait with that until that transition is done. That's the simple way of putting it, and that is exactly what you need to the exit of this element. Because we also have opacity zero and the transform styles as set up here on the Popover modal itself, so that is what it will animate to the Popover open class, which it does get rid of once you start So that is how that exit animation is implemented. And then also interesting, we got the backdrop pseudo element managed by the browser because the browser does not just open that overlay for you, it also gives you a backdrop which you can style by targeting this element here. And then again here you can also achieve starting style and so on, and an exit animation as well So that's the CSS styling, but when it comes to just managing overlay, it's just HTML. Now for this Popover here, the Popover target action attribute, which you can find on this button which is inside of the Popover content. There I also have Popover target pointing the actual overlay element of which this button is part of, to make this button close the Popover because it's my close button. And to get it to close it instead of open it, which would be the default, I add the Popover target action attribute which is another attribute that's part of the Popover API and set that to hide. The alternatives would be show if I wanted to show it, but of course that's not what I want here button, or toggle to do the opposite of what's So show it if it's hidden, hide it if it's shown. But here it should always hide so I set it to hide. And it's the same for this dropdown for example. It looks different but here again it's still a button with then action menu as an ID which is the ID on that div, which dropdown and then on that content we also have Popover code. Again, we do have some CSS code involved before just without a backdrop because I don't need a backdrop here. But what's interesting about this CSS code is the position anchor property. This is also a relatively new CSS feature which unfortunately is not yet supported
Segment 2 (05:00 - 09:00)
by all major browsers by the point of time I'm recording this. Firefox is not supporting it yet. And the idea behind this property simply it simplifies the process of visually attaching one element to another. It works like this. You define an anchor name which anchor property on the element you want to attach another element to. So in this case that's my menu trigger which simply is this button here. That is the anchor name, and then position anchor targets therefore tells the browser hey, this element, the menu Popover which content of the dropdown menu, that should be visually attached to name element, so to the trigger, to this button and that attachment here. Now when it comes to the toast notifications I some JavaScript code, but in the end really just to dynamically toast messages. So here in the HTML code we got no Popover or anything like that. Instead I got some JavaScript codes down my event listener, where I call show toast which In that function I call create toast which is also my own function, and in this function I simply create a div, so on and very important I add the Popover property which is the equivalent to the Popover attribute just in JavaScript now. Also important on that property I set a value of manual and before with the Popover attribute I did not set any values. The reason for that is that we could have, we could have set this to auto which is the default value but since it's a default you don't need to Now what's the difference you rightfully ask? With auto the idea is that if you have a Popover of type auto open, if some other Popover appears on the that first popover closes. So this dropdown closes as soon as I emit toast. But as you might notice, I can have multiple toast messages even every single one of them is a popover. And that is the case because of manual. With manual, you can have multiple popovers at the same manual popovers will dismiss auto popovers as you see. The dropdown closes when I emit toasts. That's the entire idea here. Besides that, the only difference is that I programmatically open and hide this popover with the showPopover and hidePopover methods which are provided by the browser. And other than that, the browser still manages all the rest, ensures accessibility that it's on the highest possible visual that fun stuff. Now for the tool tip here, I can hover over this to show the popover because it's not restricted to clicks and instead, you can also listen to mouse enter and mouse leave for hover effects and use that to show or hide a popover, which is exactly what I'm doing here. Interesting about this popover is if we take a look at the HTML code, where I'm setting it up, that I don't have a popover target here triggered that programmatically, but I do have the popover attribute set on the actual content that should be shown as an overlay. So you can mix and match programmatic and, uh, declarative, uh, setup. But here, I set that to the hint value. So not auto, not manual, but hint. The idea behind hint is that like manual, multiple popovers can be open at the same close auto popovers. So where the dropdown would close toast, it does not close if I hover over this button. That's the difference between manual and hint. Both are about having multiple popovers, but hint does not close auto popovers. Now, kind of related to the popover API is the dialog element, which is also part of the browser. The dialog element can also be used to show a modal. What's the difference, though? The difference is modals capture the user's focus and attention. You can't dismiss them by clicking the backdrop. That's one of the main differences. The modal that was created with the popover API can be dismissed by clicking backdrop, just as this dropdown can be closed by The modal opened with the dialog element can only be closed by interacting with the buttons and then it simply depends on how you configure the buttons which code is triggered when you click those buttons or with the escape key, the backdrop. Now I do show and hide this dialog modal here this case by simply getting hold of my dialog and then I have event listeners on the different buttons to show the modal or to close it. So it's not show popover and hide popover, but instead show modal and close on the dialog element. So dialog element supports these methods show or hide them. Now, since the dialog is not technically part API, it doesn't have that special popover open pseudo class. Instead, it has an open attribute that's added that for styling the open state and, for example, adding an animation. And it does have that same backdrop which you can use for styling the backdrop also adding an animation to that if you want to. And that's, therefore, how you can control overlays with the dialogs. And as you see, only a minimal amount of JavaScript code all, and you get all these benefits like better visibility on the highest possible level without writing your own JavaScript code. So the next time you're building a website and you need some kind of overlay, using the popover API or the dialog element might be worth your time.