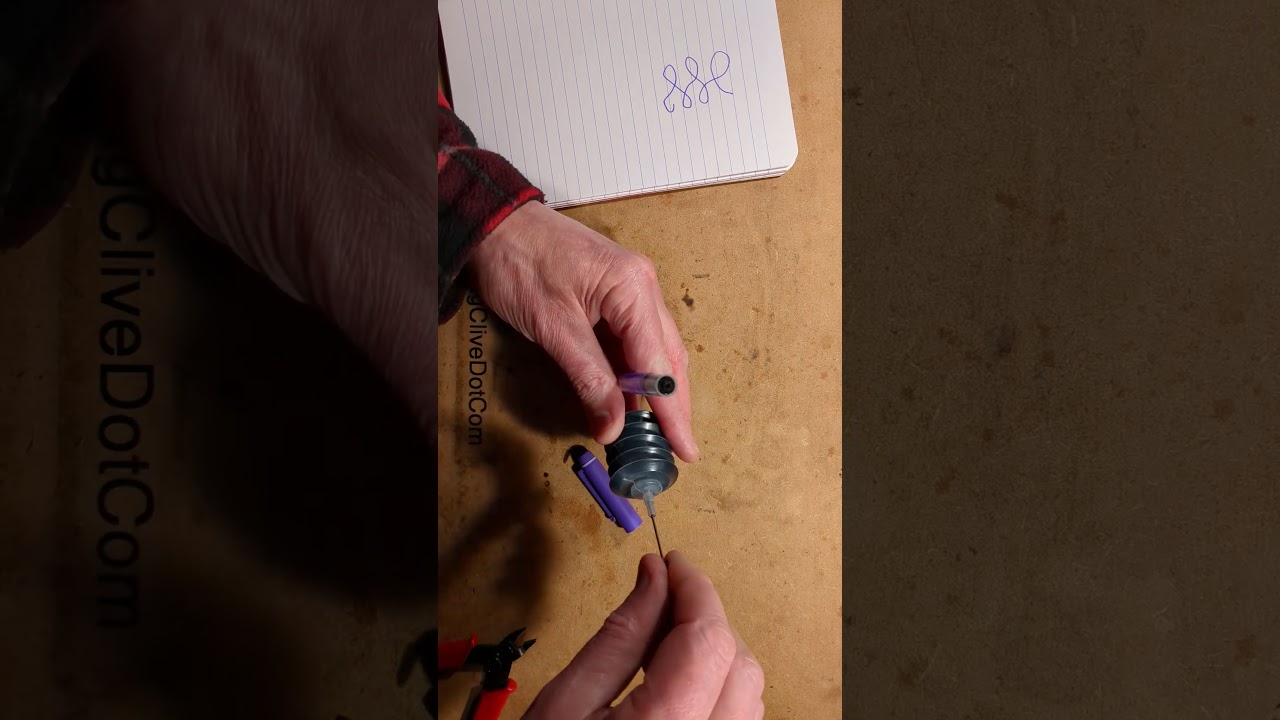
I'll start this video in the live stream area. And the whole video is going to sound a bit odd because I've got a wireless microphone on, but the purpose of this video is to show a basic traditional fiber optic light with the color wheel. And you might think there's nothing really special about that, but keep in mind that these days they've transitioned to using coloranging LEDs behind the fibers. And whereas this can actually do very subtle transitions of light spreading across the modern LED ones, they just don't look nice at all. This, incidentally, I've just put this bundle in. It's normally been stored like this. So, it uh hasn't really settled down yet. It would settle down more over time, but I've got another bundle I can put in, and I'll show you that right now. And the other bundle is a LED. Well, not LED. It is kind of LED, but it's not LED. Yes and no. But it's the LED fiber optic flowers. And as you can see, this vividly shows that you can get quite subtle uh color chases across the fibers uh instead of just a solid transition. And that often with the LED base sources, you often get the red, green, blue creates distinct patches on specific clumps of fiber optics. But anyway, let's go back to the bench and we'll open this base and take a look inside. back at the bench and we can pop the lid off this. But here's the clue already. A lot of you have seen this already, but you know, for those who haven't, h a traditional fiber optic illuminator has the light source and then the rotating disc. And when they have the stripey effect, swirling pinpoints of light over the uh fibers, that's these pattern sections. But let's pop it open and take a look inside. And this is ultimately what we have inside. We've got the an LED lamp where they'd normally have had a H hallogen lamp, a low power H hallogen lamp, and then a geared motor. So, I'll take this nut off here. Let me just grab a pair of longnose pliers and take the nut off because it's kind of it's not great for servicing in the sense that you do have to remove things like nuts to get access to the light. So, if I just unscrew that. Oh, and I dropped all the hardware inside. Here's the disc. Quite stylish, really. Uh there's the little uh synchronous motor. And at this point, it's really important to note if you have one of these lights and it doesn't rotate, uh make sure you've got the right power adapter with it. It's really important to correct one. Usually, they're 12 volts. In this case, it's a 5V amp uh adapter, but it needs to be AC output. If you put DC into this, the LED light will light, but uh the motor won't rotate. it will just lock solid uh until well potentially overheating the process. But uh it will lock until um you apply AC because it does need that. It needs the sine wave to actually give it rotation. It's one of the cheapest and simplest motors. That's why you find them in stuff like this. This is interesting because it's using a different LED lamp from the last one I looked at. It's using one with heat sink fins and everything on it. That's quite neat. It also looks very wonky. Like it's just not Oh, right. That is put together right. That's nice. Does this unscrew or does it just basically Am I just going to pop the whole thing out? Oh, I see what it is. It's got screws in the front maybe. But that little uh lens right I'm going to have to pop the lens out now, aren't I? So, that's reassuring. There is a metal clip in the front. Then when the lens pops out, it turns out it's a standard one watt 3 watt type Luxian style LED in there. Let's One of the screws is already kind of loose. Maybe that's the problem here. Oh, that LED also needs clamped into position. H [snorts] uh what if I undo this? There's a little driver in the back. Oh, you know what? When they've assembled it, they've just completely missed the screw hole. But there's the driver which will be the little bypin. It's probably pushed in then sort of glued in I'd guess. But it's a standard little rectifier and buck regulator arrangement buck converter. Okay. Right. I'm going to put that back together now properly like it should have been in the first place. Um but that's nice that you can actually service this as such. The one downside is here I really think is that LED being pushed hard on. I think it needs more better thermal coupling in the back. There is no Oh, there is thermal paste in the back. It's just not being squished in properly. In a way, it would have been nice if that had been screwed down as well. But anyway, I shall put this back together. Yeah. So, that's a cold white 3W LED current running on 12 volts about 260 milliamps. Um, interesting choice of lamp that uh I can see why they
Segment 2 (05:00 - 06:00)
misassembled it because it's not that easy to assemble. The pillars are actually sticking down below the actual point you put the screw through. But that's what's inside. That is the purpose of this video is just to say, you know, although it's quite nice that you get the control over modern RGB colorchanging LED uh control systems. When it comes to Crunch, sometimes it's just nice to have uh a very basic display, just a rotating color disc in front of a focused LED lamp onto the bundle of fiber optics. But that's it. Very simple. Not a lot to go wrong. But these power supplies with the old H hallogen bulbs used to fail all the time because they did overheat and people covered them or they just used the wrong power supplies and uh or worse still they they'd put in the wrongly rated lamp uh the H hallogen lamp rated much higher power overheat the power supply and potentially damage the fiber optic bundle as well. But that's it. Uh with LEDs it's kind of given them almost like a new lease of life.