This Camera Monitor Power Accessory ROCKS!
8:27

This Camera Monitor Power Accessory ROCKS!

DSLR Video Shooter 20.01.2026 22 144 просмотров 729 лайков

Machine-readable: Markdown · JSON API · Site index

Поделиться Telegram VK Бот
Транскрипт Скачать .md
Анализ с AI
Описание видео
Review of the KOERTACOO Dual NP-F and USB-C PD Power adapter for rigs! This thing is awesome! My Camera Gear: http://camerafoundry.com SmallRig 212W Battery: https://geni.us/smallrig-vb212 My Guides and LUTs: https://academy.dslrvideoshooter.com GEAR MENTIONED CineBack® Rigs: https://camerafoundry.com/collections/all-cineback-models SmallRig VB212 V-Mount Battery: https://geni.us/smallrig-vb212 
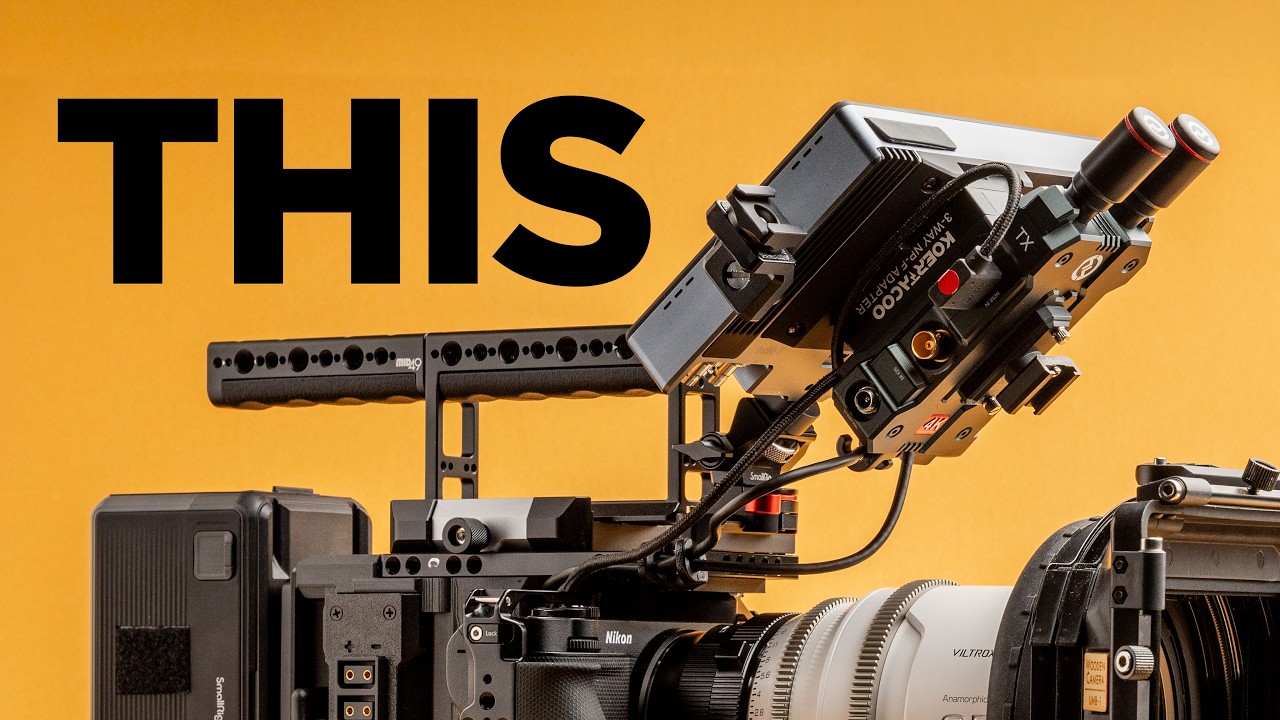
KOERTACOO Dual-Sided NP-F Battery Type-C Adapter - Main version I have: https://geni.us/7rpD - Version with a built in battery: https://geni.us/tEXFcF - Rotating version: https://geni.us/rt7wBH SmallHD Indie 7 Monitor: https://geni.us/BjjD5SG Hollyland 4K Transmitter: https://geni.us/oS6FFct USB-C Right Angle Cables: https://camerafoundry.com/products/usb-c-cable USB-C Right Angle Adapters: https://geni.us/bv59 HDMI Right Angle Adapters: https://geni.us/QksWu9n 
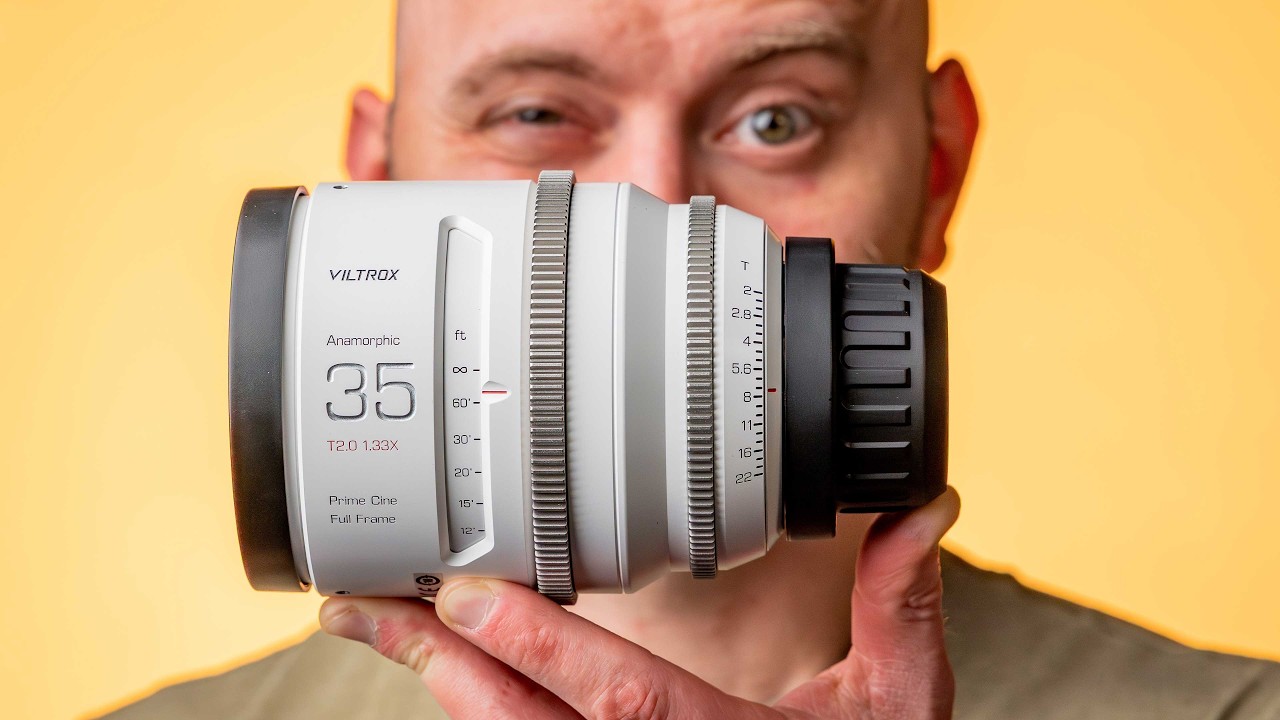
Viltrox EPIC Anamorphic Lenses: https://geni.us/Znn7u6 KOERTACOO Dual NP-F and USB-C PD Power adapter can't power up to 3 devices at once. Two NP-F devices and a USB-C Power Delivery device like a camera. It receives power via USB-C Power Delivery but there are models with D-Tap power as well. VIDEO SECTIONS 00:00 - Start 00:46 - KOERTACOO Dual-Sided NP-F Battery USB Type-C Adapter 02:05 - Using it with a monitor 04:54 - Powering a monitor, transmitter and camera! 06:50 - Pricing and other models

Оглавление (5 сегментов)

Start

Hey guys, Caleb here with DSLR video shooter and this is an absolutely monstrous Nikon ZR rig setup using Cinebag which is available now. That said, this video is not going to be about this rig. It's a little power accessory I have mounted right here that I'm really excited about. So, in a second, we're going to head over to the bench. But first, a quick disclaimer. No one is sponsoring this video. That said, it is supported by those of you who purchase my camera gear like Cineback or a lot of the used gear that I'm selling over at camerafoundry. com. So, if you want to support the channel, check out Cineback or gear like the Small Rig 212 battery, which I have mounted here. Gives you all day power. A fantastic tool to have in your filmmaker toolbox. Okay, with all that out of the way, let's head over to the bench and check out this little power accessory. And here is the tiny

KOERTACOO Dual-Sided NP-F Battery USB Type-C Adapter

device I want to talk about today. The CO taku. I'm probably butchering how that's said, but it's a three-way MPF adapter. This thing is such a great little powerhouse. So, in short, it is like an MPF Sony style or F- style battery or two of them sandwiched together. So, you can power two devices at once. Think a monitor and then a transmitter or something like that. But then on the other side, you'll notice here we have an input and an output. The input is USBC 9 to 20 volts. And the output is 36 watts max. Also USBC power delivery, meaning that you can send power delivery in and go power delivery out while powering two separate MPF devices, which is nuts. On the other side, you'll notice we have a little voltmeter, which is really handy. And now we can take a look at what this thing can do for us. And I'm going to bust out my small HD monitor. Oh, and I should mention in the box we get a little manual like this or a cute little hey, check us out thing. We've got a little baggie to hold things if you would like and a really nice coiled male to-male straight USBC cable with a little Velcro thing. Okay, here I have

Using it with a monitor

my Small HD Indi. I need to upgrade some mods on this and do a video on this thing because I absolutely love it and uh I think there's some really fun things you can do with a monitor like this to upgrade it. So, I'm going to take this little device here and I'm going to install it right here on the monitor. So, I'm going to click that in place. And so, that's going to supply juice to the monitor, but I also have those other outputs here. Next, I'm going to grab my Holland 4K transmitter and I'm going to use this thing in conjunction with this setup. This is pretty old probably. I'm sure there's a bunch of different options that I'm not aware of right now, but I've done a review on this and you can check that out in the description. Okay, so I'm going to simply line up and click that in place. And look how awesome that setup is. We've got everything nice and tidy. And now I'm going to play with some cables and we'll come back here in a second. And here is the final setup. So, we have a USBC power delivery cable coming from my Cineback for the ZR, and I'm going to be sending that into this little device here that is then splitting power to both the monitor and this transmitter using the MPF outputs. And I still have right here another USBC that I can use for another device. In this case, the camera, which you don't really need with Cineback because we have two USBC outputs, but you know, I'm a little biased as the person who invented this thing. Uh, but yeah, this thing is just so fantastic. So, let's go ahead and uh talk about how I've got power set up on here and what is really cool about this setup as well. So, there's a power switch right here on Cineback to send power from the battery to all of the outputs on Cineback. So, that's going to send juice into this little box. Uh, on the transmitter here, there's a power switch. I just leave it on. And that way, when I send power to here, it'll automatically turn on. And on in the menu of the small HD, and this always happens when I point at a glossy screen, I'll flip it over so we can actually have focus. Um, on the monitor, I've set it up to once it supplies power, it'll automatically turn on. So, I don't have to press and hold the power button. So, now if I hold things like this, you can see what's going on. I'll flip Cineback's power switch. There it goes. Sending power to our two devices. The monitor will take a second to turn on here. If we look at the top while we wait, we're getting 12 volts out of Cineback right now. Over power delivery. So, that's really handy to see what kind of juice you're looking at. The monitor is now on. And we'll look at the side here. And we have our transmitter on. So, one device. And I'm powering right now two. But I could send that output to my camera as well. So I'll do that here in a second. And then whenever I'm done filming, I simply turn this off and I can kill power to all of these devices with a single switch. All right. So here

Powering a monitor, transmitter and camera!

we have this final setup. I'm using my Nikon ZR Cineback rig. I'm going to be doing a video on this entire setup, so if you want to see that, make sure you're subscribed. The first thing I'm going to do is flip on the power switch on Cineback. We'll flip things back over and I'll turn the camera on. So, what we have going on is power going from my battery on Cineback out of power delivery on the other side. So, this thing has two USBC power delivery outputs. I'm sending one through to our little device on top right here that is powering both of these units, the small rig as well as the transmitter. And I'm sending that USBC output through into the camera, which is all cable managed in here. So, with a single device on the back of this monitor, I'm powering the monitor, transmitter, and camera, which is just nuts. So, it's a really, really slick little device and one that I would highly recommend checking out. I've got my monitor folded over in kind of a weird configuration just to show you another feature I like about this unit, and that is the cable management. There's just a lot of different ways to route cables around this thing. And when you combine them with right angle cables, like you see here, you can really keep things nice and tidy. So, I've got right angle HDMI cables. And over on Camera Foundry, you can purchase these right angle USBC cables in 10-in and 20-in lengths, which are perfect for rig setups like this. So, for this rig, I'm using two of those 20-in cables, and then those are being routed nice and neat. I also have a couple right angle adapters for both HDMI and USBC. And I'll of course have everything linked to in the description for all this stuff. These right angle cables keep things really tidy. I also have some right angles for the actual camera here. And all of this is available at camerafoundry. com. Now, let's talk about

Pricing and other models

pricing and a couple other things to keep in mind and different models and versions of this unit. So, I picked this one up for I think it was like $33, but it's around 30 bucks. And there are several different versions. The one I picked up has USBC power delivery in and out, but there's another version that adds DTAP in, so you can go USBC in and DTAP, but it's a fixed cable, so I probably would avoid that. And then the other option out there has a built-in battery, which is pretty slick. It's a bit chunkier, probably way heavier, but if you want a built-in power supply, that's pretty cool. And then finally, there's one that looks like it can rotate. So, if you wanted your transmitter to be sideways or vice versa, that's another option to look into. Although, it looks like it takes a DTAP to locking connector input. So, that would be fine. Again, with a rig like Cineback, you have all these DTAPs off to one side, so you could power it with a DTAP connector, but it doesn't look like it uses USBC in. So, all things to keep in mind. What I love about this one is just how simple it is. It's nice and small. And all these batteries these days have USBC outputs or at least a lot of the good ones like the Caleb Pike 212 Small Rig battery. And of course, if you're using Cinebac, you have two outputs built right into the side. If you want to learn more about this particular Nikon ZR setup, I'm going to be doing a dedicated video on it, covering all the bells and whistles and what makes this thing super unique. I'm also going to be diving into some Viltrox lens gear, so stay tuned for that. This epic series is nuts. So, that'll be fun to talk about here in the future. That's going to wrap this one up. Thank you guys so much for watching.

Другие видео автора — DSLR Video Shooter

Ctrl+V

Экстракт Знаний в Telegram

Экстракты и дистилляты из лучших YouTube-каналов — сразу после публикации.

Подписаться

Дайджест Экстрактов

Лучшие методички за неделю — каждый понедельник