Animating LEDs with a micro:bit
Machine-readable: Markdown · JSON API · Site index
Описание видео
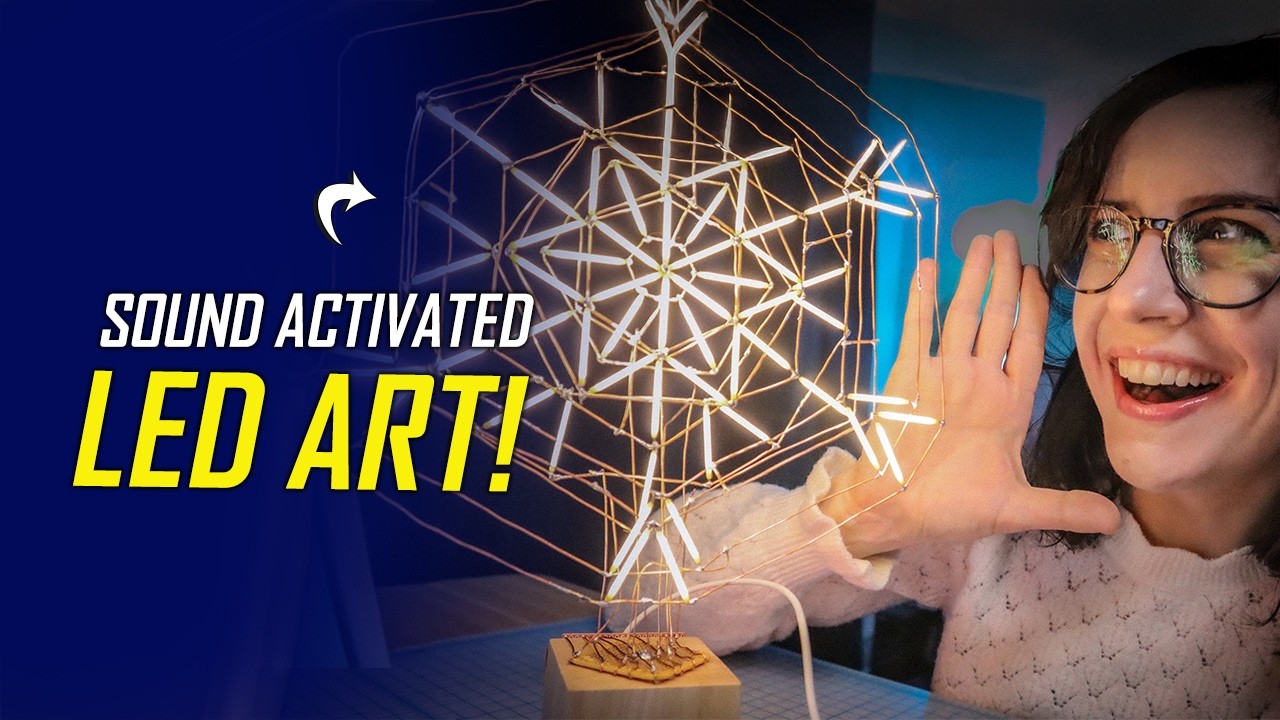
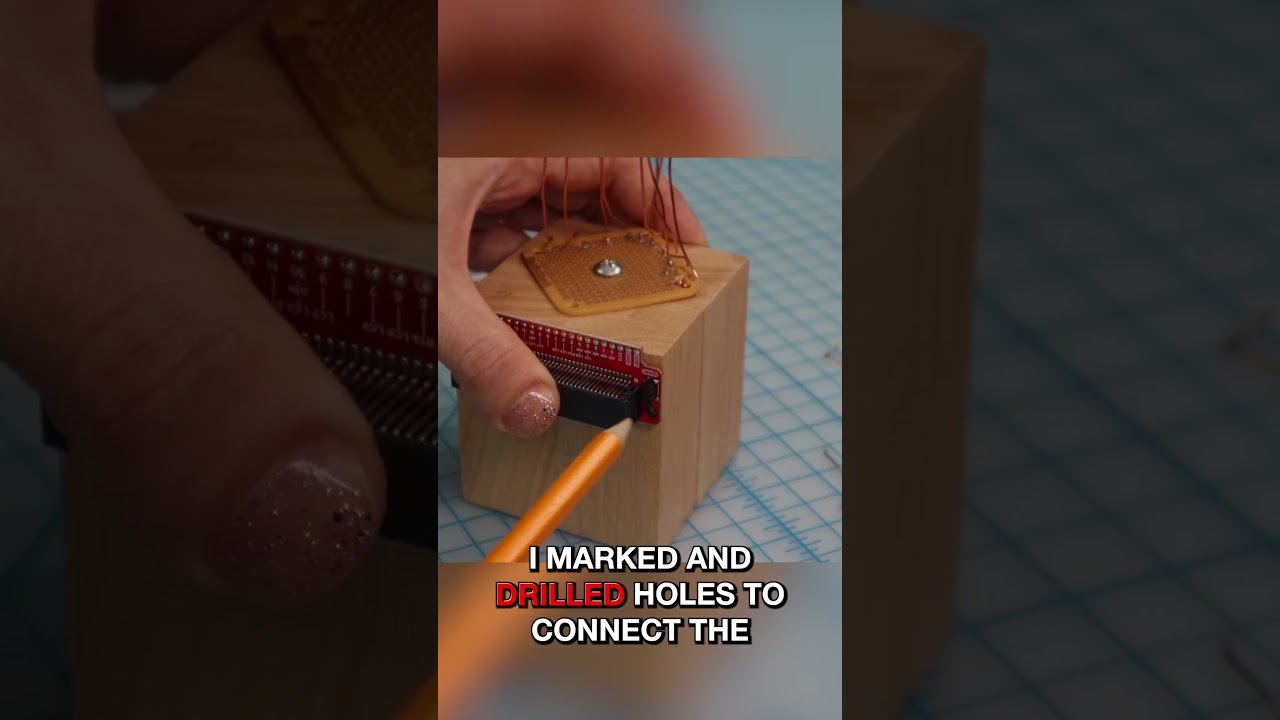
In this video, Natasha continues her LED snowflake circuit sculpture by connecting it to a micro:bit and bringing it to life with animation and sound interaction. She walks through how the LED filament groups are mapped to pins, how early animation ideas evolved once everything was powered up, and how she had to rethink her approach after running into the micro:bit’s analog pin limitations. Along the way, she shares practical build decisions, small problems that nearly derailed the project, and why switching from smooth fades to bold digital animation actually made the final result stronger. The finished snowflake reacts to sound using the micro:bit’s built‑in microphone and sits somewhere between a piece of art, a toy, and a display, and you can also follow along and find the products used on the element14 community: https://bit.ly/3Rr6ivR
#LEDSculpture #microbit #circuitsculpture
[00:50]-Connecting to the micro:bit
[01:45]-Setting up make:code
[02:20]-Creating LED Groups
[03:08]-Oh no! A Setback
[04:09]-Finalizing the Circuit Sculpture
[06:16]-Animating the LEDs
[08:53]-Time to Play!
[09:32]-Jam Session!
[10:12]-What's next?
=================================================================================
Engage with the element14 presents team on the element14 Community - suggest builds, find project files and behind the scenes video: https://bit.ly/3tmdewv
Visit the element14 Community for more great activities and free hardware:
Tech spotlights: https://bit.ly/3qPrDhM
RoadTest and Reviews: https://bit.ly/3pV5Bux
Project14: https://bit.ly/31wbnJY