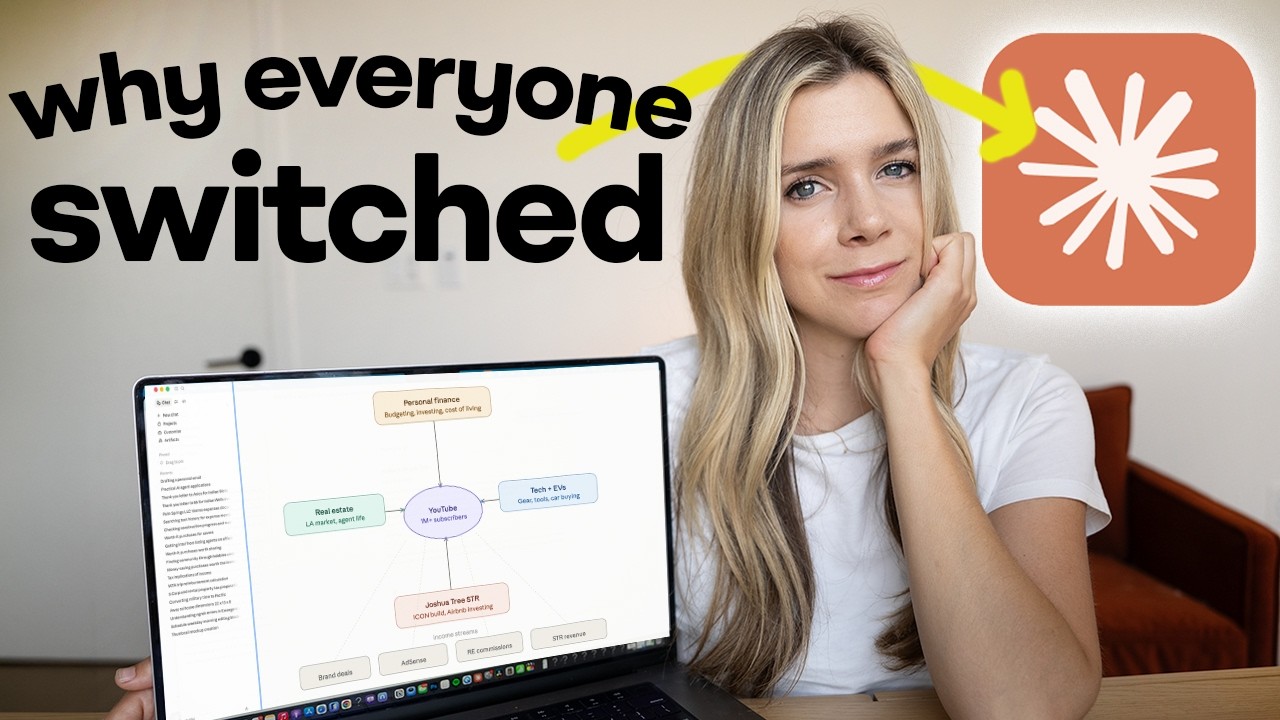
Thanks to Zapier for sponsoring! Zapier connects you directly to your apps, data, and workflows. Start building your own Zapier workflows and use my Zapier template today: https://bit.ly/4tJGNn5 #ZapierPartner
In this video, I'm sharing what I've learned so far building this house in Joshua Tree with Robuilt! We're about 4 months in, and have a lot of the major expenses out of the way (but still plenty of to go).
0:00 How It's Looking 4 Months In
2:30 Thank you to Zapier for sponsoring
4:02 Lesson Building #1
4:59 Lesson #2
5:59 Lesson #3
7:08 The Biggest Costs So Far
Vlog Channel: https://www.youtube.com/user/othershelby
Instagram: https://www.instagram.com/shelbychurch/
Twitter: @shelbychurch
Snapchat: shelbychurch
Follow me on LinkedIn: https://www.linkedin.com/in/shelby-church-58b5aa56/
Use my referral link to purchase a Tesla product and get up to $1,000 off:
https://www.tesla.com/referral/shelby87499
What Equipment I Use:
https://amzn.to/3Vw6WY6
🎵 Copyrighted music licensed from Lickd. https://lickd.co
If You Don't Want My Love by Jalen Ngonda, https://t.lickd.co/l/kr8M1z2187K
For business inquiries please contact shelby@ycaagency.com
Оглавление (6 сегментов)
How It's Looking 4 Months In
So, it is month four into my Joshua Tree House build. As a lot of you guys know, this is going to be a vacation rental that I'm building with my friend Rob. This is going to be an update on the Joshua Tree House, and I'll share some things I've learned about the build process so far. And I'll also share some of the costs of the build, which I know you guys are dying to know. First, I'll show you guys how it's looking. So, keep in mind, it is a little bit delayed because the window company had to send some additional parts. But now, by the time you're watching this, all of the windows are in, the door is in, the house is closed, basically. We can lock it. The day that I stopped by is when they were doing the final install for this corner pocket slider window wall system that is so cool. The windows going in is really the most fun exciting update, but there are some boring important updates, too. Like, 60% of the electrical is done, the plumbing is pretty much done, the roof is on. So, while the windows are the main difference in what you see, there's also been just a lot of updates on the things that are, you know, behind the walls. So, this is all the stuff that has to get done before drywalling, and it's almost done. Like, it's really almost there. Now that the house can be locked, they're going to finish up the electrical, and soon we'll start drywalling. This right here is the hallway that goes to three of the bedrooms, and super cool to see all of the sliders that go out to the pool are in. So, that was exciting, and then there's also a lot of the wiring within the bedrooms done. So smooth. So, in this room we've got wiring for some sconces. Actually, in a lot of the bedrooms, we decided to do that because it's just kind of like a cleaner look. It feels more like a hotel. And now we do have a lot of the canned lights ready to go. This right here is the Jack and Jill bathroom between two of the rooms. So, it looks like it's ready for the walls to start really be putting up like drywall pretty soon. So, that is basically what the house is looking like, except now that I'm editing this, the front door is in and all the windows are actually installed. One thing that you can't really see from my videos here that's done is the roof. If you look at the corner there, you can tell the roof is on. And they're not able to start on the pool until the full outside is done because they need that area right now to put their trucks in. They don't want anyone falling in an empty pool. It would get dirty. So, we're waiting a little bit on the outdoor area. I want to share with you guys a few things I've learned so far about building and some of the costs with this build. But first, I want to thank Zapier for sponsoring this video. If you're wondering how I'm able to build a house in Joshua Tree, upload YouTube videos, and sell real estate in LA, it is because I automate as much as I can so I have time to focus on what's important. And Zapier is an automation platform helping me do that. You can
Thank you to Zapier for sponsoring
connect different platforms like Google Drive, Sheets, Notion, YouTube, and it will automate workflows between all of these different apps. There's over 9,000 different apps that you can connect. So, no matter what your job is, there's going to be some automated workflows that are going to be useful to you. One of the automations I created is to get an email notification everyone fills out my Google Form and also to have it log it in a spreadsheet. You can set up a Zap manually or now because it's integrated with Copilot, you can just kind of type out what you want and it'll go to work making it for you. So, I typed out exactly that what I just told you guys and it kind of went to work setting up the automation. So, we can see the three apps we're going to use for this automation. We're going to go into the Zap editor. So, now I can go in and I can connect my real estate email, connect the Google Form that I want it to be working off of, and the spreadsheet that I want it to add things to. And then I went and I filled the Google Form out to test it and sure enough, I got an email of my new lead. So, now I'm not going to forget these. So, Zapier has what's called an MCP server which makes it easier to set up these automations and you can even use Zapier within Claude or ChatGPT. This lets you do even more. So, for example, with my Claude MCP server, I can now have it draft an email response to whoever filled out the form with information about the neighborhood and asking them when would work to get on a call. So, if you guys want to start automating your workflows, you can actually try Zapier for 2 weeks for free. I'll have the link down below. Go give it a try. You don't even have to put in your credit card info or anything. You can just like try it. All right, now let's get into what I've learned so far in the process of building a house and the costs. The first thing I've learned has to do with one of the most expensive line items and
Lesson Building #1
that is the windows. Be mindful of window height. So, when you're looking at architectural plans, you can see the window placement. You can really visualize that well. You don't see a 3D view of how tall the windows are. Now, it is written off to the side, but you're not getting that visual. So, there's a couple windows going into bathrooms that I would have ordered smaller ones. So, this is the window I didn't realize was going to be a lot longer. And this is right in the carport. So, you drive in and you would basically see someone showering. We do have the solution. We're just going to have a film put on it, so it'll be frosted glass. And I still like that we'll get a lot of natural light in that bathroom. But, it would have been less expensive to have a smaller window. So, in hindsight, I would just do a smaller window towards the top of the room. So, we'd still get natural light and it wouldn't be as expensive. But, I've seen showers before where they have a big frosted glass window and it's pretty cool. Like, I like the brightness of it and putting a plant outside just in front of the window, I think that would look nice, too. The next thing I've learned is that having a general
Lesson #2
contractor is so worth it for your first build. So, we have a general contractor for this build and I am so glad we do because I live 2 hours away from where this is being built cuz I just don't think my time is best spent trying to be a first-time owner-builder. I think doing it yourself, you'd probably make a lot of mistakes that cost you more than just having a general contractor. And there were a couple things in our plans that in reality weren't really going to work that our contractor was able to flag and he was actually able to save us money with some of the solutions because he's built over 100 houses in this area. So, he knows the ins and outs and I just can't imagine the mental space it would take managing a bunch of subcontractors and figuring out how to do all of that when I wouldn't even really know how to do it or live in the area. This is something you really want to live close by if you're going to do and have a lot of extra time because I'm trying to do a lot of other things outside of this and the only way that's possible is really having a general contractor. Otherwise, other things in my life would definitely slip through the cracks. The next thing I learned is that the cost of certain
Lesson #3
things is going to go up from the time you start planning to actually building. So, the cost of lumber is the big one. The lumber's always fluctuating in price and it has gone up since we first started planning this build and I kind of figured it would. I did expect this, but I still wanted who wants to build something. The one I didn't anticipate for was the steel beams. Those ended up costing more because we bought them after the tariffs were put in place. Steel now has a 50% tariff, so yeah, the price went up quite a bit. There was no way to really predict this one when we started building, but you know, things like this can happen. — Had we started the build a couple years ago, those would have been a little bit less expensive. That's a new one, you know? Lumber's a commodity that, you know, you expect. Steel, I didn't I didn't. And in general, just inflation kind of makes everything a little more expensive. So, if you're planning a build and you're going to start it in a year or two from now, prices might be a little bit higher. — So, those are a few things I've learned, but for the most part, it's been pretty smooth thus far. Mostly because we have a general contractor, he knows what he's doing and I don't have to like be there on site. Now, let's talk about
The Biggest Costs So Far
the costs. I'm not going to share all the costs, but I'll share some of the bigger ticket items that were pretty expensive. — I feel like they're going to be more expensive than most people would expect. — Starting with the foundation, an absolute necessity. This was $52,140, which is the same amount that we were quoted from the contractor before we started the build, so that's good. I think it is more expensive than the average foundation because we had to have these footings put in for the steel beams. So, there was more work involved there and in general, for pouring concrete, there's a lot of people there. It's a lot of labor. It's not just the concrete. So, that is a big ticket item. Lumber for framing the house. This ended up being $58,723. Pretty expensive. It actually is more than we were quoted before we started the build, but we were warned on this that the price could change cuz like I said earlier, it fluctuates. So, we thought it would be $47,000. And yeah, it ended up being like $11,000 higher. It's a 2,500 sq ft house, but one thing I want to know is it's pretty tall. For one-story house, it's definitely taller than the average house. So, there's obviously more lumber used. Now, this is the most expensive thing so far, and that is the windows. So, the windows themselves and the labor to install them and everything was $92,000. So, those window wall systems like we have in there, super cool, but not cheap. But the other thing is we do have a lot of large windows throughout the house. This is where I go, yeah, we could have done probably smaller ones in that hallway to save on some of that cost, but I really think that pocket door slider window wall system, oh, it just makes the house. Like it is so cool. It's like a amazing architectural feature. It looks incredible. I think it is one of those things that people will want to book the house to have that indoor outdoor flow. Like it's just so cool. I don't feel the same way about like the windows going down to that hallway. Like yeah, probably didn't need to do all those. So, that is what it's looking like right now. It's pretty exciting cuz we're getting super close to actually getting to the design portion. Like the tile selection, cabinets, all of that. This is a different project that my contractor just finished. What do we think of these oak cabinets? To me, these look like IKEA cabinets with oak fronts, right? Like every time I see this, I think it's an IKEA box, but I'm not sure. I do like the look of these oak cabinets, though. I think that they look good, but we do like probably different backsplash. I think these look good, but I also I'm like, "Hmm, what if we did a walnut? " I've done some renderings of the kitchen. I need to decide. I always lean towards oak though, I think. Cuz it's going to be light and bright in there, but I'll probably do a trip to the cabinet store, too, cuz they have one in Orange County. We've kind of gotten the most expensive things out of the way. Everything else, you know, some of them like cabinets are expensive, but everything else will be smaller line items than that. And the only other thing that's like a big, big expense is the pool. There's still quite a bit of a ways to go. I know a lot of people want to know like when will it be done? I don't know exactly, and I don't like really giving estimates because things can happen that delay it. That's why I don't even really like putting it out there because construction is notorious for getting delayed and like costing more than you think. So, I'm like, I don't even want to say. We'll see. I'll keep you guys updated on how it's going. Okay, I hope that you guys enjoyed this update. Be sure to subscribe if you want to see future updates, and I'll see you guys in my next video. Bye.