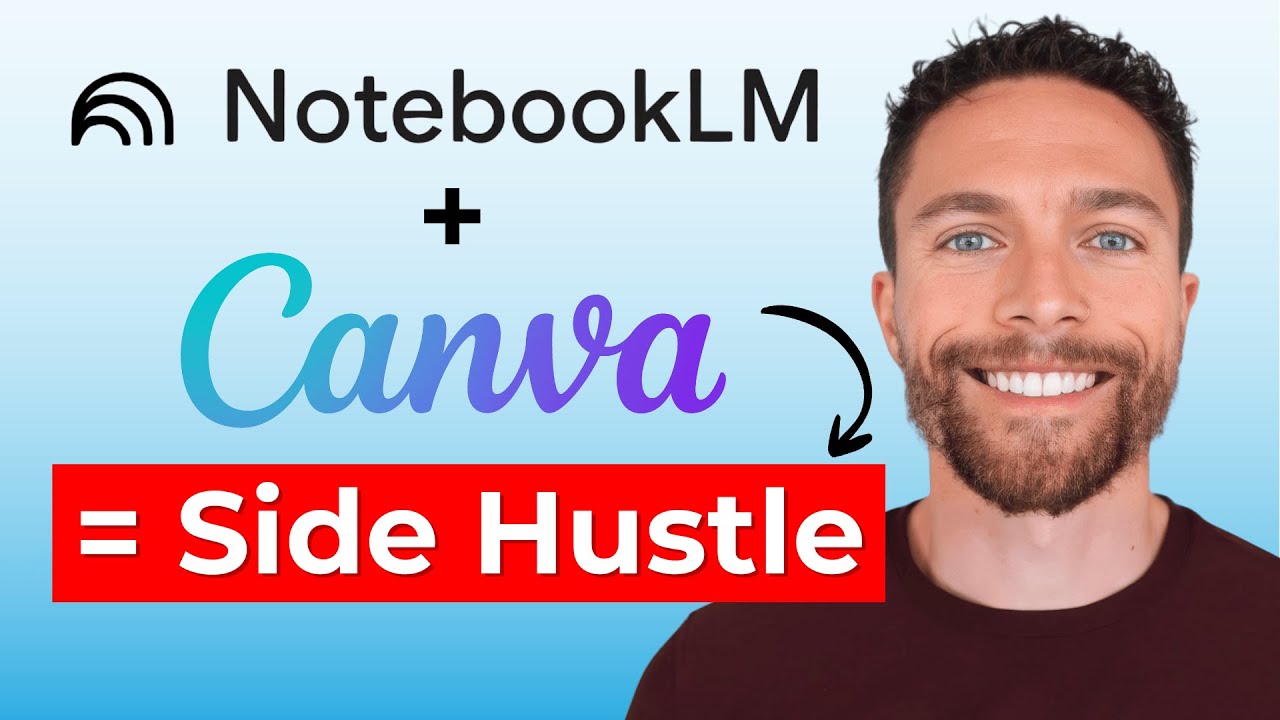
How to Create INCREDIBLE Infographics with NotebookLM (No Watermarks)
Machine-readable: Markdown · JSON API · Site index
Описание видео
Try i10x: https://i10x.ai?fpr=paul53
Save an additional 15% by using the code "PJL15"
Discover how to create stunning, professional-looking infographics completely for free using NotebookLM's hidden features and custom style prompts. With NO watermarks.
Prompts Used:
Mini World: Miniature World Look with Geometric shapes, "blocky" characters, and a clear sense of depth without using true 3D perspective.
Chalkboard: Chalkboard style
Anime Battle: Anime Battle Style
3D: Tactile 3D style with Neumorphism (soft shadows that make shapes look extruded from the background), glossy finishes, and inflated 3D shapes.
90s Video Game: 90s/Y2K Retro style with pixel art icons, bright neon or "bubblegum" colors, and chunky, rounded typography.
Whiteboard: Whiteboard style
Kawaii: Kawaii Doodle Art style
Resume Journey: Create an infographic that shows the journey of my career and major milestones. Make it in an Oregon Trail style.
Time Stamps:
0:00 Intro
00:25 NotebookLM Recap
01:15 Secret Settings
02:33 Mastering Style Prompts
04:01 Creative Style Examples
04:50 Logo Remover
07:10 Maps and Timelines
08:11 Visualizing Careers
08:50 Source Selection
09:34 Exploded View
09:52 Data Visualization
🔗 This video is sponsored. Some product links are affiliate links which means if you buy something we'll receive a small commission.