Try Out Dzine: https://www.dzine.ai/src/pauljlipsky01
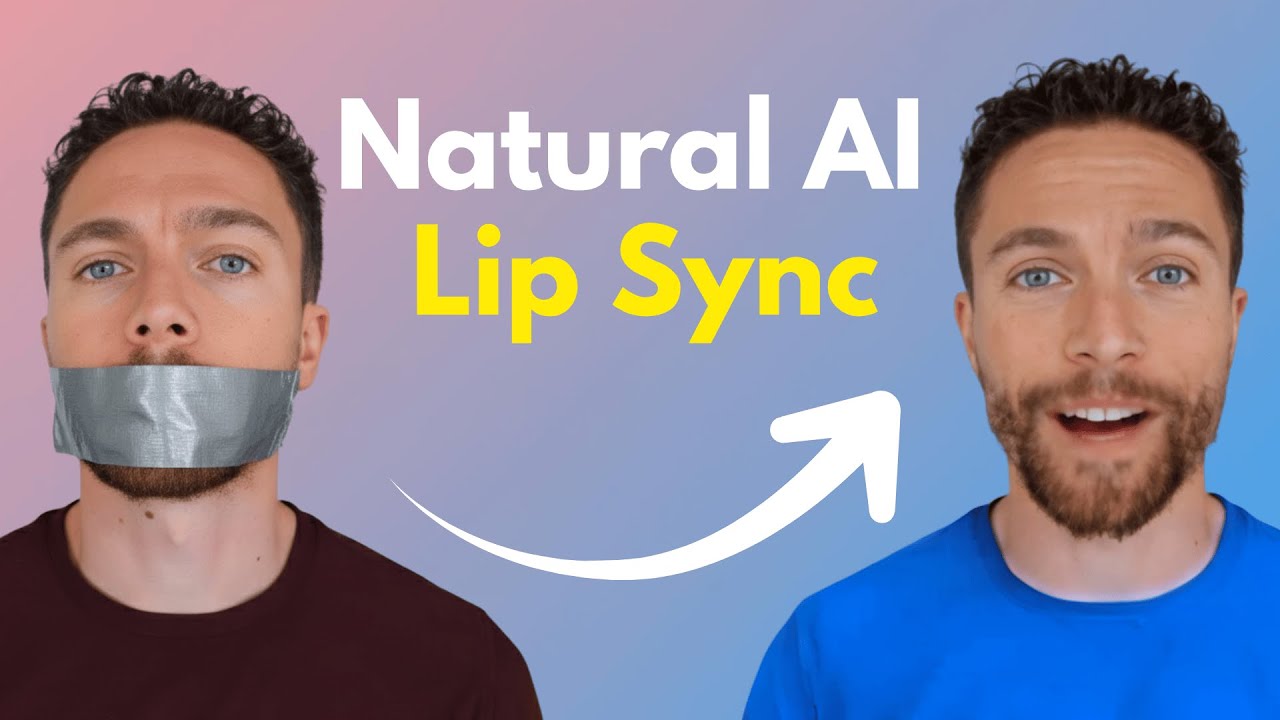
I found a very easy to use tool that allows you to perfectly lip sync and image using AI.
🤔 Have a question about AI Lip Syncing? Drop it in the comments!
🔗 This video is sponsored.
Оглавление (3 сегментов)
Segment 1 (00:00 - 05:00)
So, I just found this new tool that allows you to create AI avatars like this in just a few minutes. And honestly, the results are way better than I ever expected. So, in this video, I'll show you exactly how I did this step by step. Let's dive in. So, this is a tool that I've been using to make those AI avatars whose lips perfectly sync up with what's being said. The tool is called Design AI. Now, I want to let you know upfront that they are the sponsor of today's video, but if you want to follow along with me as I show you how to use this step by step, make sure to click the first link down below in the description. Now, when you first check out design, you're going to notice that it actually does a whole lot. We have image to image, text to image, consistent characters, image to video, face swap, along with editing tools like expand, AI eraser, and insert object. However, today we are focusing specifically on their lips sync feature because it is really, really cool and surprisingly easy to use. Now, let's go ahead and do one of those lip sync videos. So, to get started with any project, you're going to click here on the left where it says projects and then click on the top right here where it says new project. We'll go ahead and give this a name. I'll just call this one test. And then we'll choose our aspect ratio. Now, there are a few different choices here. I want this one to be widescreen for a YouTube video. So I will do 16 by9 and then I'll click on apply. Now right here, this is your canvas. This is where you can upload any assets. I'll show you how that works in a minute. There are a ton of editing tools up here as well. But on the left here, I'm going to click on one of the tools that I want to use. In this case, it is lip sync. So with lip sync, there are two different modes. There's normal mode and then there is pro mode. I want to use pro mode to get the best quality possible. And then you have to actually upload the image that you want to use. So I'm gonna go ahead and I'm not going to upload a face video. I'm image. So upload an image of myself. There we go. And you'll notice that the Zen highlighted my face here. So I'm going to go ahead and approve that by clicking select. However, if it got it wrong or you wanted to make a different choice, you could always click here where it says mass or mark face manually. However, every time I've done this, it has perfectly outlined any face that I've uploaded into it. So, with that selected, I'll now click on next. And then here's where you can actually crop the image. I just click on the aspect ratio that matches what I've already chosen for this, which in this case is 16 by9. You can zoom in or out if you want. However, I'm happy with the original image. So, I'm just going to leave that one alone and click on next. Okay. So, you can now see that this image has been brought into the project timeline. You can see that down here. If I go ahead and click play on this, you can see that nothing happens yet because we haven't actually picked a voice. So, let's go ahead and pick a voice down here by clicking here. And here, you can either pick a voice that you want to use or even upload your own audio. But for purposes of this, we are going to use one of the pre-built voices. So, let's go ahead and give some of these a listen. — I must not fear. Fear is the mind killer. — Find a comfortable place to lie down. — That's like for meditation, right? — Hold on to your hats, folks, because the news coming out from Nvidia today. Hey, what's up, guys? This is Finn. I can't wait to work with you in like your hats, folks. — Nice and enthusiastic. So, I'm going to go ahead and select Joey. So now here's where you can actually put in the dialogue that you want the voice to say. So let me go ahead and fill that in. There we go. I just filled in the script for the intro of this YouTube video. And then I'll click on generate audio. So I just found this new tool that allows you to create AI avatars like this in just a few minutes. And honestly, the results are way better than I expected. So in this video, — that sounds great. Really, really solid. Sounds like a real person to me. So, I'm going to go ahead and click on apply. But if for some reason you didn't like that, you could always go ahead and choose a different voice. So, I'll click on apply for this. You'll see that is now in the timeline down here. Now, again, if we click play here, you're going to see that nothing's happening with the image. And that's because we haven't actually generated the video for the image yet. So, to do that, you have to click right here where it says generate. But you only want to do that after you have the image uploaded exactly the way that you like and you have the voice as well. You can make any edits to it that you want. You can see right here I can like drag this and make it shorter to get it exactly the way that you want. But once you're happy, just go ahead and click right here where it says generate. Now that is working. We'll give that a few minutes and then we'll come back and look at our final results. All right. So I can see on the top right that this is now finished. So let's go ahead and watch it. So, I just found this new tool
Segment 2 (05:00 - 10:00)
that allows you to create AI avatars like this in just a few minutes. And honestly, the results are way better than I That is really, really cool. I think that is one of the best lips lip-s sync generators I have seen. It really matches spoton with exactly what the person is saying. Let's take another watch real quick. So, I just found this new tool that allows you to create AI avatars. Like, that's really, really good. I'm super impressed with that. Now, if you don't want your own face on the video, that is okay because you can use a face that is completely AI generated. So, again, we're going to click over here on the left where it says projects. This is where everything starts. I'll go ahead and start a new project here. And I'm going to call this one test two. We'll again do 16 by9 for this one. And now here on the left, I'm going to select where it says text to image. Now, for the prompt, I'm going to paste in exactly what I'm looking for, which is a male travel vlogger in his 30s, confident expression, studio lighting, high quality portrait. Now, to choose the exact style, you want to click up here and select whichever style you want. I'm going to choose the most realistic looking one, which is realistic V3. Underneath aspect ratio, I'm going to keep it the same size as the canvas. And then I'll leave the other settings alone, except for generation mode. I'm going to turn on HQ for the highest quality image and then click on generate. All right, so here are the results. You see that actually creates two of them for us. That way we can choose which one we like better. So I think both of them look great, but I'm going to go ahead and go with this one just because you can see more of the guy's face. Now what you can do is click right here where it says place on canvas. And now we can actually use this for another or with another tool, I should say. So again, I'm going to select where it says lip sync. I'm going to select the pro model again. And now you'll notice that if I click here where it says pick a face image, here is the image that we just created. So I'm going to go ahead and select that. It automatically selects the face. So I will select it and click on next. Now I'm going to go ahead and use the original aspect ratio for this project, which is 16 by9. We can go ahead and zoom in a little bit. I just want a little bit of a closer shot of his face. Maybe like there. And then click on next. All right. So now that is in our timeline. And just like before, we have to now pick the audio or the voice. So I'll click here again where it says pick a voice. Except this time I'm actually going to upload a file of my own voice of something I'm saying. So I'm going to go ahead and drag that in. There we go. So we can give this a listen. So, I just found this new tool that allows you to create. Great. And now, since this is exactly the way that I want, I'll click on generate here. And then we'll give this a few minutes and come back and look at the results. Now, while we're waiting for that video to generate, do me a quick favor. Go below, give this video a thumbs up, and subscribe to my channel if you like content like this. I make videos like this completely free for you guys. So, if you want to pay me back in just a very little way, that is the best way to help me. It helps my channel grow, which allows me to keep making these videos completely free for you guys. Okay, so this one is now finished. Let's go ahead and give it a watch. So, I just found this new tool that allows just a few minutes. And honestly, the results are way better than I ever expected. So, in this video, I'll show you exactly. — That's really, really good. So, I'm happy with that. So, what I'll now do is actually download this. I'll click right here to download this so I can use this at the start of this video. Now, there's one more thing I quickly want to show you, and that's multicaracter lip sync. You can actually have up to four characters in a scene with design, and all four of them can have their own unique voice. So, you can see right here, all I did was upload a photo that had more than one person in it. And now down here in the timeline, you can see we actually have four different speakers here. So, I'm going to go ahead and select a voice for all of them. So, this is a woman, so I'll select a woman's voice. — Hey, are you looking for a fresh and — I like that one. And she'll say something like, "What's up, guys? — What's up, guys? " — Then for this speaker, this is a guy, so maybe we'll use like Mark's voice. — I think this is a really nice way to just talk naturally together. — And then he's going to say something like, "Oh, I'm having such a rough week. " — There we go. And you notice here that you can drag these exactly where you want them in the story. So she asks what's up. Then he's going to say this. And then this woman is going to say something like, "Oh no, Mark, what's wrong? " And maybe we'll use Arabella's voice for that. — Oh no, Mark. What's wrong? — And then of course, I'll drag that here. And then the last guy. — Hey, what's up guys? This is Finn. Let me know in the com.
Segment 3 (10:00 - 11:00)
— He's going to be a little rude. He's going to say, "Get over it. Get over it. — There we go. And I'll drag this one right here. And so now I can play this on the timeline to make sure the timing works out. — What's up, guys? — Oh, I'm having such a rough week. — Oh no, Mark. What's wrong? — Get over it. — Okay. Yeah, there we go. And now I'll click on generate and see what that looks like. So, the video is done generating. Let's go ahead and watch it. — Oh, no. Mark, what's wrong? — Okay. I think I could have played around with the pacing a little bit better. I think that's my fault for in the editing process. I didn't put some of that close enough together, but overall really good. I like it. So, what I can now do is actually download this. Or if I wanted to for any of these videos, you can upscale them as well. If you click right here where it says video upscale, you can actually upscale this to a higher resolution before you actually download it. So, there you have it. That's exactly how to use Design's AI lip sync feature to create talking characters. Whether you want to use your own photos or create AI generated characters from scratch, the process is pretty straightforward and the results, I think, are super impressive. If you want to try this out for yourself, make sure to click the first link down below to check out Design AI and follow along with what I showed you today. Thanks so much for watching and I'll see you in the next video. Bye for now.