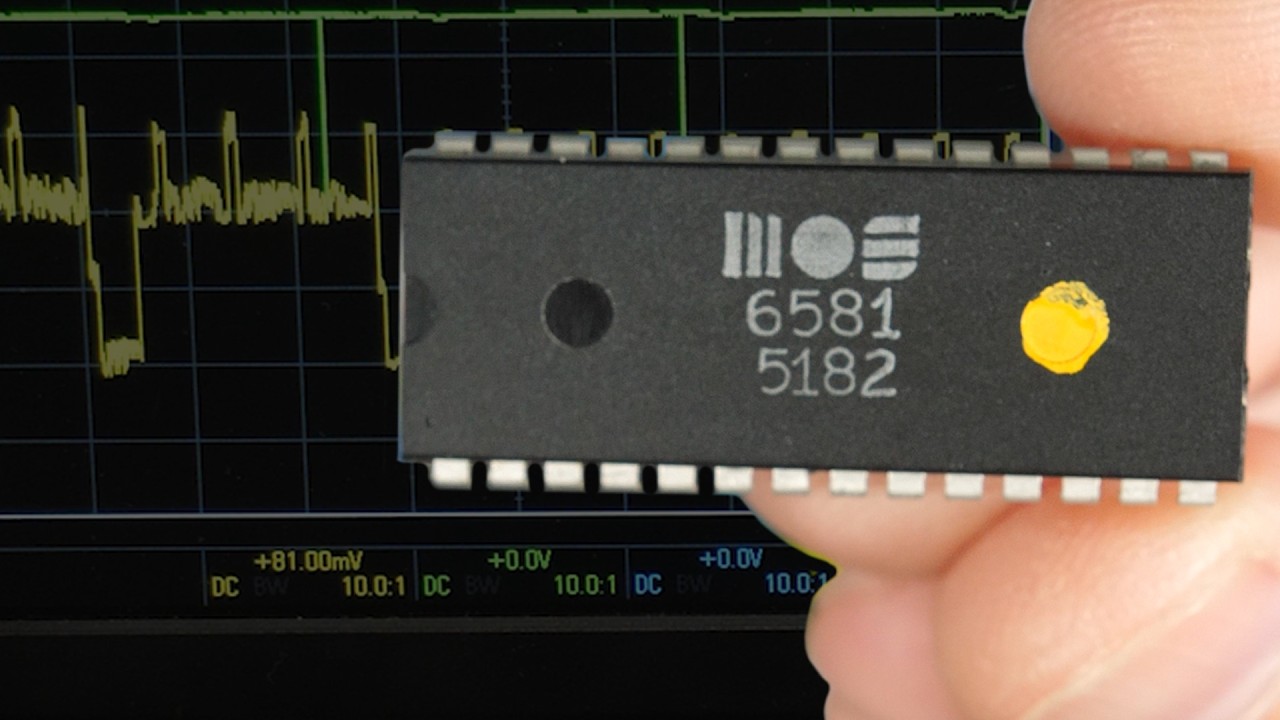
A simple BIOS for my breadboard computer
Machine-readable: Markdown · JSON API · Site index
Описание видео
More 6502: https://eater.net/6502
Support these videos on Patreon: https://www.patreon.com/beneater or https://eater.net/support for other ways to support.
------------------
Social media:
Website: https://www.eater.net
Twitter: https://x.com/beneater
Patreon: https://patreon.com/beneater
Reddit: https://www.reddit.com/r/beneater
Special thanks to these supporters for making this video possible:
Adrien Friggeri, Aleksey Smolenchuk, Anthony Weems, anula, Ben, Ben Cochran, Ben Williams, Benjamin Elder, Benji Bromberg, Bill Cooksey, Binh Tran, Богдан Федоров, Bradley Stach, Brian Haug, Burt Humburg, Carl Fooks, Carsten Schwender, Chai, Chris Anders, Chris Lajoie, criis, Cristi Cobzarenco, Daniel Tang, Daniel Zimmer, Dave Walter, Dave Westwood, David Clark, David Cox, David Dawkins, David House, David Klassen, David Sastre Medina, David Turner, Dean Winger, Deep Kalra, DemoniacDeath, Dennis Henderson, Dilip Gowda, Dirk Sperling, Dmitry Guyvoronsky, Dustin Campbell, Dzevad Trumic, Emilio Mendoza, Eric Dynowski, Erik Broeders, Erik Granlund, Ethan Sifferman, Eugene Bulkin, Evan Serrano, Evan Thayer, Eveli László, Florian Bürgi, fxshlein, George Miroshnykov, ghostdunk, Glen Jarvis, Gregory Burns, GusGold, Hailey, Hovis Biddle, Ingo Eble, Isaac Parker, Jack McKinney, Jacob Ford, James Capuder, Jason DeStefano, Jason Grim, Jason Thorpe, JavaXP, Jaxon Ketterman, jemmons, Jeremy Cole, Jesse Miller, Jim Kelly, Jim Kelly, Jim Knowler, Joe Beda, Joe Pregracke, Joe Rork, Joel, Joey Murphy, John Henning, Jon Dugan, Jonn Miller, Josh Smith, Justin Williams, Kai Wells, Kefen, Ken Paul, Kennard Smith, Kenneth Christensen, Kristian Høy Horsberg, Kyle Kellogg, Lambda GPU Workstations, László Bácsi, Lithou, Marcos Fujisawa, Marcus Classon, Mariano Uvalle, Mark Day, Martin Noble, Mats Fredriksson, Matthew Clifford, melvin2001, Michael Cartwright, MICHAEL SLASS, Michael Tedder, Michael Timbrook, Michael Weitman, Miguel Ríos, Mike Coate, mikebad, Miles Macchiaroli, Muqeet Mujahid, Nate Welch, Nicholas Counts, Nicholas Moresco, Nick Chapman, Olivier HUBER, Örn Arnarson, Owen Arnett, Paul Heller, Paul Pluzhnikov, Phil Dennis, Philip Hofstetter, Ponytail Bob, ProgrammerDor, Ralph Irons, Randal Masutani, Randy True, raoulvp, real_huitz, ReJ aka Renaldas Zioma, Ric King, Richard Wagoner, Rick Hennigan, Rob Bruno, Robert Brown, Robert Diaz, Robey Pointer, Roland Munsil, Sagnik Bhattacharya, Sam Sturgis, Scott Gorlick, Scott Holmes, Sean Patrick O’Brien, Sergey Kruk, snc, SonOfSofaman, sorek.uk, Spencer Ruport, Stefan Nesinger, Stephen Kovalcik, Stephen Riley, Steve Jones, TheWebMachine, Thomas Eriksen, Tim Oriol, Tim Sanders, Tim Walkowski, Tom, Tom Smith, Trevor Johnston, tryonlinux, Tyler Latham, Vincent Bernat, Warren Miller, Wraithan McCarroll