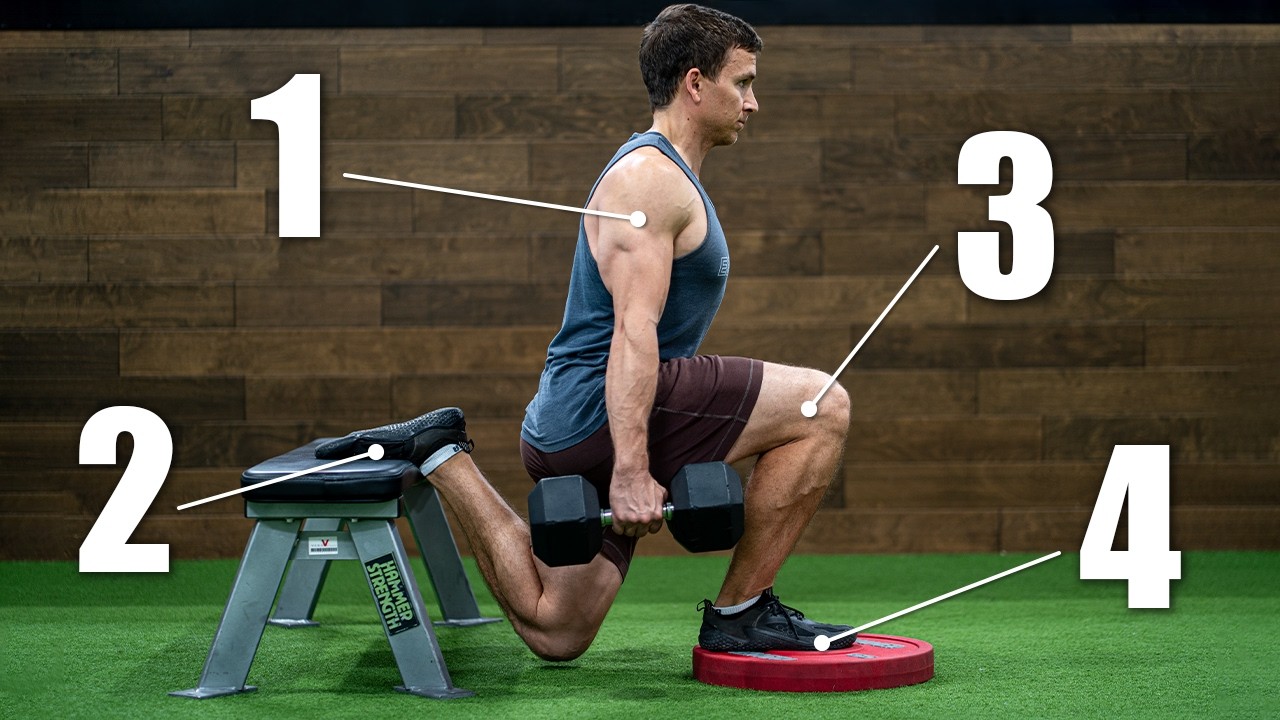
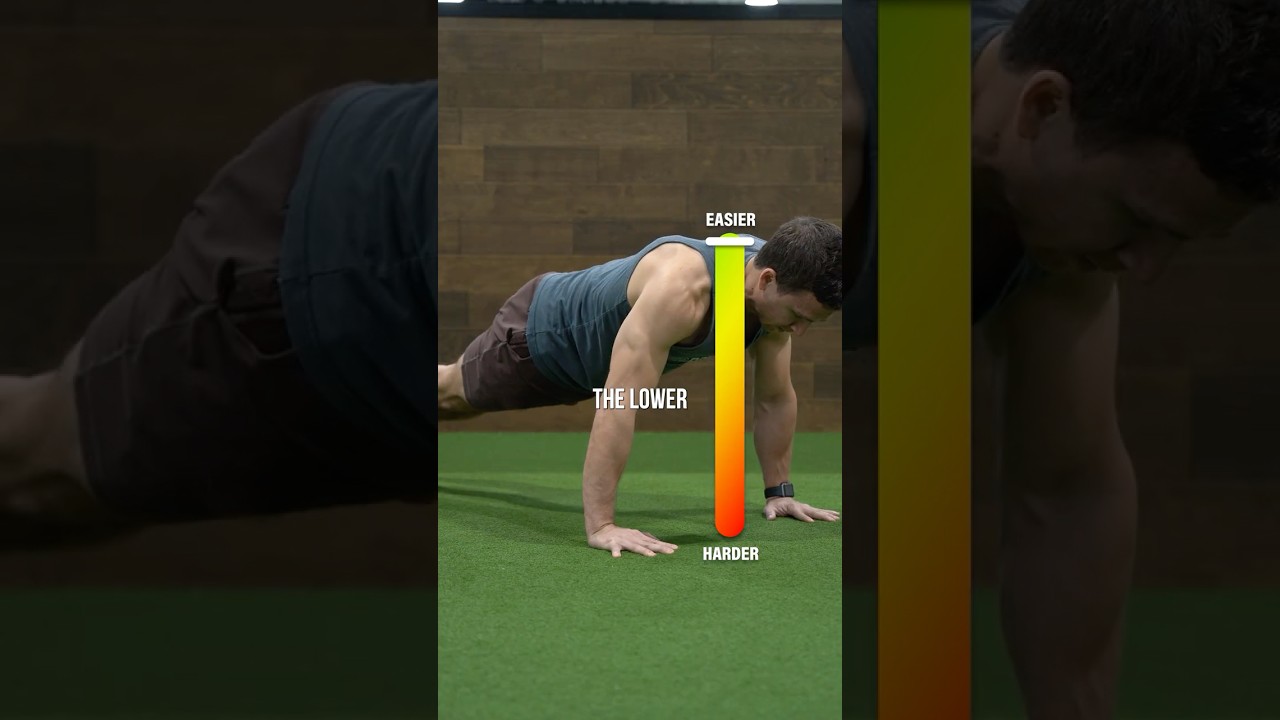
In this video, I'm going to teach you how to perform perfect split squats, including rearf foot elevated split squats so you can build the quads and glutes of your dreams. Most people have a lovehate relationship with split squats because of how physically and mentally exhausting they can be, but mastering their technique can help you unlock your lower body potential. Without going into an unnecessarily in-depth biomechanics lecture, it's important to understand that the angles of your trunk and shin, as well as the location of any external load relative to your hip and knee, can influence the demand on your quads and glutes. To emphasize the glutes, aim for a forward trunk lean while maintaining a relatively flat low back and vertical shin on the lead leg. To emphasize the quads, aim for an upright trunk while striving for deep knee flexion and a more angled shin on the lead leg. You can also do any combination of the two. For this reason, there is no single best approach to performing split squats. I am going to demonstrate all of the various possibilities so you can choose what works best for you based on your needs and goals. To perform split squats, start with your feet roughly shoulderwidth apart. Take one large step back to position yourself in a stride stance. Slowly lower yourself to the ground. Stand back up while keeping both feet planted and repeat this up and down motion. Unlike lunges in which only one foot remains planted on the ground, split squats require both feet to remain stationary at all times. Although this all sounds easy in theory, the execution can be quite difficult. So, let me provide six tips. One, there is no perfect stance width. Too narrow can throw off your balance and too wide can make it feel awkward. Two, pretend there's an egg on the ground that you want to tap, not crack. This will help you develop control of the movement rather than crash down with each repetition. Three, begin with a foam pad, towel, or pillow on the ground to reduce the range of motion if needed. You can even start in half kneeling on a foam pad to find your preferred positioning. For example, you can look in a mirror, set your hips and knees to roughly 90° angles, stand up from there, and then adjust as needed. Four, don't be afraid to use a hand for assistance as you learn the movement, whether it's with the use of a dowel or your hand against some immovable object. Five, the majority of your weight should be through the front leg, but there is no cut off for what that specific percentage should be. Six, experiment to find what works best for you. Your technique will improve with practice and your preferences will change over time. There is no one-sizefits-all approach. A commonly recommended technique in recent years has been to drive the knees over the toes on the lead leg while keeping the back knee relatively straight. This requires a more forward and backward motion compared to the previously demonstrated method that is primarily up and down. In addition to being more demanding on the knee and quads of the front leg, this style of split squat requires more ankle dorsif flexion range of motion of the front leg and more hip extension and big toe extension range of motion of the back leg. This is not inherently good or bad, right or wrong, as it depends on context, which is why I'll help you decide the best potential starting point for you toward the end of this video. To perform rearf foot elevated split squats, also often referred to as Bulgarian split squats, your back foot will be positioned on a bench, box, couch, or some other object. Similar to regular split squats, maintain a relatively flat low back while choosing shin and trunk angles that match your goals. Keep in mind that this is an extremely challenging exercise, so most beginners don't need to major in the minors right away. You will naturally notice your confidence and technique improve with regular practice over time. Then, as you become proficient at the exercise, you can stress more about making small adjustments to your trunk position and joint angles. Here are five additional tips and mistakes to avoid. One, don't elevate your back leg too high. Quad flexibility plays a role here. If you're feeling a huge stretch in your quads, you're unable to go all the way down, or something just feels off, consider using a lower surface, different brands do offer split squat stands, which can allow you to find the ideal height for you. However, most people just use a flat bench. Two, the majority of the benefits from the exercise come from the bottom of the movement, not the top. So tap that back knee to the ground if you can or go as low as comfortable for you. Three, while you can extend the big toe of the back foot on the bench or box behind you, the movement is significantly easier with the top of the foot flat on whatever
Segment 2 (05:00 - 10:00)
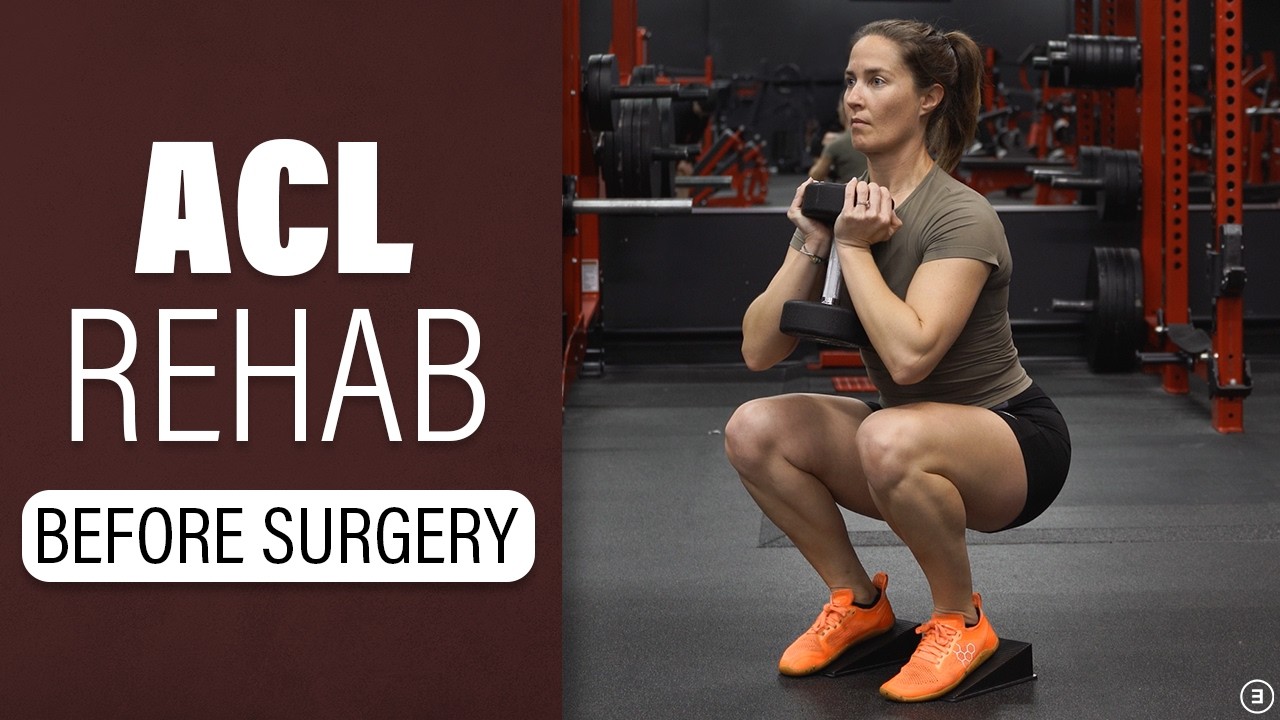
object you're using. Think laces down. Four, most of your weight should be through your lead leg. This might vary from 70 to 90%, but there is no golden rule. Five, film yourself for feedback. What you think you're doing might look vastly different from reality. The hardest aspect of rearf foot elevated split squats is the setup, especially as it relates to how far you should be standing from the boxer bench. A viral trend in the past year has been to recommend sitting on the edge of a bench, extending one leg, standing up on that leg, placing the other foot on the bench, and then performing the movement from there. While this can be an effective starting point for many individuals, it won't work perfectly for everyone or for every style of split squat. If it has been working for you, there's no reason to make a change. Rearfoot elevated split squats have been a staple in my training routine for over a decade, and I still use some trial and error every time I set up. It's the nature of the beast. It's not uncommon for me to hop around to find my preferred positioning during my warm-up sets. And then I'll either find a marking on the ground that I can consistently pinpoint with each set or actually mark it with something like a small band. That's my preference, but it doesn't have to be yours. I will also frequently perform rear foot elevated split squats with my front foot elevated on a plate or step, which serves as a built-in marker. This brings me to my next point. The versatility of split squats is unmatched. You can use a barbell, kettle bells, dumbbells in both hands, or a dumbbell in one hand. If using hand, you can hold onto something for balance if needed, such as a rack or dowel. If your focus is your glutes, hold the dumbbell in your opposite hand, as it will bias the glutius medius of the lead leg. The Smith machine is one of the best pieces of equipment for split squats since it helps reduce the balance component. There are no limits to equipment options or how you use the equipment. For example, I did reverse lunges and rear foot elevated split squats with a barbell in the front rack position for a period of time. Both were brutal. Aside from the variations in technique you can use for regular split squats and rear foot elevated split squats, you can perform front deficit rear foot elevated split squats, or heel elevated split squats for any option. Typically, more range of motion makes the exercise more challenging, but elevating your front foot or heel can also help with mobility or positioning problems. It all depends on your intention. Because I am a physical therapist, I want to briefly discuss why split squats are so valuable during rehab before diving into programming specifics. If you work out long enough, it's likely you're going to develop discomfort at some point in your life. It's a normal human experience. However, pain setting you back for months or years doesn't have to be normal. So, what can you do if you're dealing with low back, hip, or knee pain? Well, begin with the usual. Assess the volume, intensity, and frequency of your training to determine if you have fallen into the classic case of simply doing too much too soon, and adjust those variables accordingly. Lower the weight, reduce the number of sets per day or per week, etc. But what about split squats specifically? They are an excellent tool for modifying the distribution of load at painful joints while still allowing you to train at a sufficient effort to preserve your fitness. For example, imagine you're experiencing low back pain from barbell back squats. Since split squats are essentially unilateral in nature, you can reduce the weight on your back or in your hands by half or more while still pushing the exercise hard on each leg. You can also easily maintain an upright trunk to reduce the stress on your low back. The same thought process applies to hip pain. Utilizing an upright posture rather than a forward trunk lean will decrease the demand at the hip. For knee pain, you can purposely lean forward and maintain a more vertical shin. Aside from these simple modifications, you can shorten the range of motion by tapping your knee to pads, pillows, or towels. Additionally, you can use your hands for assistance, such as with the use of a suspension trainer. Other strategies include incorporating long duration isometrics, triing slower tempos, or experimenting with higher rep ranges. And as I previously mentioned, there are limitless split squat variations you can attempt to discover which one is the most tolerable and appropriate for you. If you're not experiencing pain, how do you select which split squat option to perform? There's no correct answer here.
Segment 3 (10:00 - 12:00)
If you're completely new to the movement, it's probably helpful to try regular split squats before moving on to rear foot elevated split squats. If you wanted to increase the range of motion and difficulty, you could eventually do deficit rear foot elevated split squats. Your preferences and goals will likely change over time, though. You might vary your choice every few months. Choose two split squat options to perform on different days of the week or make small changes to your technique as needed. You can even do two split squat options on the same day if you wanted. For example, maybe you do the knees over toes variation as a warm-up to work on your ankle dorsif flexion range of motion and hip extension mobility and then a relatively heavy deficit rear foot elevated split squat to maximize strength and hypertrophy. There's no set rules here. How should you program split squats? Most people probably stick to two to four sets of 3 to 20 repetitions, but somewhere in the middle of that repetition range is likely the sweet spot for building strength and muscle. Too high of repetitions often feels like cardio more than anything else. If you're doing straight sets, I typically recommend resting one to two minutes between legs. For example, do a set on your left leg, rest one to two minutes, do a set on your right leg, rest one to two minutes, and repeat. Even though the back leg isn't the focus, it is working on each set. So, a short rest gives it time to recover. It also gives you a moment to catch your breath. Your exact program layout for the week will depend on your training experience, goals, and preferences. But split squats are fairly interchangeable with squats, lunges, step-ups, the leg press, and other similar exercises. This means you could potentially perform them one to three times per week. Also, for the most part, you don't necessarily need to perform hard sets of split squats and hard sets of one of these other exercises on the same day as they're typically redundant. But if you pair them with RDL's, hamstring curls, 45°ree hip extensions, or something similar, you're setting yourself up for long-term success. Hopefully, this whole section goes without saying, but these are just broad recommendations. As I've repeatedly stated, it's important to individualize your training based on your goals, preferences, and needs. Thank you so much for watching. If you enjoyed the video, please hit that like button, subscribe, turn on notifications, and leave any comments down below. If you are looking for a rehab or performance program, or are interested in working with us one-on-one, head over to e3rehab. com. Peace.