How to Add & Pay Bills in QuickBooks Online
Machine-readable: Markdown · JSON API · Site index
Описание видео
Get 50% off QuickBooks Bill Pay for 3 months 👉 https://geni.us/quickbooksbillpay
In this video, I’ll show you how to enter, track and pay bills in QuickBooks Online.
You’ll learn the difference between bills and expenses, how to enter a bill correctly, track what you owe using Accounts Payable, and pay bills using multiple methods:
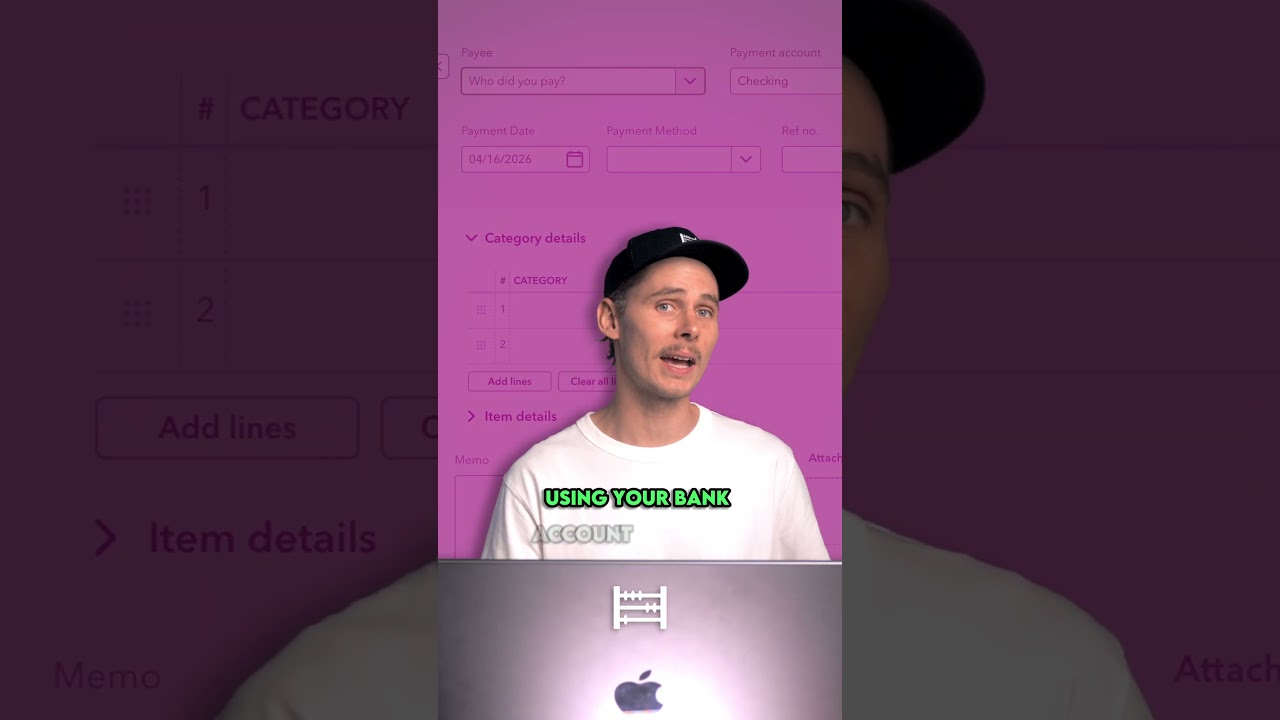
▪ Bank transfer
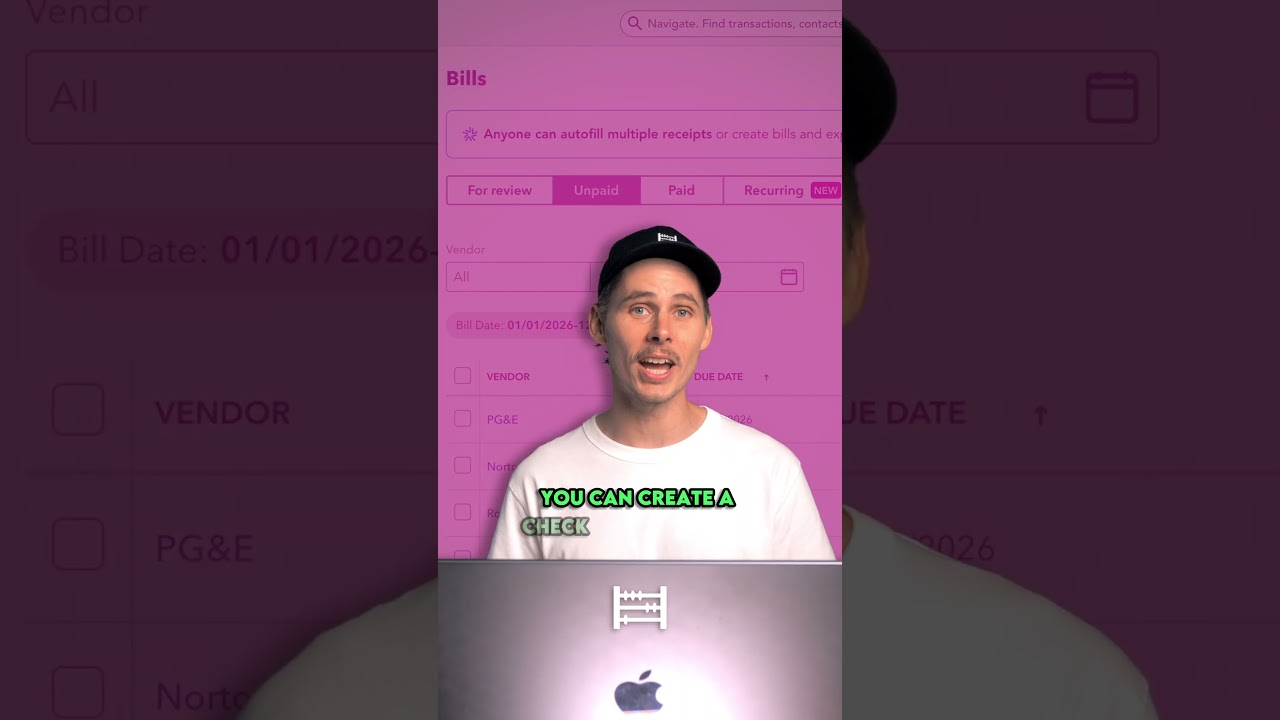
▪ Check
▪ QuickBooks Bill Pay
Whether you’re new to QuickBooks Online or want to improve how you manage your expenses, this tutorial walks you through the entire process from recording a bill to marking it as paid.
By the end, you’ll know how to keep your records accurate, stay on top of due dates and avoid mistakes that can throw off your reports.
🔴Subscribe for more Accounting Tutorials → https://geni.us/subtothechannel
⏱️TIMESTAMPS
00:00 - Intro
00:24 - Bills vs Expenses in QuickBooks Online
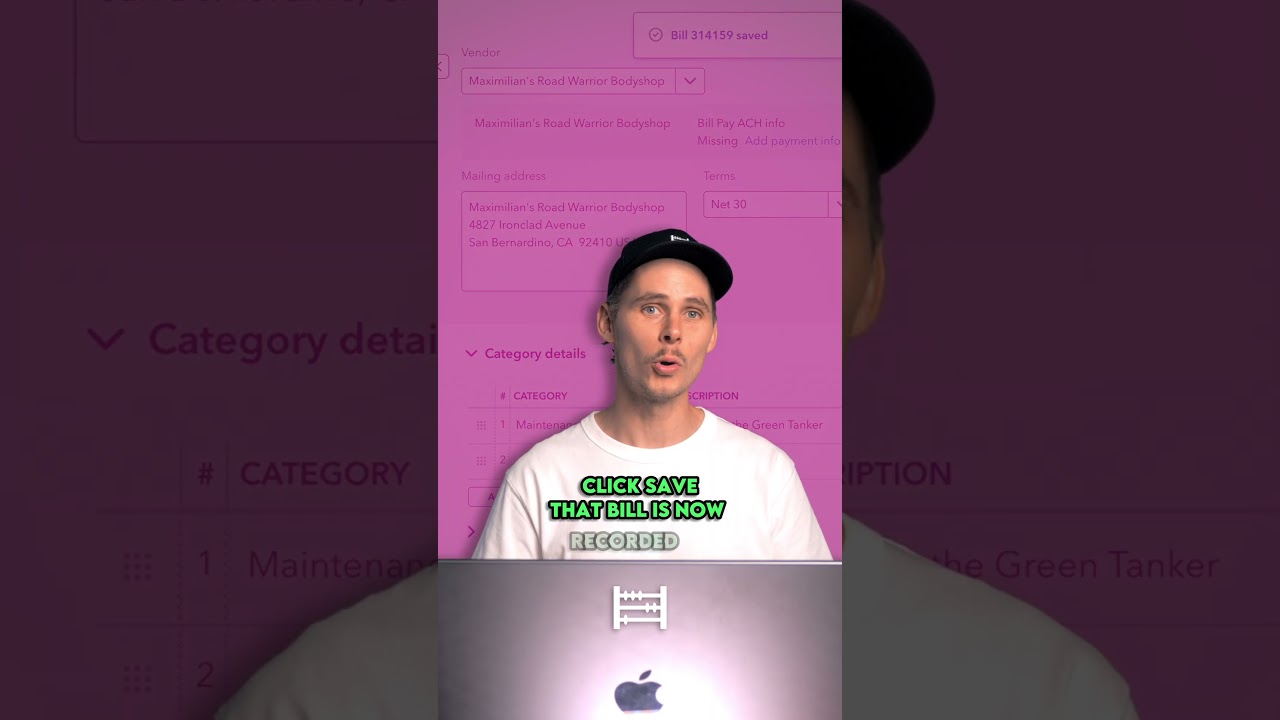
01:44 - How to Enter a Bill in QuickBooks Online
03:41 - How to Check Accounts Payable in QuickBooks Online
04:30 - How to Pay Bills in QuickBooks Online
🔗VIDEO LINKS
▪ How to Set Up Payroll in QuickBooks Online → https://youtu.be/mAfKnzJ8vac
▪ Which QuickBooks Online Plan Should You Buy → https://youtu.be/V1Y2vZz4lsk
▪ How to use QuickBooks Online → https://youtu.be/w3agU6-zc_M
🔎FAQ
▪ My Favourite Accounting Book for Beginners → http://geni.us/5mKR7m
🔝 CLOUD ACCOUNTING SOFTWARE
▪ QuickBooks Online USA (Free Trial / Discount) → https://geni.us/quickbooksonlineusa
▪ QuickBooks Online Canada (Free Trial / Discount) → https://geni.us/quickbooksonlinecanada
▪ XERO (Free Trial / Discount) → https://xero5440.partnerlinks.io/08mfchsgfw8z
🚶FOLLOW ME ON
▪ Instagram → https://www.instagram.com/accountingstuff
▪ TikTok → https://www.tiktok.com/@accounting_stuff
▪ Facebook → https://www.facebook.com/accountingstuff
🎬LEARN ACCOUNTING BASICS FOR FREE
▪ The Full Playlist → https://www.youtube.com/playlist?list=PL5zKSeS09l339nB6ujJPQ9Rsv99_b-aTb
________________________
DISCLAIMER
Some of the links above are affiliate links, where I earn a small commission if you click on the link and purchase an item. You are not obligated to do so, but it does help fund these videos in hopes of bringing value to you!
________________________
#quickbooks #quickbooksonline #billpay