Patreon: https://www.patreon.com/Thoisoi
Attention! This video shows dangerous experiments! Do not repeat the experiments shown in this video!
Hello everyone! In this video, I explore whether it’s possible to turn cheap cuts of beef into premium steak using science. I test different methods like sous vide, ultrasound, and even vacuum frying to improve texture and juiciness. The experiments reveal how collagen, fat, and cooking conditions affect tenderness and flavor. Some results come surprisingly close to expensive cuts like filet mignon or even wagyu. But can science truly replace quality meat?
Welcome to my channel! It's dedicated to experiments in inorganic and organic chemistry! Here, you can find a lot of chemical experiments, each of which contains explanations that will be understandable even to people who are not into chemistry. In my video experiments, I also indicate chemical equations that will help you understand the essence of chemical reactions and transformations. If you have problems with the perception of difficult chemical reactions and chemical equations in school, then you can use some of my videos as a self-help guide in chemistry. Also, some experiments from my videos can be repeated at home, of course, in compliance with all safety rules. Many of the experiments that are shown in my videos are shown to children and used as classic demonstration experiments for schoolchildren or students. Each experiment will be explained as clearly as possible. Chemistry is easy for everyone, even for beginners!
#Thoisoi2 #chemistry #sous-vide
Оглавление (4 сегментов)
Segment 1 (00:00 - 05:00)
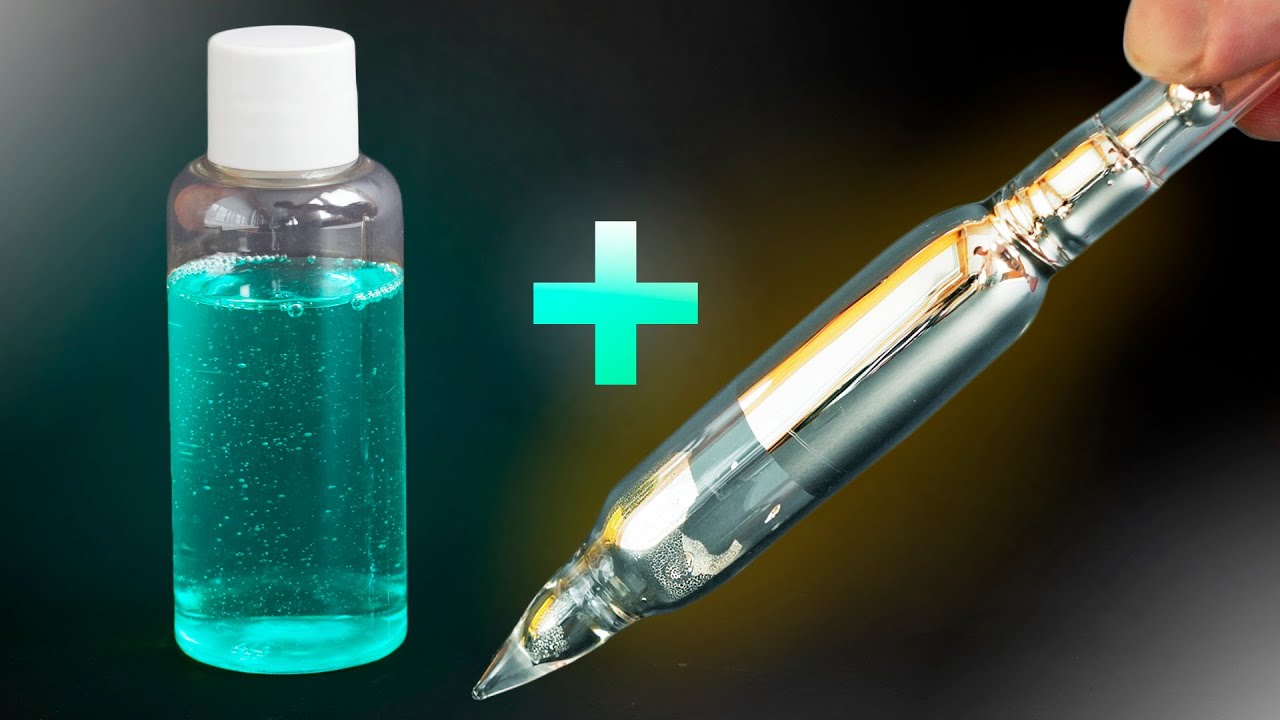
I'm really craving a juicy steak. Maybe I'll go buy one and grill it the way I like. How much? €77 per kilogram for a measly ribeye. It might actually be cheaper at a restaurant. Yes, as you can see for yourself, the prices for good beef have skyrocketed. And a good cut of steak meat can cost up to €30 here in Estonia. I wonder if there's a way using chemical or physical methods to make a cheap cut of meat more like a premium tenderloin. Well, let's figure it out. As you probably know, not every part of a cow can be used to make a good steak. For example, if you take the shank, the muscles there are used often, which means they have little fat and a lot of connective tissue as well as dense muscle fibers. If you try to fry such a piece of meat in a pan, the proteins that make up the muscles quickly denature, especially collagen, which at temperatures above 60° C contracts and squeezes out a lot of water. Because of this, such a steak will be tough and dry even if it's only lightly cooked. That's why such cuts of beef are usually braced for a long time to make them tender and juicy. It's a different story if you use a muscle for steak that doesn't work much. For example, the area between the ribs and the backbone, the so-called ribeye. It contains much less collagen. The muscle fibers are less dense and there are streaks of fat tissue that during cooking prevent moisture from escaping and also loosen the muscle fibers, making steaks from such meat softer and more tender. But as you can probably guess, there are very few such tender cuts of meat on a cow, which is why their price can be several times higher than that of shank or other cheaper cuts. Just look at the fililet minion steak, which is considered the most tender part of the steer. Interestingly, there is only about half a kilogram of meat suitable for this steak on an average steer. But is it possible to turn a ribeye or another tougher cut of beef into something resembling filt minion? To find out, I decided to conduct an experiment and bought several entric coat steaks, which is what we call ribeye here in Estonia. Often, our steaks are quite thin and tough, so I think these cuts are perfect for experimenting to make them more tender and at least somewhat closer to filt minion steaks. One of the classic methods for tenderizing meat is to cook it for a long time at a high temperature. But this method isn't suitable for steaks because what we end up with is more like roast beef or just stewed beef. That's why I decided to use the unusual sousvid technique which is now used by many chefs in restaurants mainly for cooking meat. For this, I first salted the steak, added pepper, and sprinkled a bit of garlic powder for extra flavor. Then I placed this piece of meat into a vacuum bag and removed all the air from it using this portable vacuum sealer. I will tenderize the steak by heating it for a long time at a low temperature using a magnetic stirer with heating from Prime Lab, which can maintain any water temperature for quite a long period. To prevent the steak from floating around the container during heating, I secured it in this improvised holder. After that, I started filling the beaker with clean water. Then I placed the steak back in the center of the container and connected the thermouple which is inside this rod to the stirer. With its help, the stirrer will know the exact temperature of the water and heat it throughout the entire cooking time. I set the temperature at which the steak would be kept to 55°. This is exactly the temperature to which the center of a steak is usually heated when cooking in a pan to achieve medium dness. To find out how tender a steak can become, I will keep it at 55° for a whole 24 hours. During this time, most of the collagen should begin to break down, and the protein bones that hold the muscle fibers together should also weaken. As a result, this steak should come as close as possible in tenderness to a filt minion. Well, after 24 hours, you can see that the steak has darkened a bit visually. Let's take it out of the water and see what it has turned into. Interestingly, it feels quite soft to the touch. Let it cool for now. I have a few more ideas on how to make other steaks more tender in a shorter amount of time. For comparison with the steak that was aged for 24 hours in an improvised sousvid, I took another identical piece, but kept it in warm water for only 1 hour. Let's see if that amount of time is enough to tenderize the meat. For another test, I decided to use two methods of tenderizing meat at once, temperature and ultrasound. For this, I'll need my ultrasonic bath, which I used a few years ago to make 20-minute whiskey. If anyone's interested, you can check it out at the link. Usually, these specialized baths
Segment 2 (05:00 - 10:00)
are used to clean jewelry or other metal parts because when the liquid is treated with ultrasonic waves, so-called cavitation bubbles form in the water. These bubbles act like tiny hammers, effectively treating any surface and cleaning it from dirt or layers of old skin. For example, that's what's happening to my finger right now. I believe that if you place a piece of meat in a vacuum inside such a water bath, cavitation bubbles will also form within it, which will tenderize the meat during cooking, making it softer and saving you some time. For example, instead of 5 hours of suvid, you can keep the meat in such a bath for just 1 hour and achieve the same steak tenderness. To test my hypothesis, I placed two halves of steaks with different marbling into the bath and poured in warm water at about 50° C. After that, I turned on the heater and the ultrasonic emitter. As a result, the microphone on my camera just started going crazy. After that, I set a timer for 1 hour. Basically, this bath also maintained the temperature quite well and the water was mixed precisely thanks to those very cavitation bubbles. So, I think the meat will cook quite evenly. After an hour of this treatment, I think the steaks are quite ready. Well, all that's left is to sear all my samples in a pan to give them a crust and then taste them. I think I'll start with the steak that's been cooked for 24 hours, which I'll sear in butter. And since the inside of the steak is already essentially cooked after being in the sousvid, you only need to keep this piece of meat in the pan for a very short time, just enough to sear it. Interestingly, for some reason, this steak burned very easily. And even after just a minute in the pan, both sides were quite well seared. After searing, I wrapped the steak in foil and let it rest so it can gradually cool down and not lose too much moisture. For comparison, I also seared a simply salted steak with spices, which had not been in the sousied or treated with ultrasound. This will be the so-called control sample to see whether all my manipulations made any sense at all. After that, I sear a piece of steak that spent only an hour in the sousvid. And I also let it rest wrapped in foil. And finally, I sear two pieces of steak that were treated with ultrasound and also spent a whole hour in the improvised sousvid. After searing, I sliced the finished steaks for tasting. The first one is the 24-hour steak. Yes, the color on the cut is quite beautiful with a medium dness and it looks pretty juicy. Next is the control steak, which I think also turned out medium. Now, the steak that was in the sousvid for only an hour. Yes, at a temperature of 55°, you get a perfect medium or medium dness. And finally, the steak treated with ultrasound in the sousvid. Visually, it looks a bit looser, as if the meat fibers separate better than in the other samples. All right, so finally, everything is ready now, and I'm able to taste all of these different steaks that I've prepared using these slightly different cooking methods. Now, this one right here is our control steak, which I just fried for exactly 2 minutes on each side. This one spent 1 hour in the sousvid, my improvised version. This piece spent 24 hours in the same sousvid. Now, these pieces also spent an hour, but this time in the ultrasound, also in an improvised sousvid at 55° C. I think we'll start with the control sample. In terms of toughness, well, it is not particularly tough at all. The meat is quite good. Let's now try to compare the piece that spent an hour in the sousvid. It's already a little bit softer. Yes. Now, this piece spent a whole day in the sousvid. It just falls apart. Super tender. A day in the sousvid really does the trick. You can chew it with your lips. Damn, that's awesome. Honestly, I like this even more than a regular steak. Now, let's try to see if it's worth using ultrasound as well if you keep the meat in the sousie for an hour. Let's try a fattier piece. the one that was in the suvid with ultrasound. It also just falls apart in your mouth, but it's not as tender as the one that was in for a whole day. The one from a whole day is just like cream. Ultrasound, it seems, adds maybe 20 or 30% to the tenderness. But if you compare it again to the one cooked for a whole day, that one is really just like cream. The only thing is with the steak that's been cooked for a whole day, it starts to lose a bit of that classic steak texture, that meaty structure. It's already hard to call it a steak, it's something kind of unrecognizable, more like roast beef. So, what conclusions
Segment 3 (10:00 - 15:00)
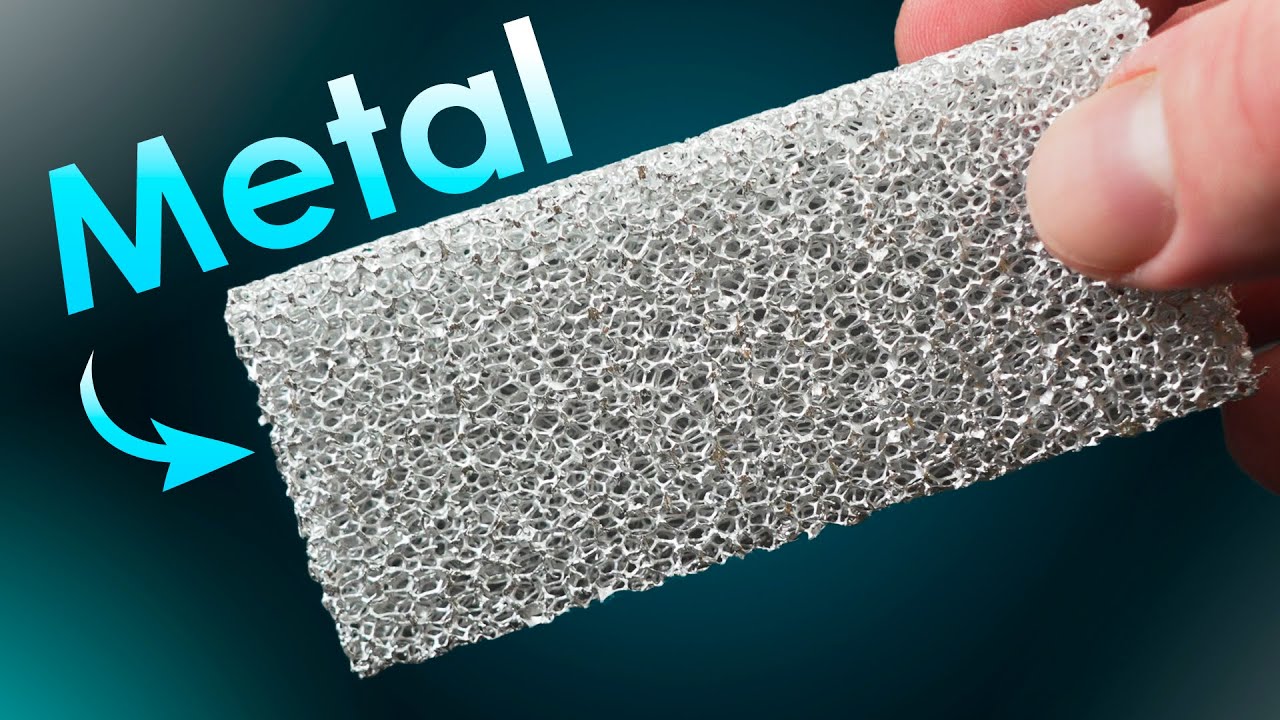
can we draw? I think the most optimal method is using ultrasound with sousvid. Basically, I think that with simultaneous ultrasound and suvid, you can turn a ribeye into something similar to filt minion. But as for whether you can turn it into real Wagyu, if you didn't know, Wagyu is the most expensive type of beef in the world. And visually, it looks more like beef fat with streaks of meat than a traditional cut of beef. The Wagyu cattle breed was developed in Japan and due to special genes, they have the ability to produce meat with extremely high marbling and a large amount of unsaturated fats. Because of this highfat content, steaks from this meat turn out incredibly tender and taste unlike any other kind of meat. Once while I was in Japan, I couldn't resist and ordered myself a piece of this beef, which was far from cheap. I paid about €60 for 100 g, but it was worth it. In terms of taste, it was something between fatty tuna and filt minion. Let me tell you, the experience was unforgettable. But is there a way to infuse meat with those same unsaturated fats yourself to make it juicier, more tender, and tastier? Hm. I think there is one way. For this, I decided to use the method of vacuum frying, which some chefs have already tested and even created industrial installations based on this principle. To prepare meat this way, I first bought a vacuum chamber like this one, which I slightly modified by adding a colander inside where the product to be cooked will be placed. To lower this colander into the boiling oil while doing everything in a vacuum, I decided to use magnets that would hold the colander with the product while the air is gradually pumped out of the chamber with the hot oil. I was lucky that the chamber itself is not magnetic. So, three powerful neodymium magnets can easily hold this colander even with a small load. However, during my attempts to either raise or lower the colander with the load, the process was very uneven and working with such large magnets is not very safe. If they snap together, they could even crush your fingers. So I made this improvised holder in which I fixed two powerful neodymium magnets on the sides and the third one can be held by hand if needed to effectively condense the steam that will be released from the product being prepared. I will use this specialized copper tube which will be fully immersed in cold water. The main star of this entire process will be a highquality diaphragm vacuum pump from Prime Lab which is uniquely not affected by accidental drops of condensate getting inside unlike for example a standard oil pump. The resulting condensate will be collected in this special trap so you can actually see and measure all the excess water from the products being made. To test the systems air tightness, I turn on the pump and then observe the changes on the manometer. The pressure started to drop gradually, but at around minus0. 7 bar, it began to fall much more slowly. So, after moving to the kitchen, I added a regular oil pump in series to speed up the air evacuation. And finally, all that's left is to fill the middle pot with cold water and put a couple of frozen bottles with ice in it for better cooling. Basically, everything is ready and we can start the vacuum frying experiment. And to test the system, I think we can start with chicken drumsticks. For this, I filled two pots with refined sunflower oil and heated it to a temperature of about 160 to 170° C. After that, I attached the colander to my improvised vacuum chamber with a magnet so it wouldn't touch the hot oil. Placed three chicken drumsticks in it. Then covered everything with a lid and started pumping the air out of the chamber. At the same time, I put three more chicken drumsticks into another pot with hot oil, but here they will be cooked at normal atmospheric pressure. After the pressure in the vacuum chamber dropped to about 20% of atmospheric pressure, I began to immerse the chicken drumsticks into the hot oil. During this process, as you can see, the chicken drumsticks boiled quite vigorously in the hot oil. This is because at reduced pressure, the boiling point of water also decreases. But later, the boiling became a bit more stable and I left the drumsticks to cook like that for 15 minutes. At the same time, quite a lot of moisture was released from the cooking chicken drumsticks, which collected in the trap of the vacuum pump. By the way, during frying, the pressure dropped rather quickly, apparently due to the condensation of water in the copper tube. In another pot, the chicken drumsticks were cooked at the same oil temperature, although the boiling hair did not look as vigorous visually. After 15 minutes of cooking, I turn off the vacuum pump and let air into the chamber with the cooking chicken. At the same time, I take the chicken drumsticks out of the second pot and place them on a napkin to drain the excess fat. But with the drumsticks cooked in the vacuum, it's harder to do this since they are soaked through with
Segment 4 (15:00 - 19:00)
oil, which is quite unusual. I think at least the napkin will absorb the excess fat as much as possible. The first difference between the chicken drumsticks cooked in different ways is the crust. For those cooked in the vacuum, the crust turned out to be incredibly crispy. You can even hear it by the sound. And that's without any breading. With the drumsticks cooked at atmospheric pressure, there's practically no crust at all. Well, let's give it a try. So, here's the regular chicken that we just cooked in oil. Regular chicken. Now, let's try the one that was cooked in the vacuum. The crust here is just unreal. Wow. It's at least 10 times juicier. Honestly, it's like you're biting into pure juice. Yes, as you can see from my satisfied face, the drumsticks cooked in the vacuum really turned out very juicy and tasty. Most likely what I managed to do here is something like Wagyu, but with chicken. It's all because when cooking in a vacuum, more moisture came out of the chicken, especially from the skin, creating a super crispy crust. Also, inside the meat itself, something like cavities formed. And when I later increased the pressure to atmospheric at the end of cooking, oil where the drumsticks were cooked flowed into all those cavities. Of course, it turned out less healthy and less diet friendly, but it was incredibly tasty. Since many flavor molecules are soluble specifically in fat, as they say, fat is flavor, oil on a stick. I love it. Well, now I want to try the same experiment, but with a beef steak. I'm curious if it will end up resembling Wagyu after this kind of cooking. Basically, I did everything here just like I did with the chicken. I heated the oil, placed half of the steak inside this chamber, and dropped the other half into the hot oil for about 3 minutes. I did the same with a piece of beef in a vacuum, carefully keeping track of the cooking time so as not to overcook the steak. Here, just like with the chicken, this piece of meat was boiling quite actively in the vacuum, releasing excess water. At this stage, I noticed that in principle, the oil pump was no longer needed since the membrane I1 was handling the air extraction quite well. After 3 minutes of cooking, I first take the steak out of the regular deep fryer. By the way, it looks pretty good. And in terms of tenderness, it's about medium. After that, I let air into the vacuum chamber where the other half of the steak is frying. As you can see, when the pressure increases, the boiling immediately stops since the boiling point of water rises. The steak looked pretty much the same with a rather nice crust. Let's try cutting these two steaks and see what they look like inside. First, I cut the piece of beef that was cooked in regular hot oil. Basically, I got a medium rare, the so-called medium dness with a bit of rawness. This is often recommended for serving in restaurants. Now, let's see what the steak cooked suvid looks like. Yes, here you can see an incredibly crispy crust has formed and the dness inside turned out to be almost a perfect medium. It's just that it seems to be filled with a certain amount of fat between the layers of meat fibers. After slicing, the difference becomes even more apparent. The steak simply cooked in the deep fryer turned out to be perfectly medium. But the steak cooked suvid is actually shining from how much it has absorbed the oil along with the meat juices. Well, let's finally taste this wonder. All right, so we've cooked the steaks. You've already seen how different they look on the outside. Now, let's compare how the flavors differ. We ended up with something like a medium to medium rare doneness. I'll take this piece. A regular steak from the deep fryer. A good steak. So far, the deep fried steak is just tasty. Now, let's compare it to the steak that was cooked suvid. It looks appetizing. Wow, it's fatty. But this is tastier. Seriously, just this butter gives it such a flavor, it's more pleasant. So, basically, we've just made Wagyu. Yes. Now, I can confidently say that by cooking susvid like this, you can make something similar to Wagyu from an inexpensive cut of beef. I think if you use say rendered beef tallow instead of regular sunflower oil and deep fry the steak in it, you'll get almost pure wagyu which costs over a hundred times more than a regular piece of beef. And if you enjoyed this video, as always, don't forget to give it a like and subscribe to the channel to discover many more new and interesting things.
Другие видео автора — Thoisoi2 - Chemical Experiments!