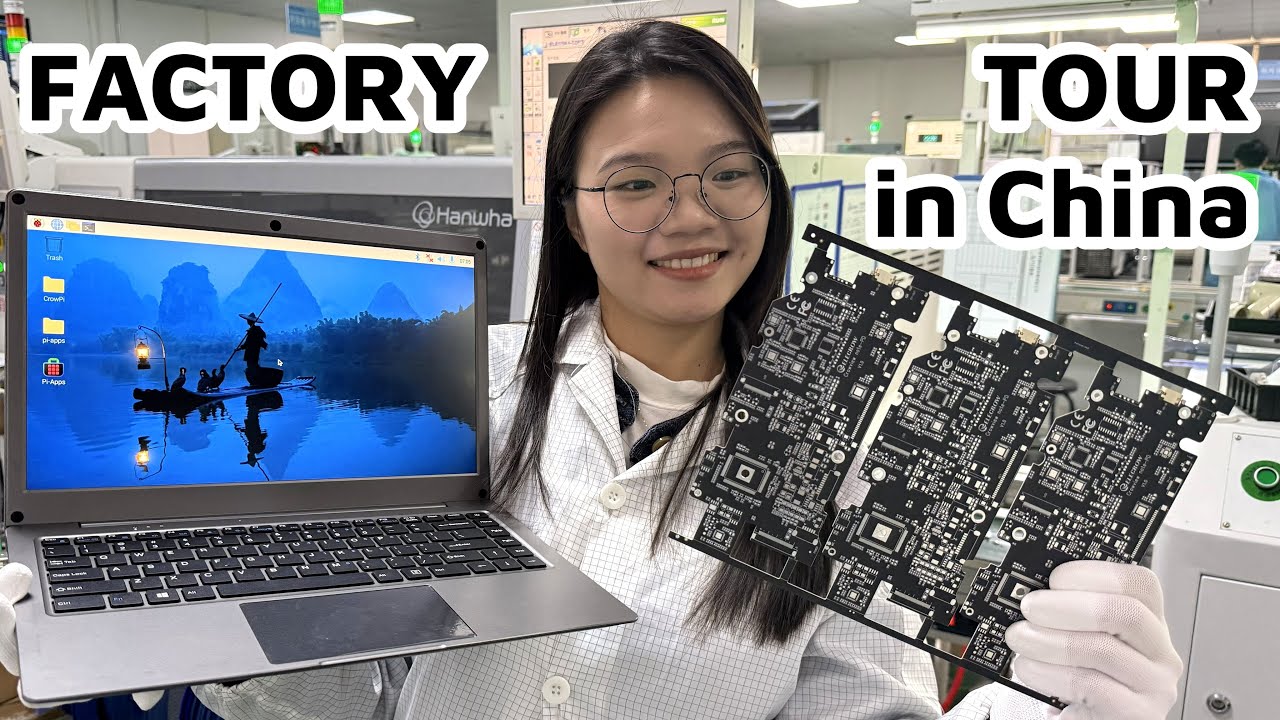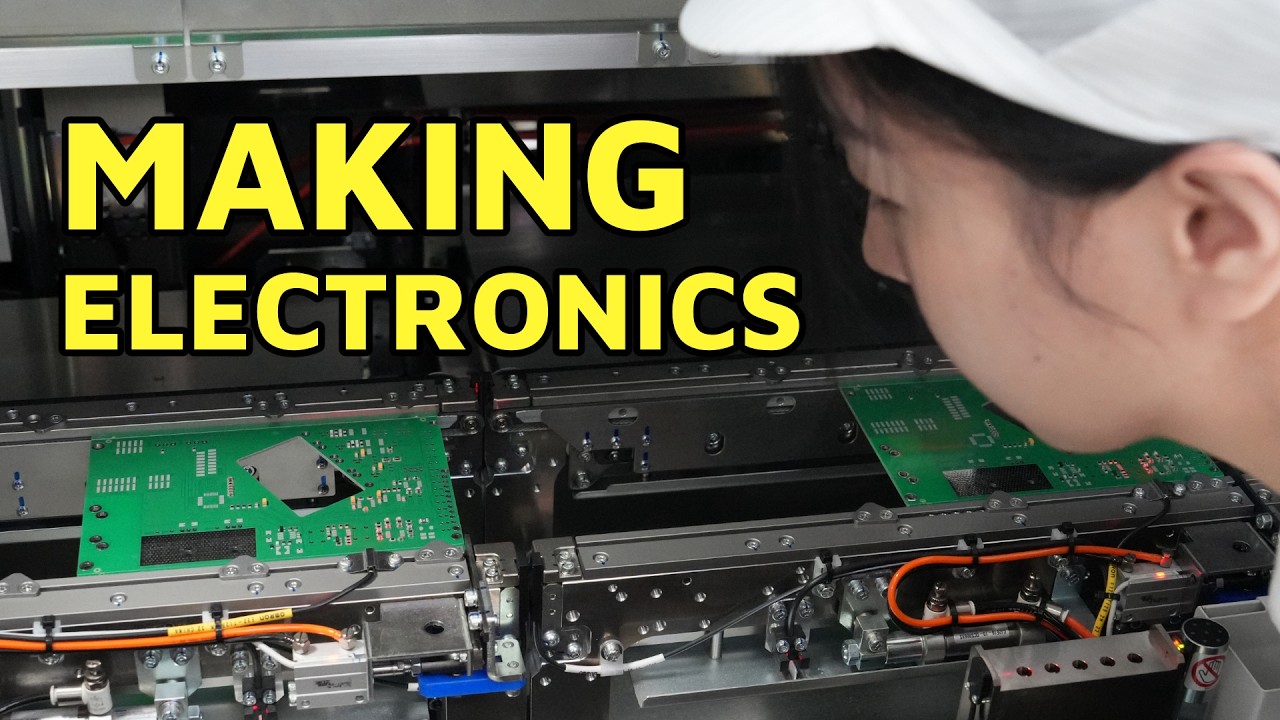
Machines That Build Your Electronics – Factory Tour | Meline Group
Machine-readable: Markdown · JSON API · Site index
Описание видео
Personal factory tour just for you. You normally won’t see the machines this closely. Very special thanks to Alicia and Serena from Meline Group. Enjoy!
Links:
- Meline Group website: https://www.melinegroup.com/
- Alicia's LinkedIn: https://www.linkedin.com/in/alicia-lau-65b23781/
- Serena's LinkedIn: https://www.linkedin.com/in/xinyi-duan-a0638a288/
- Learn Electronics with FEDEVEL courses: https://fedevel.com/courses
Chapters:
00:00 Entering the Meline Group factory
00:43 PCB uploading machine
00:49 Line width adjusting machine
01:28 Cleaning machine
01:52 Solder paste machine
02:16 3D SPI to check solder paste
03:19 Pick and Place machines
07:30 First Article Inspection machine (FAI)
13:48 2D AOI machine (Automated Optical Inspection)
16:09 Reflow Oven machine
19:06 3D AOI machine
22:21 Offloading machine
23:14 X-Ray machine
26:26 BGA rework machine
32:38 Wave soldering
34:10 2D AOI for through hole components
36:47 Flux machine
37:10 Wave soldering machine
40:25 Two waves
40:55 Selective wave soldering machine
44:09 Microscope for board checking
45:07 End of the tour. Thank you for watching.
------------------------------------------------------
(C) FEDEVEL by Robert Feranec
https://fedevel.com