💪 Get our Shoulder Resilience program here: https://e3rehab.com/programs/resilience/shoulder-resilience/
In this video, I’m going to teach you how to perform perfect push-ups, provide you with progressions, regressions, and alternatives to help you meet your goals, demonstrate modifications for pain, and explain the most common push-up mistake.
🧠 Membership: https://e3rehab.com/premium/
📈 Mentoring: https://e3rehab.com/mentoring/
🏆 Coaching & Consultations: https://e3rehab.com/coaching/
💪 Rehab & Performance Programs: https://e3rehab.com/programs/
📝 Resource Guides: https://e3rehab.com/resource-guides
🎧 Podcast: https://www.youtube.com/@e3rehabpodcast
🏋️ Equipment: https://e3rehab.com/affiliates/
📩 Newsletter: https://e3rehab.ck.page/19eae53ac1
Follow Us:
YouTube: https://www.youtube.com/e3rehab
Instagram: https://www.instagram.com/e3rehab/
X: https://twitter.com/E3Rehab
LinkedIn: https://www.linkedin.com/company/e3rehab/
Facebook: https://www.facebook.com/e3rehab
TikTok: https://www.tiktok.com/@e3rehab
0:00 Intro
0:16 How To Perform Perfect Push-Ups
4:55 Regressions
7:10 Progressions
8:55 Variations
10:30 Modifying Painful Push-Ups
11:57 Number One Push Up Mistake
----
Disclaimer: The information presented is not intended as medical advice or to be a substitute for medical counseling but is intended for entertainment purposes only. If you are experiencing pain, please seek the appropriate healthcare professional.
Оглавление (7 сегментов)
Intro
In this video, I'm going to teach you how to perform perfect push-ups, provide you with progressions, regressions, and alternatives to help you meet your goals, demonstrate modifications for pain, and explain the most common push-up mistake. Push-ups are one of the most convenient
How To Perform Perfect Push-Ups
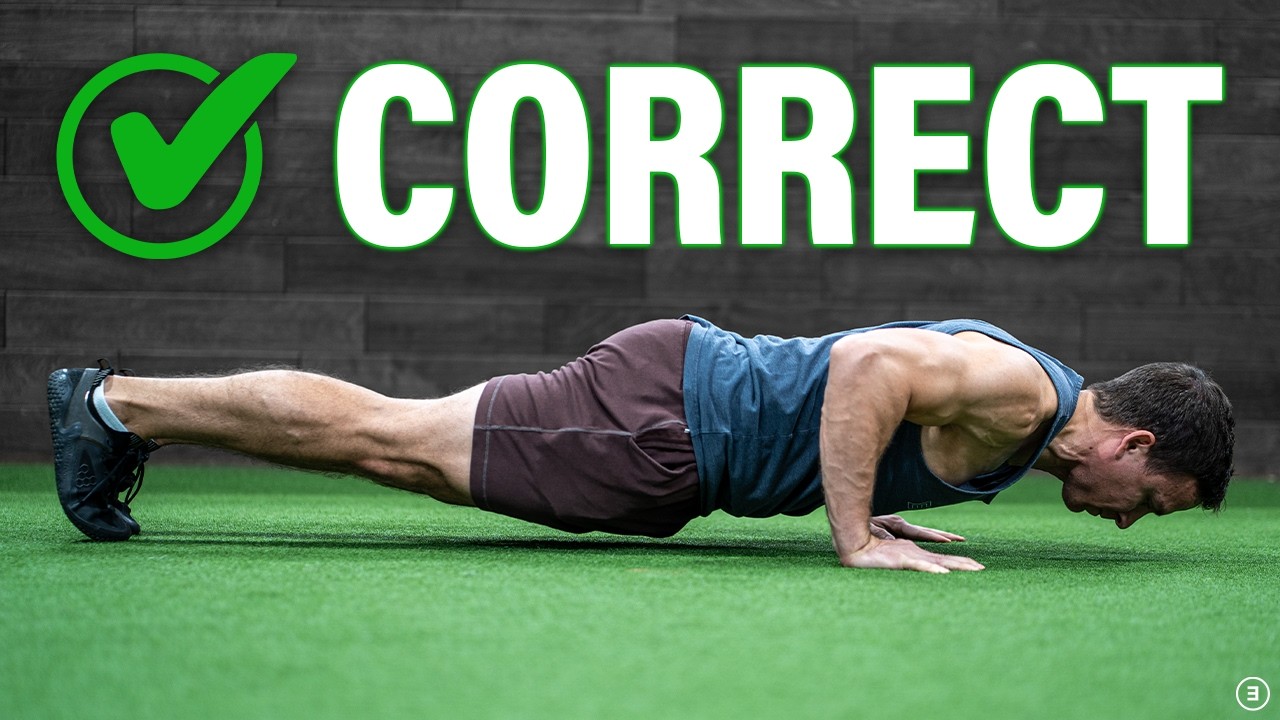
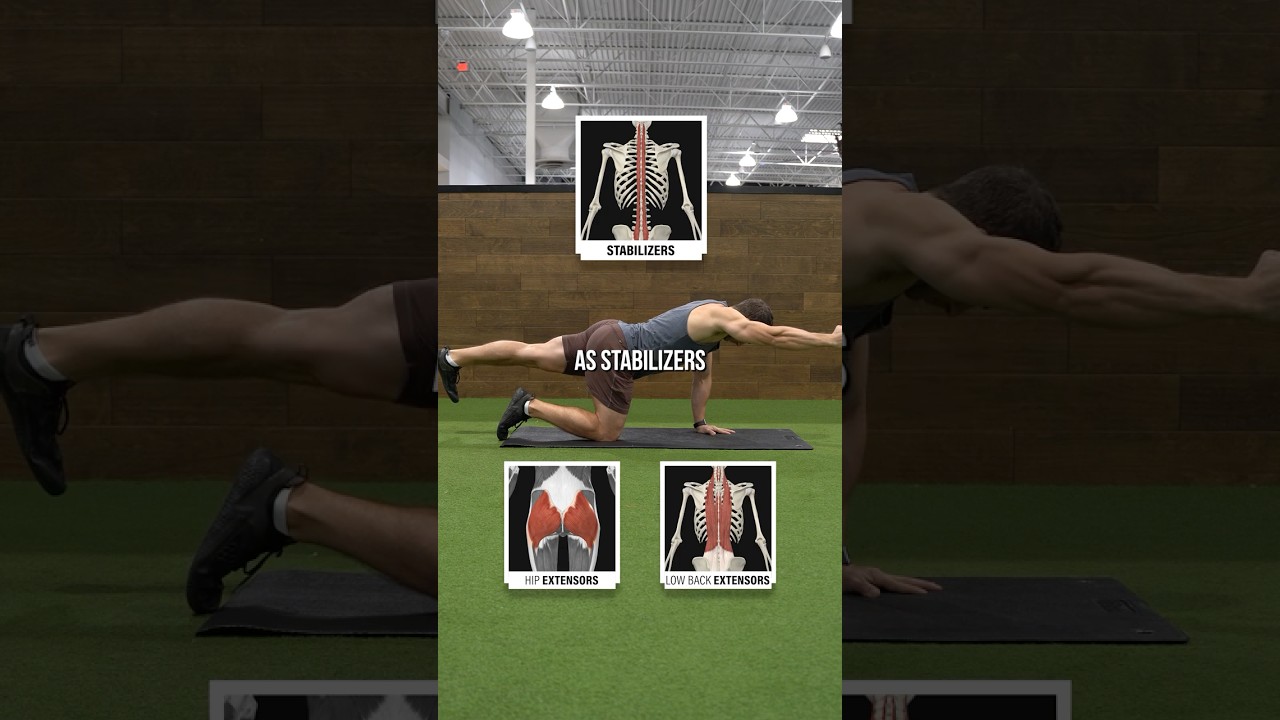
effective, and versatile bodyweight exercises that train the chest, shoulders, triceps, abs, and more. If you master them, they can take you far in your fitness journey. Let me take you through a five-step process for learning the proper technique, beginning with the setup. Start on your knees and walk your hands forward until your hips are straight and your shoulders are roughly over your hands. You can also set up in a tall plank position and drop to your knees. Your hands should be slightly wider than shoulder width, fingers spread out to best contact the ground, and middle fingers pointed straight in front of you. For some individuals, it might help to think about screwing your hands into the ground, which causes your biceps to also point forward. From here, rise off your knees onto your feet. Your feet can be together or slightly apart to improve stability. Then, starting with the head and neck, perform a small chin nod so you are looking down. Make sure your upper traps are relaxed so you're not shrugging your shoulders up to your ears. You can press the floor away from you a bit so you are not sinking down at your shoulder blades. Lastly, squeeze your butt to tuck your pelvis. This should naturally engage your trunk musculature, but you can actively do that as well. Additionally, your knees should be straight, so actively contract your quads on the front of your thighs, too, if needed. Keep in mind that none of these cues should require maximum effort from you. For example, you shouldn't be squeezing your glutes as hard as you can. Instead, it's just enough to get you into the proper position, which may take time to understand. If you've performed all of these steps correctly, you should be able to draw a fairly straight line from your ears to your shoulders to your hips to your ankles. If this position is difficult for you to set up and hold, working on your tall plank endurance can be beneficial. The next step is the descent or lowering portion of the exercise. It's important to maintain that straight line through your trunk and hips to the best of your ability. A useful cue is to think about balancing a glass of water or ball on your low back to keep that rigidity in your trunk. One of the most common errors during the descent is lowering portions of your body unevenly. For instance, individuals who lack the coordination or upper body strength will dip or sag their hips to the ground without much movement actually occurring at the shoulders and elbows. Alternatively, some people will keep their butts in the air while still not fully descending with their upper body. With regard to what your shoulders and elbows should be doing, it's easiest to think about the direction your elbows are pointing. For the most part, when you're first learning push-ups, you don't want your arms directly pinned to your side where your elbows are pointing straight back. Similarly, you don't want your arms completely flared out where your elbows are pointing directly left and right. Instead, you want to be somewhere in the middle, often described as a 45° angle. I'll revisit this concept in the next section. Lastly, push-ups are not a purely up and down motion. During the descent, you're going to be moving down, but also forward a bit. Please don't get overwhelmed by the number of cues so far. I promise I'm going to bring it all together. The third step, which is the bottom of the movement, is more of the same. Once again, your hips shouldn't be touching the ground without your upper body doing the same. You're attempting to touch your chest to the floor, but multiple aspects of your body will likely contact the ground simultaneously. A cue that I like to provide is to think about the floor as an egg that you want to tap, not crack. This helps you develop control, so you don't just crash to the floor. Your shoulders shouldn't round or dump forward as that takes tension off the chest. Your forearms should be roughly vertical so that your elbows are over your wrists. Finally, if you were to look at your upper body from a top view, your arms shouldn't be flared out or pinned to your sides like I mentioned previously, but somewhere in the middle of those two extremes. Step four, the ascent, is just a reversal of the descent. Think about pushing the floor away from you as you maintain that straight line through your trunk and hips. Since you moved down and slightly forward on the descent, this means that you'll travel up and slightly backward on the ascent. The last step is returning to the starting position, which looks like a tall plank. I'll discuss it more shortly, but you can push the floor away from you even more at the very top of the movement to further engage your serratus anterior muscles and protract your shoulder blades. This push-up technique is known as a push-up plus. Now that I've described how to perform
Regressions
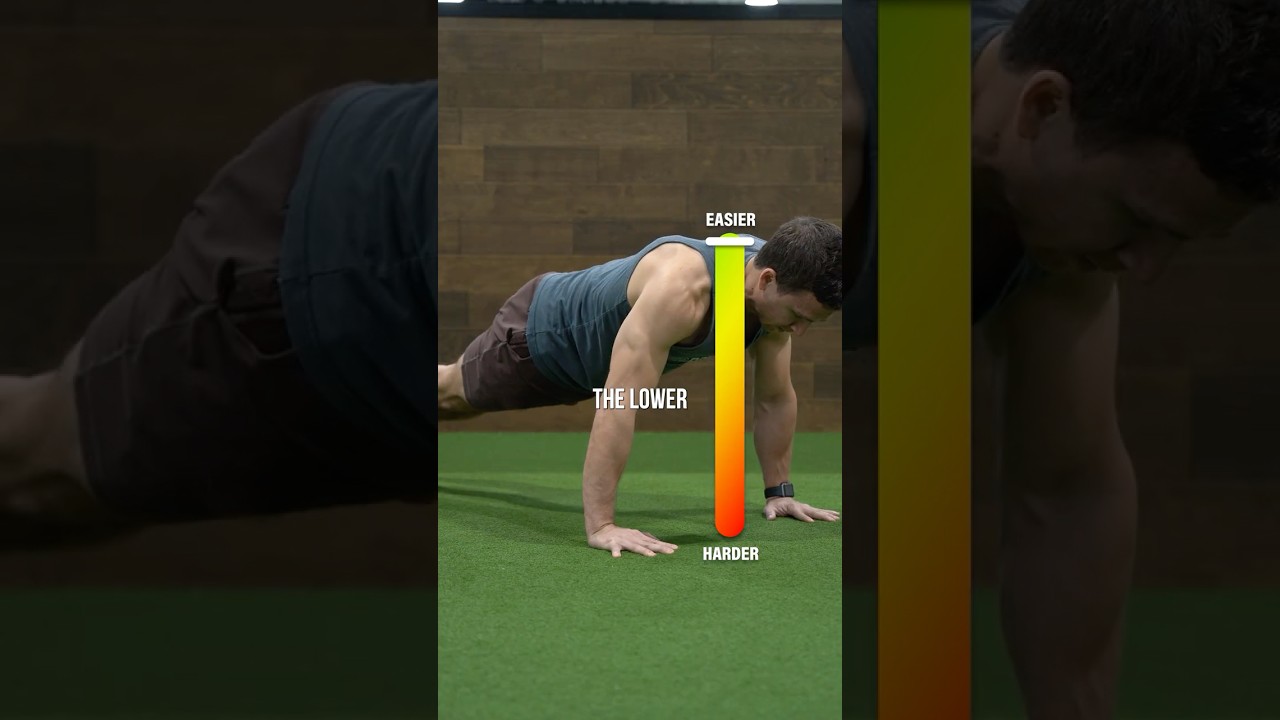
push-ups from start to finish, let me demonstrate several regressions or strategies to make them easier. Push-ups are hard. If you're first learning the exercise, you might not start with regular push-ups, and that's absolutely okay. Here are four options. One, kneeling push-ups. In general, the overall technique is similar to standard push-ups. The biggest mistake people make with kneeling push-ups is keeping their hips and butt back. Like I discussed in step one, which was the setup, walk your hands forward until your hips are fairly straight. And then for the descent, you do want to ensure that you are shifting your body weight somewhat forward, not just straight down. As a side note, don't label these as girl push-ups. Just because they're easier doesn't make them easy. Plus, there are men who perform kneeling push-ups and women who perform regular push-ups. Two, shortened range of motion push-ups. The lower you go during a push-up, the harder the exercise becomes. The goal is to touch your chest to the floor, but you don't have floor. If you need to, bring the floor to you with a yoga block or some other object. Three, band assisted push-ups. These aren't my favorite, but it's a similar thought process to band assisted pull-ups. You can either have a band attached high above you or lower down on a squat rack. Four, hands elevated push-ups. You can use a box, bench, barbell in a squat rack, Smith machine, counter top, etc. to reduce the demand on your upper body as much or as little as you need. Wall push-ups fit into this category, but I find them kind of awkward. If you're struggling to get your first full push-up, use these options. For instance, you can try building up to 20 kneeling push-ups because the upper body strength you develop will carry over to regular push-ups. Another example is using the shortened range of motion push-ups to gradually work your way to the floor. You can even combine this strategy with the kneeling push-ups. The final example is beginning with a higher surface for the hands elevated push-ups and slowly working your way to the ground.
Progressions
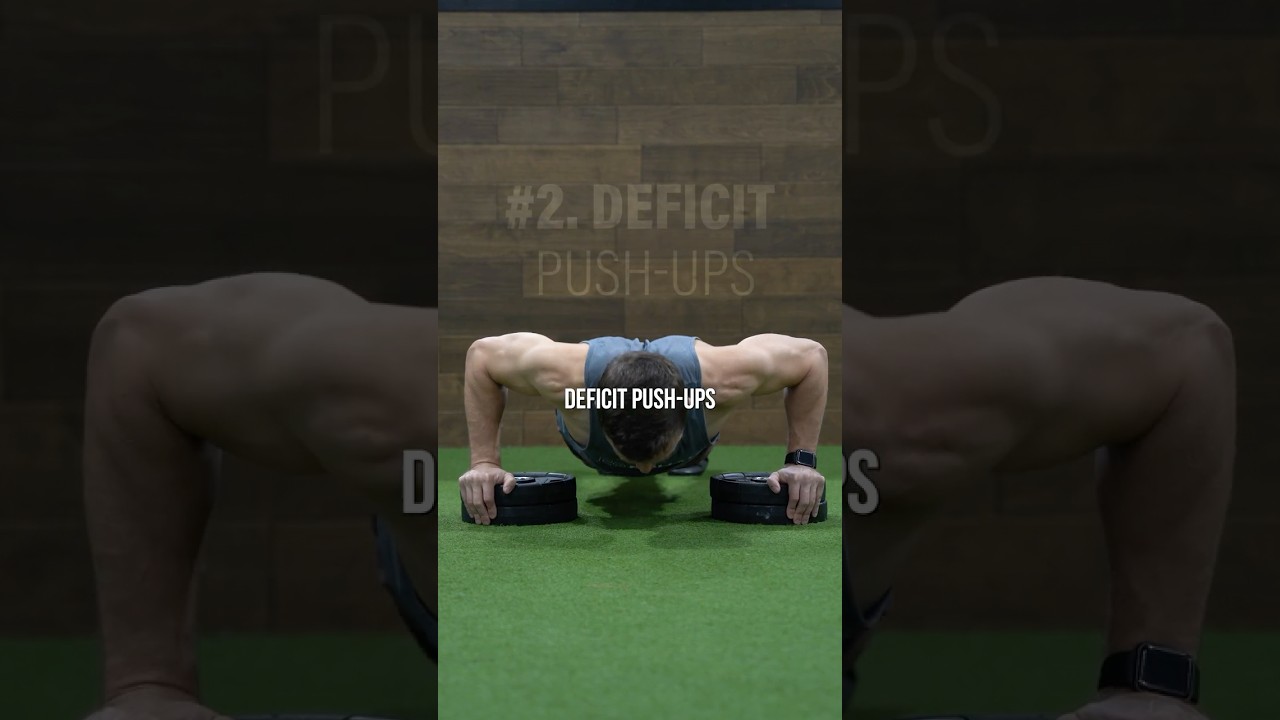
If you're someone who wants to make push-ups more challenging, here are five options. One, weighted push-ups. Add load using a weighted vest or plates. The weighted vest is more convenient because plates can be awkward to set up and balance unless you have a partner for assistance. Two, deficit push-ups. Increase the range of motion by placing your hands on plates, blocks, or aerobic steps while still bringing your chest to the ground. In some instances, you may need to elevate your feet as well, So, these don't just turn into hands elevated push-ups. Three, feet elevated push-ups, also known as decline push-ups. These are probably my least favorite of the five options, especially when the elevation is too high, because people tend to sag their hips as they attempt to touch their chest to the floor. Four, single-arm push-ups. This is an impressive accomplishment that requires significant upper body strength, core strength, and coordination. If single-arm push-ups are a goal of yours, I recommend being able to perform at least 20 to 30 unbroken push-ups, demonstrating good endurance with single-arm planks or shoulder taps, and starting with a hand elevated single-arm push-up as a regression. Five, band resisted push-ups. The most important aspect of the setup is making sure the band is secure and in line with the direction of your push-up. So, make sure it's not too high or low on your back. The main difference with band resisted push-ups is that there's going to be considerably more resistance at the top of the movement. Think about pushing the floor away from you at the top to emphasize that protraction of your shoulder blades. Aside from the progressions and
Variations
regressions I just listed, there are an infinite number of push-up variations. Here are five common options. One, eccentric push-ups. For this variation, you focus on the lowering portion of the exercise only before dropping to your knees and resetting. This is another method for developing the strength needed to do one full regular push-up and can be combined with kneeling, shortened range of motion, or hands elevated push-ups. Two, isometric push-ups. These are static holds intended to improve your weak points. You can either lower down to your preferred height and hold for a set duration of time, or you can push up from an object of your choosing and hold that position. Three, tempo push-ups. These are just slow push-ups on the way up and down. — They're extremely difficult, but I think tempo teaches and reinforces technique. Four, diamond push-ups. By setting up with your thumbs and index fingers touching, this shifts a lot of the demand to your triceps. This is simply a modification to technique. You can do wider push-ups, narrower push-ups, stagger your hands, etc. There's no set rules. Five, push-up plus. This is that extra protraction of your shoulder blades at the top of the exercise to further engage your serratus anterior muscles. This is not an all-inclusive list for any of these categories. You can do Spider-Man push-ups, ring push-ups, explosive push-ups, and the list goes on. As a physical therapist, it's not
Modifying Painful Push-Ups
uncommon for people to experience pain at some point in their lives when performing push-ups. Here are five modifications that might help you now or save you in the future. For the wrist, the primary problem is the inability to tolerate weight-bearing with your wrists extended. The easiest solution is to ensure your wrists are neutral by gripping dumbbells, parallettes, or something similar. For the elbow, it's all about load. If you're dealing with triceps tendinopathy or another form of elbow pain, use a technique that requires less work from your triceps. Oftentimes, this means the elbow is moving through less elbow flexion range of motion. For the shoulder, it's a similar concept. A wider push-up is more demanding on your shoulders than a narrow push-up, so make small adjustments as needed. For the low back, if you have discomfort with low back extension or sagging of your hips, confirm that you're maintaining that straight line through your trunk and hips. For the neck, if you have pain with neck extension during push-ups, just make sure you keep that slight chin tuck so you're looking down. Modifications are frequently meant to be temporary. Over time, you should be able to improve your tolerance to these positions and movements. For example, you likely want to develop the ability to perform push-ups with your hands flat on the floor rather than having to always use dumbbells. Okay, it's time to finally discuss the
Number One Push Up Mistake
number one push-up mistake. I want you to take everything I've discussed up to this point and throw it out the window for a moment. Despite my lengthy discussion about how to perform push-ups, perfect push-ups are more about preparation than technique. What do I mean by that? Let's say you've never done push-ups before. You've never gone to the gym. You've never even worked out. You can focus on perfect technique all you want, but if you decide to do a push-up challenge that requires you to perform 100 repetitions per day for a month, two things are probably going to happen. One, your technique isn't going to be perfect because of how sore and fatigued you are. Plus, your current strength is going to dictate what your technique looks like to some extent. Two, you might get injured from overdoing it in a short amount of time. I've seen it happen on more than one occasion. What's the flip side of this? I'll use myself as the example, but any calisthenics YouTuber is far more elite than I am. I can do a lot of push-ups in a row. single-arm push-ups in a row. I go to the gym regularly. I'm fairly lean and have good upper body strength. I can use {quote} improper push-up technique, including in the demonstrations of this video, because of the foundation I built through years of preparation. — And improper may simply be viewed as variation. It's a way for me to make my body more capable and resilient rather than fearing what may happen if I stray from an ideal singular technique. So, the number one push-up mistake is obsessing over technique at the expense of everything else. Don't get me wrong, technique is important especially for performance. I wouldn't have spent so much time talking about it if it wasn't. Good technique can make your first push-up significantly easier. But I want you to understand that your technique is going to change and improve over time — and it's not the only thing that matters. I don't want you to be overwhelmed by the amount of information I provided. Get started, use the tips you find useful, and don't stress if every repetition doesn't look perfect. Thank you so much for watching. If you enjoyed the video, please hit that like button, subscribe, turn on notifications, and leave any comments down below. If you are looking for a rehab or performance program or are interested in working with us one-on-one, head over to e3rehab. com. Peace.