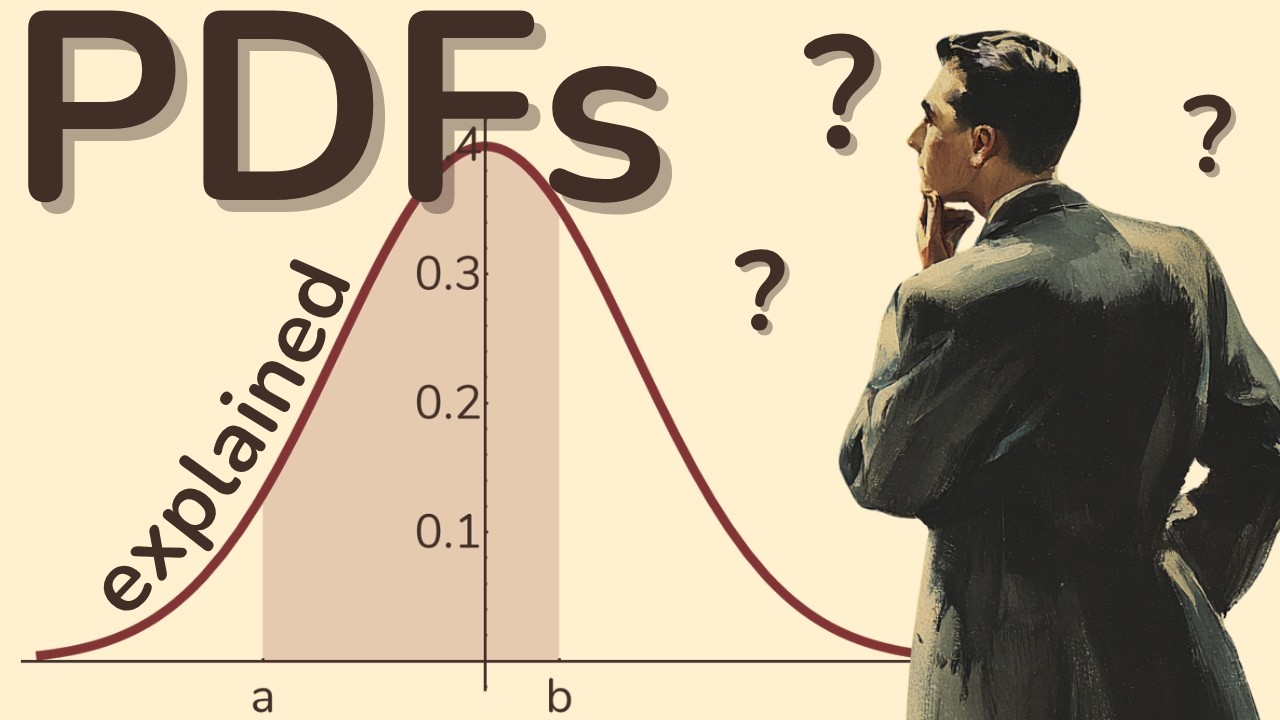
Matplotlib in Python - How to Plot Data
Machine-readable: Markdown · JSON API · Site index
Описание видео
Our intro to Matplotlib in Python, focusing on how to turn raw data into beautiful plots. We start by creating basic plots, then builds toward customizing figures, working with multiple datasets, and adjusting elements like labels, styles, and layouts. We introduce line plots,. histograms, pie charts, and more.
Support Socratica on Patreon:
https://www.patreon.com/socratica
Join this channel to get access to perks:
https://www.youtube.com/channel/UCW6TXMZ5Pq6yL6_k5NZ2e0Q/join